
- Security
- A
Spring Cloud Gateway + Keycloak: a complete example
Hello everyone! Today we will look at how to make a full integration of the Spring Cloud Gateway API gateway and Keycloak, as it seemed to me that the topic was not sufficiently covered. With some reservations, this example can be used in real production conditions.
Gateway as BFF
For web applications, the recommended authorization and authentication pattern is BFF – that is, all the logic of Oauth 2.0/OIDC is performed on the backend. At the same time, the web application itself (frontend) does not act as a client in the authorization process. In such an architecture, the client will be an intermediate backend, which is BFF, and a private client. The web application interacts with the BFF through http sessions, this statement is true for authorization/authentication as well. Sometimes you can come across the term cookie-based authentication. The main idea is that the tokens received during the authorization process, access and refresh (if we also authenticate, then the id token) should not be stored somewhere on the side of the web application, it is better if they are stored in the web session on the BFF side. At the same time, a cookie will be stored on the side of the web application, which uniquely identifies the web session. While this session is active, we will get authorized access to our web resource. In addition, BFF in this approach acts as a private oauth client, and such clients are much more secure than public ones.
An api gateway, such as spring cloud gateway, can act as such a BFF. The spring blog describes in detail how to set up a gateway, we will do the same, but with keycloak and a number of nuances characteristic of a production environment.
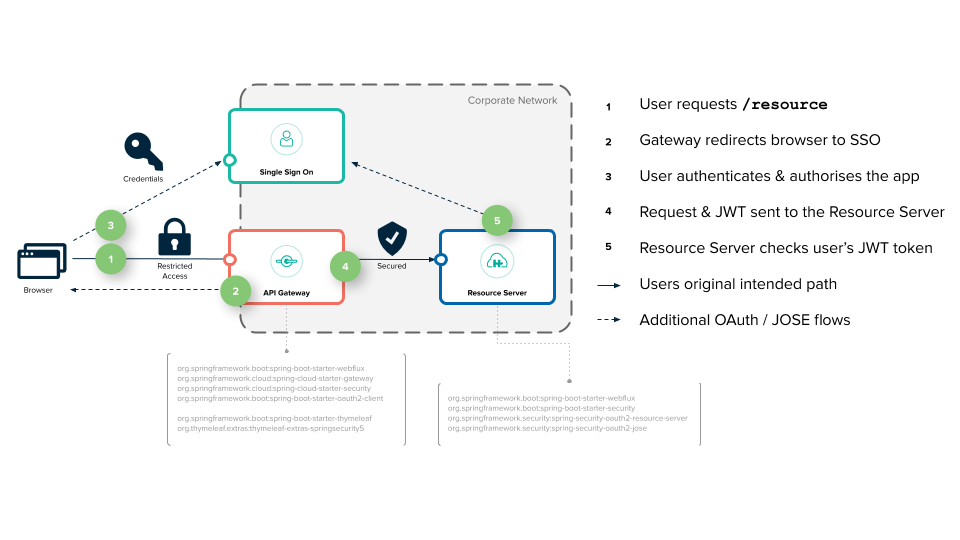
In spring cloud gateway, the TokenRelay filter is implemented. In fact, it fully supports cookie-based authentication - every time an attempt is made to access a protected resource, the filter will check for the presence of an OAuth2AuthorizedClient object in the current http session. If the object is found, the request will be forwarded to the protected resource with the access token obtained from the OAuth2AuthorizedClient, or it will be refreshed if it has expired. The OAuth2AuthorizedClient object will be obtained during the authorization and session creation process. All you need to do is configure the gateway as an oauth2.0 client and ensure the operation of http sessions in a clustered environment. This will be enough.
Configuring Keycloak
It's quite simple here. In my local instance of keycloak, there is already a test realm with default settings, which is quite sufficient for us. Let's create a client in it.
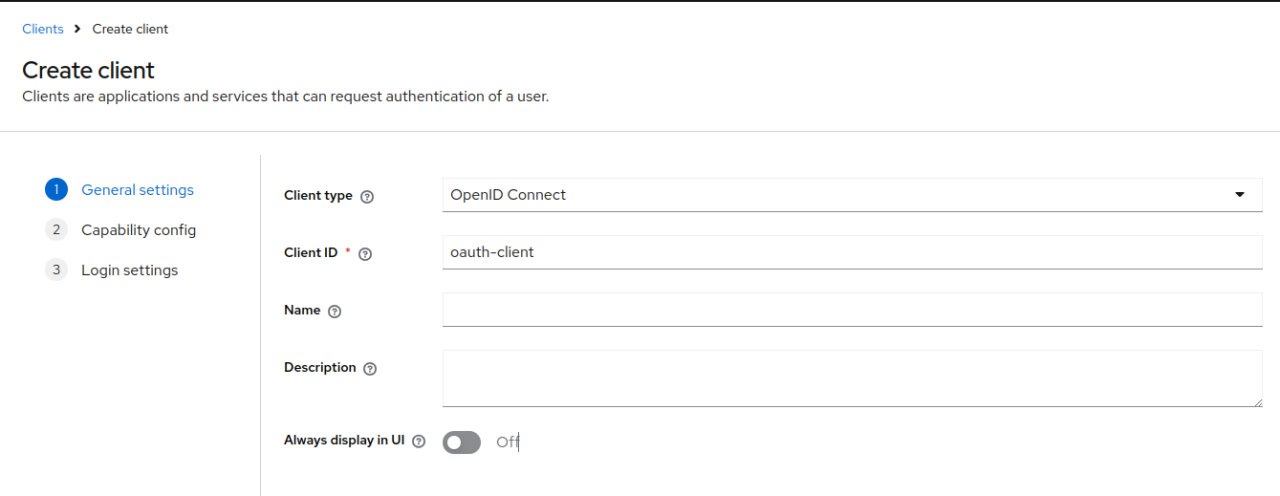
It is advisable to give meaningful names and not hesitate to write detailed descriptions of what the client is for.
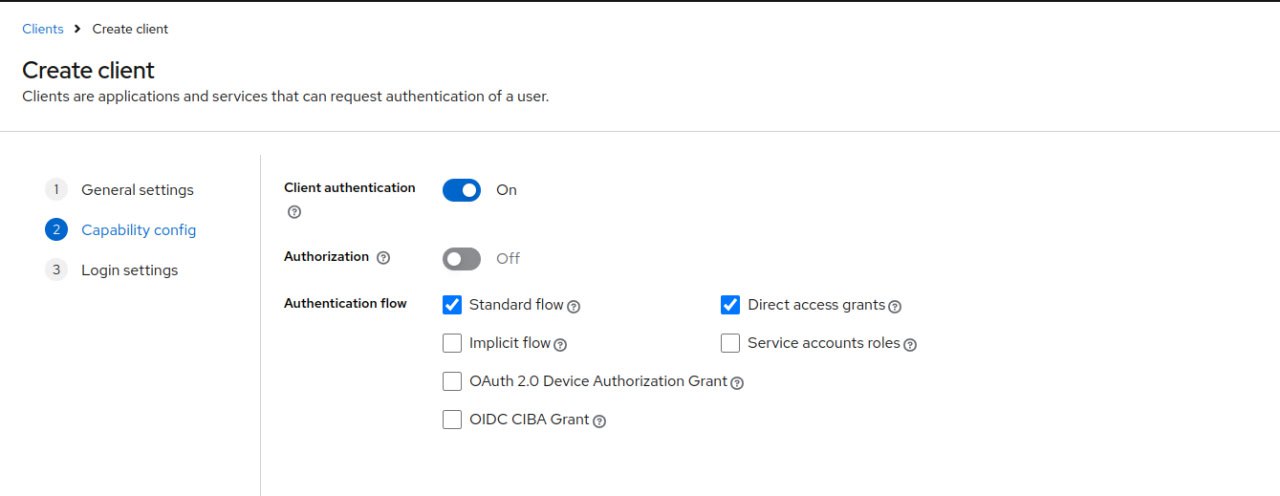
Be sure to check the Client authentication box, otherwise our client will be public, and we need a private one.
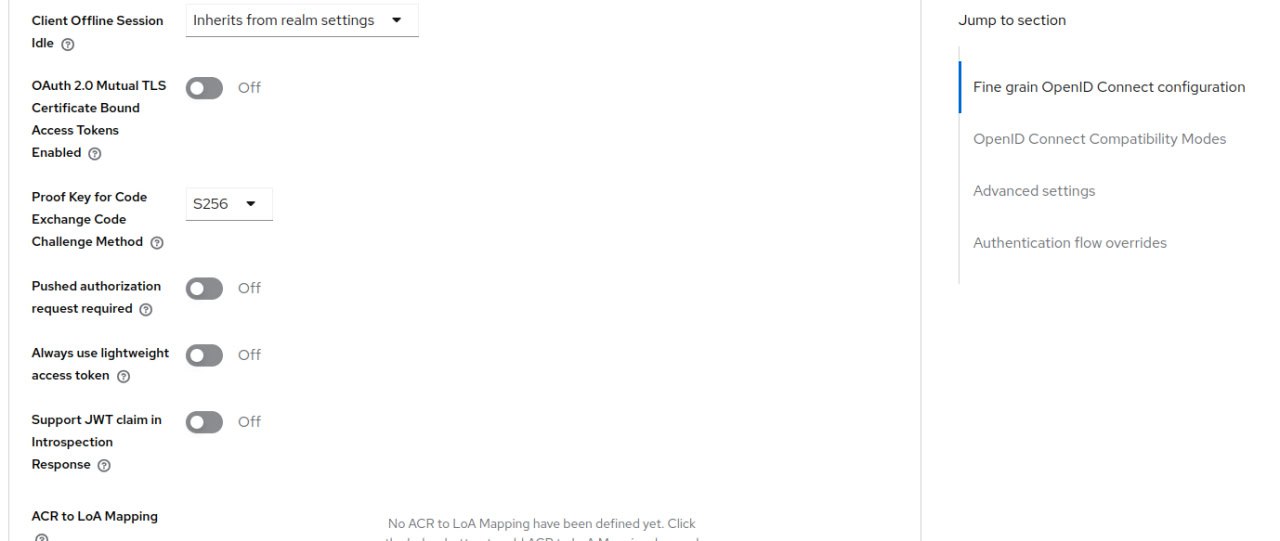
For greater security, it is recommended to enable PKCE, even though our client is not public and is not a native app, i.e., a mobile or desktop application.
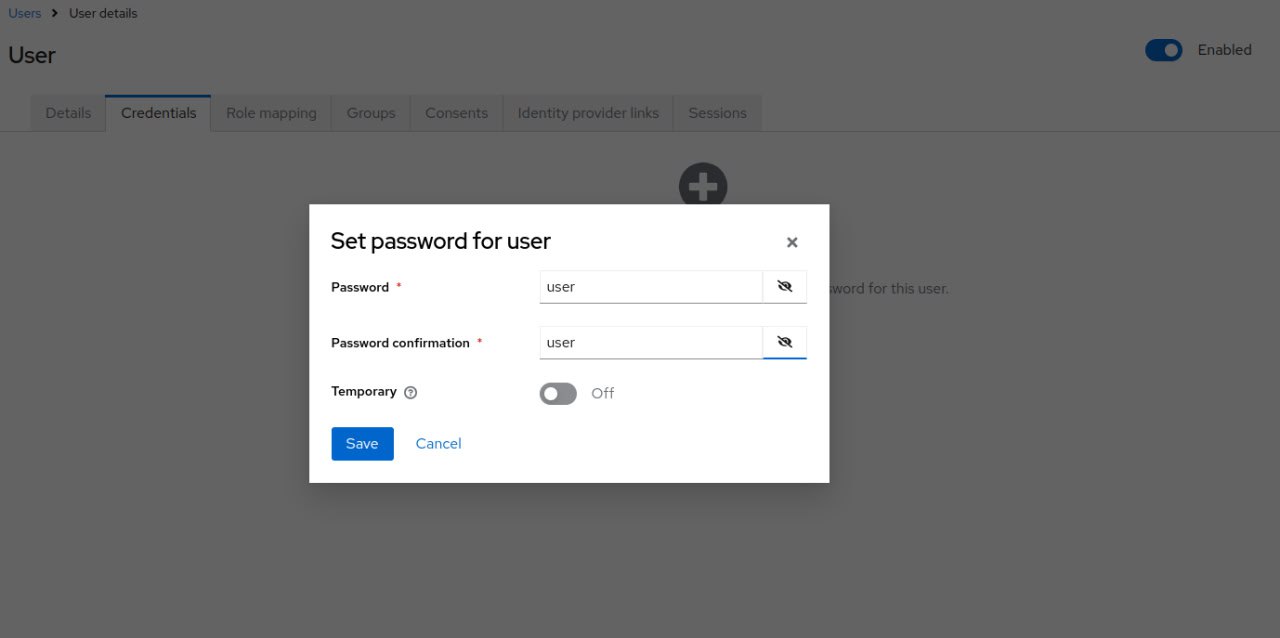
In addition, I created a test user named user and set the same password for him.
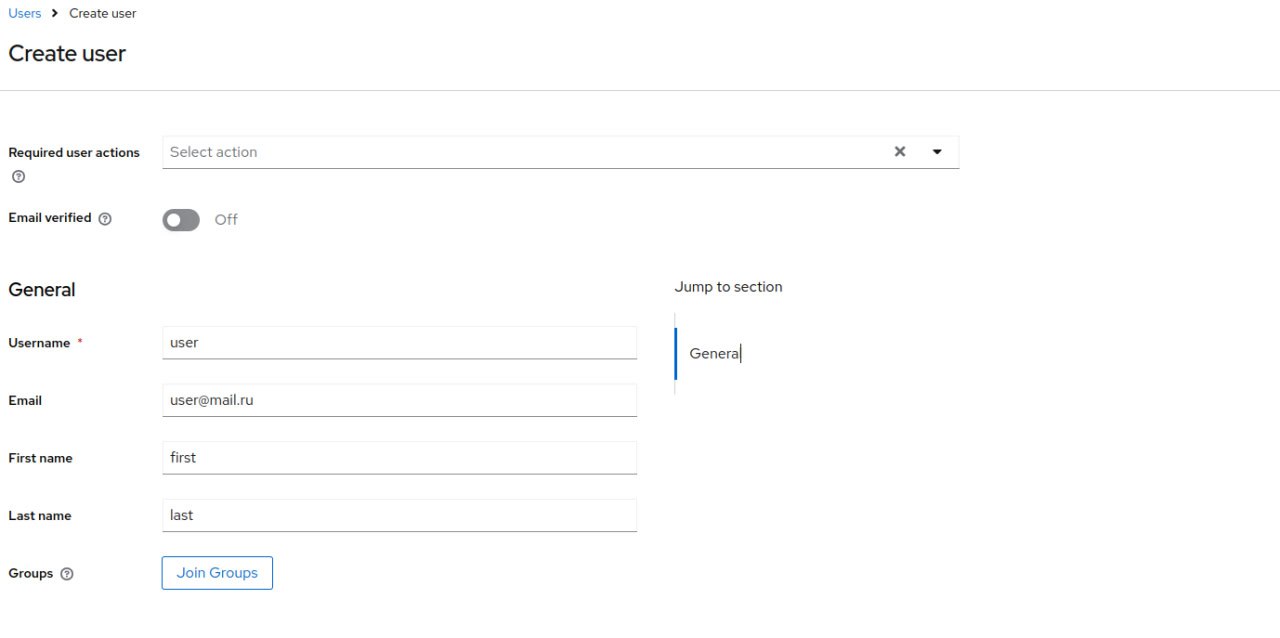
That's all. No other settings are needed. You can create your own client scope, but this is not necessary for demonstration purposes. The user should also have some roles, which also do not significantly affect our example.
Gateway aka BFF
Since the gateway acts as an oauth client, we need the starter spring-boot-starter-oauth2-client. Naturally, the gateway itself spring-cloud-starter-gateway and session support spring-session-data-redis and spring-session-core. To implement http sessions, we will use redis. Locally, I have one node, but in production conditions, a full-fledged cluster is needed. To connect to redis, you need the starter spring-boot-starter-data-redis.
Let's move on to the configuration:
@Configuration
@EnableWebFluxSecurity
@EnableRedisWebSession
public class SecurityConfig {

    @Bean
    SecurityWebFilterChain securityWebFilterChain(ServerHttpSecurity httpSecurity,
                                                  ServerOAuth2AuthorizationRequestResolver resolver,
                                                  ServerOAuth2AuthorizedClientRepository auth2AuthorizedClientRepository,
                                                  ServerLogoutSuccessHandler logoutSuccessHandler,
                                                  ServerLogoutHandler logoutHandler) {
        return httpSecurity
                .authorizeExchange(
                        authorizeExchange ->
                                authorizeExchange.pathMatchers(
                                                "/actuator/**",
                                                "/access-token/**",
                                                "/id-token")
                                        .permitAll()
                                        .anyExchange()
                                        .authenticated()
                ).oauth2Login(oauth2Login ->
                        oauth2Login.authorizationRequestResolver(resolver)
                                .authorizedClientRepository(auth2AuthorizedClientRepository)
                )
                .logout(logout ->
                        logout.logoutSuccessHandler(logoutSuccessHandler)
                                .logoutHandler(logoutHandler)
                )
                .csrf(Customizer.withDefaults())
                .build();
    }

    @Bean
    ServerOAuth2AuthorizationRequestResolver requestResolver(ReactiveClientRegistrationRepository clientRegistrationRepository) {
        var resolver = new DefaultServerOAuth2AuthorizationRequestResolver(clientRegistrationRepository);
        resolver.setAuthorizationRequestCustomizer(OAuth2AuthorizationRequestCustomizers.withPkce());
        return resolver;
    }

    @Bean
    ServerOAuth2AuthorizedClientRepository authorizedClientRepository() {
        return new WebSessionServerOAuth2AuthorizedClientRepository();
    }

    @Bean
    ServerLogoutSuccessHandler logoutSuccessHandler(ReactiveClientRegistrationRepository clientRegistrationRepository) {
        OidcClientInitiatedServerLogoutSuccessHandler oidcLogoutSuccessHandler =
                new OidcClientInitiatedServerLogoutSuccessHandler(clientRegistrationRepository);
        oidcLogoutSuccessHandler.setPostLogoutRedirectUri("{baseUrl}/test");
        return oidcLogoutSuccessHandler;
    }

    @Bean
    ServerLogoutHandler logoutHandler() {
        return new DelegatingServerLogoutHandler(
                new SecurityContextServerLogoutHandler(),
                new WebSessionServerLogoutHandler(),
                new HeaderWriterServerLogoutHandler(
                        new ClearSiteDataServerHttpHeadersWriter(ClearSiteDataServerHttpHeadersWriter.Directive.COOKIES)
                )
        );
    }
}
The configuration is relatively small. Since the gateway is reactive, we will need the webflux implementation of spring security. As expected in permitAll, we specify everything that should not be protected. To protect against cross-site request forgery, we specify the csrf setting. The main focus should be on oauth2Login. This is what I mentioned above – the gateway will be an oauth client and the authorization process is performed on it. To make PKCE work, you need to set ServerOAuth2AuthorizationRequestResolver with the option OAuth2AuthorizationRequestCustomizers.withPkce(). During the authorization process, an OAuth2AuthorizedClient object will be created, which is an authorization instance that stores tokens (access and refresh). The ServerOAuth2AuthorizedClientRepository component is used to store OAuth2AuthorizedClient objects. We don't need our authorized clients to be stored in memory, we need them to be stored in the web session, so we create an instance of WebSessionServerOAuth2AuthorizedClientRepository and specify it in the oauth2Login setting.
Separately, it is worth paying attention to logout. In spring security, there is an endpoint /logaut for this. It can be configured in different ways, we will implement an option with two components – ServerLogoutHandler and ServerLogoutSuccessHandler. For ServerLogoutSuccessHandler, we will use OidcClientInitiatedServerLogoutSuccessHandler – this is a client-side logout using the oidc endpoint, it can be seen in the oidc configuration. Do not forget to specify the so-called postLogoutRedirectUri – the page to which the gateway will redirect us after logout. For ServerLogoutHandler, there is a component DelegatingServerLogoutHandler – this is a composer consisting of several ServerLogoutHandler. We will use three implementations:
SecurityContextServerLogoutHandler– we removeSecurityContextafter logout as unnecessary;WebSessionServerLogoutHandler– we clear the session;HeaderWriterServerLogoutHandlerin conjunction withClearSiteDataServerHttpHeadersWriter– we clean up cookies that are no longer needed;
We specify these two spring security api components in logout.
The last thing we need to do is add oauth client settings to application.yaml:
  security:
    oauth2:
      client:
        provider:
          keycloak:
            issuer-uri: http://localhost:8080/realms/test
        registration:
          keycloak:
            provider: keycloak
            client-id: oauth-client
            client-secret: changeIt
            authorization-grant-type: authorization_code
            scope:
              - openid
              - email
              - profile
              - roles
And add a test route:
  cloud:
    gateway:
      globalcors:
        cors-configurations:
          '[/**]':
            allowedOrigins: "*"
            allowedMethods:
              - GET
              - OPTIONS
            allowedHeaders: "*"
            exposedHeaders: "*"
      routes:
        - id: test-app
          uri: http://localhost:8085/
          predicates:
            - Path=/test/**
            - Method= GET
          filters:
            - TokenRelay=
I added CORS settings, this is important for the front end. In the list of filters, do not forget to specify TokenRelay. In addition to the front end, you can specify all the apis it accesses in the list of routes, this will work.
Very often, a web application needs tokens, both access and id. To obtain them, we have a controller AuthInfoController with two requests:
   @GetMapping("/access-token")
    public OAuth2AccessToken getAccessToken(@RegisteredOAuth2AuthorizedClient OAuth2AuthorizedClient client) {
        return client.getAccessToken();
    }

    @GetMapping("/id-token")
    public OidcIdToken getIdToken(@AuthenticationPrincipal OidcUser oidcUser) {
        return oidcUser.getIdToken();
    }
The first one will return the access token, the second one will return the id token based on the session identifier (i.e., based on the cookie).
Protected Resource
I have a very simple service configured as an oauth2 resource server, i.e., a resource that we want to access securely.
	@Bean
	SecurityFilterChain securityFilterChain(HttpSecurity httpSecurity) throws Exception {
		return httpSecurity.csrf(AbstractHttpConfigurer::disable)
				.httpBasic(AbstractHttpConfigurer::disable)
				.authorizeHttpRequests(auth -> auth.anyRequest().authenticated())
				.oauth2ResourceServer(oauth2ResourceServer -> oauth2ResourceServer.jwt(Customizer.withDefaults()))
				.build();
	}
And application.yaml:
spring:
  application:
    name: test-app
  security:
    oauth2:
      resourceserver:
        jwt:
          issuer-uri: http://localhost:8080/realms/test
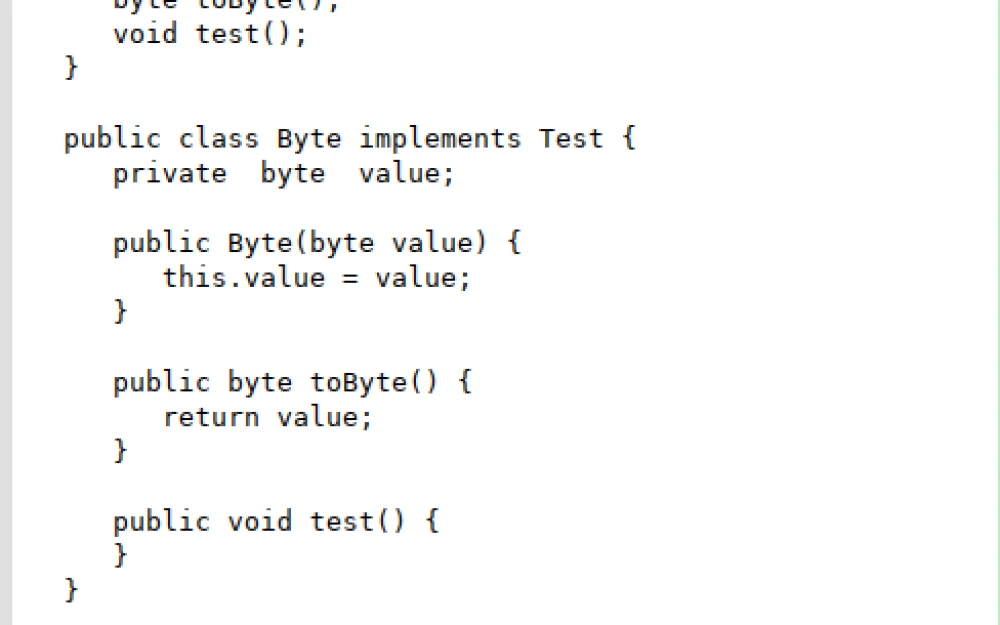
There is a simple controller:
@RestController
public class TestController {

    @GetMapping("/test")
    public String get() {
        return "Hello World!";
    }
}
Let's see how it works
The service is running on port 8085, keycloak on 8080, and the gateway on 8082. Let's try to make a request to the protected resource through the gateway http://localhost:8082/test:
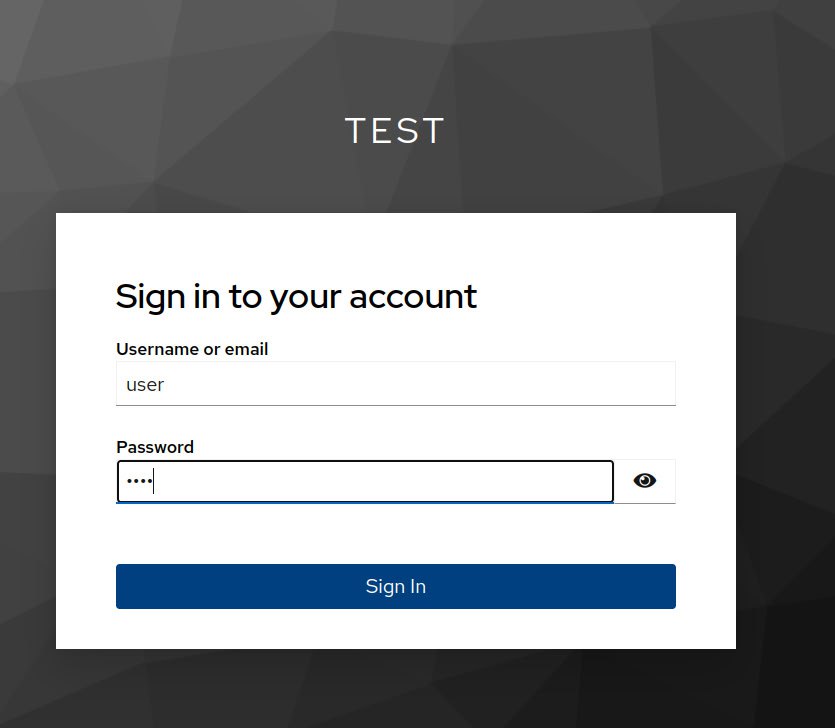
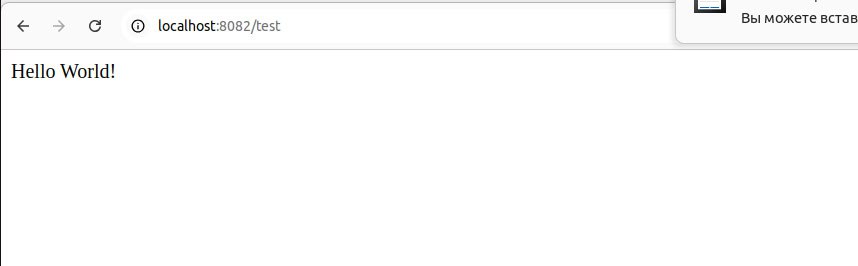
Access granted. An active session was created in keycloak.
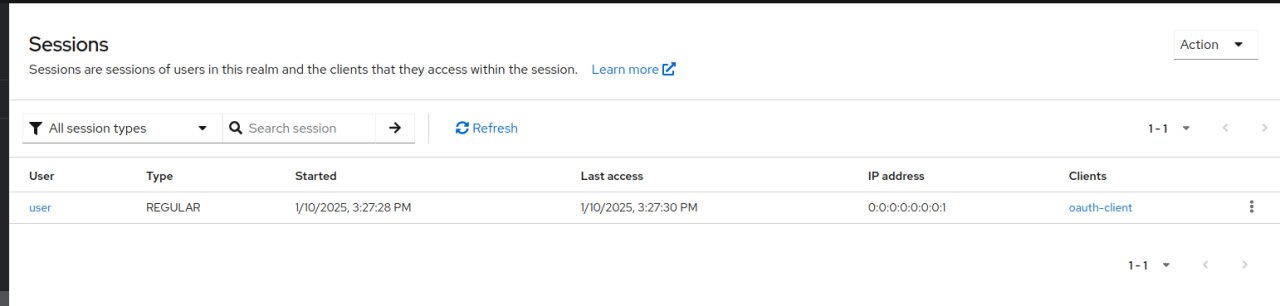
The session can be quite flexibly configured for both an individual client and the entire realm. In the simplest case, the session lifetime can be interpreted as the lifetime of the refresh token, and it is better to configure the web session and the keycloak session the same way so that none of the sessions hang in the air.
Let's try to get the access token:
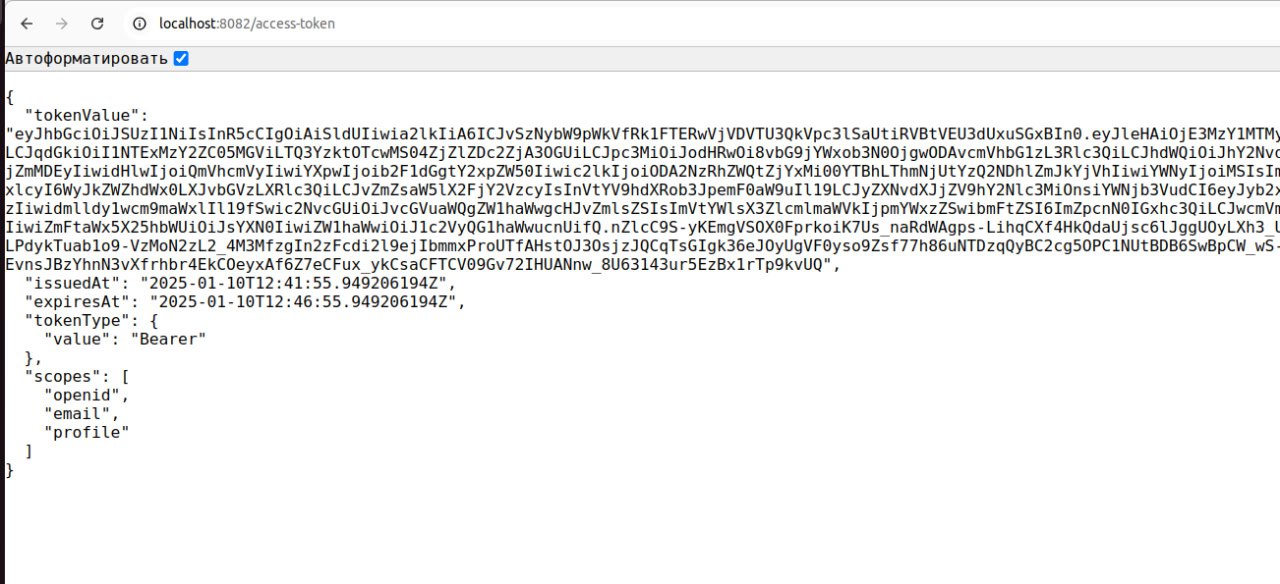
And the id token:

Check the list of active sessions in keycloak:
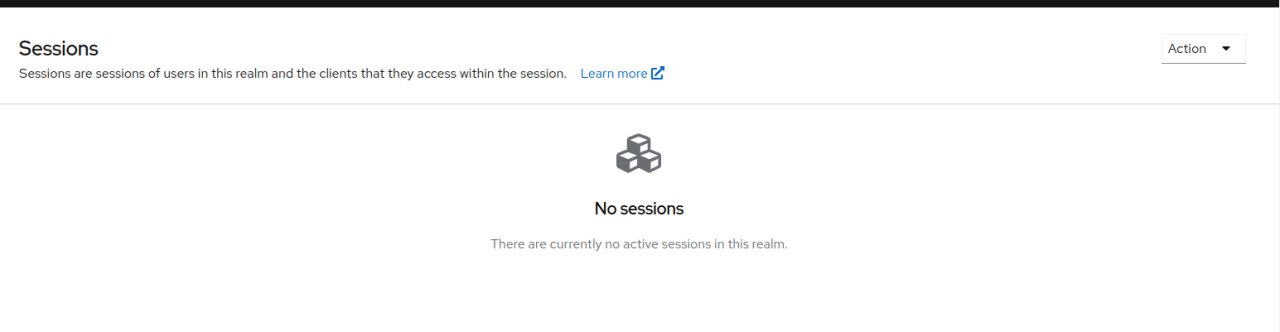
No sessions. We have successfully logged out.
In the reactive implementation of oauth2Login, there are a couple of inconvenient things – at least some components, if they are set as beans, are not pulled into the filterChain. I will add these to spring security a little later, possibly in the next minor version it will already appear. All examples are in my repositories on github:
In general, all of the above will work for any authorization server, not just keycloak. Write in the comments if you encounter problems when configuring the gateway or keycloak, I will try to answer everyone.

Write comment