
- DIY
- A
Smart freshener for your toilet
In the morning, looking at the can of freshener in the toilet, I thought, why not make another smart thing? Of course, it became an air freshener, but not just automatic, but stuffed with a lot of things, and you can find out what exactly below.
Part 1: Concept and Idea
There are many devices that can spray air freshener. They usually work on a schedule you set, but what if they don't have the time you need? Air fresheners are placed in the toilet or bathroom (if it's a house), but these places are visited not only during the day when it's light, but also at night when nothing is visible, especially if there are no windows. This problem can be solved by turning on the light, thereby blinding yourself, or using automatic cabinet lights, which also run on batteries.

So what can be done? Of course, combine the flashlight and automatic light, and since tape is not an option, we will assemble this air freshener. Let's go make a drawing and describe the functions.
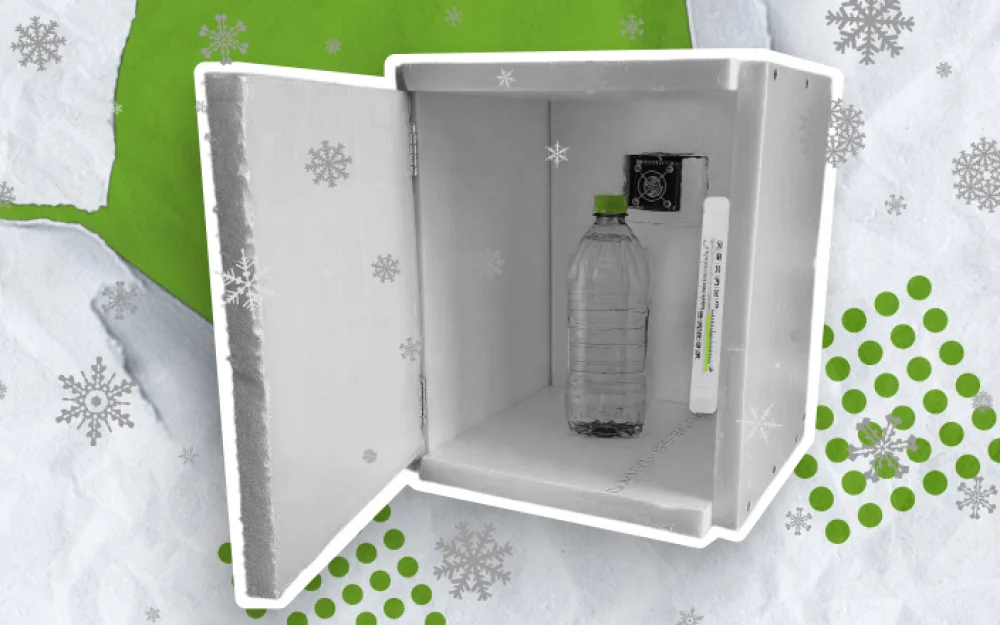
This is how it can look and will have the following features:
Automatic air freshening (time can be set by yourself)
Motion sensor (to make night lighting)
Lighting (both day and night)
Settings for the regular user (display and three buttons)
Now the first version of the mechanism: since the air freshener can has a lever that needs to be pressed to spray, we can use it. Wrap it with a rubber band and tie it to the servo.
Part 2: Concept Implementation
Implementation consists of three parts:
Electronics assembly (soldering, etc.)
Software code
Mechanism implementation and case creation
Part 1: let's start with the most important - lighting and auto-spraying.
We will need:
Microcontroller (Arduino Nano)
Servo (SG90)
Battery (taken from an earphone case)
ARGB ring (with 12 LEDs)
Three-contact slide switch
Let's grab the soldering iron and get to work!

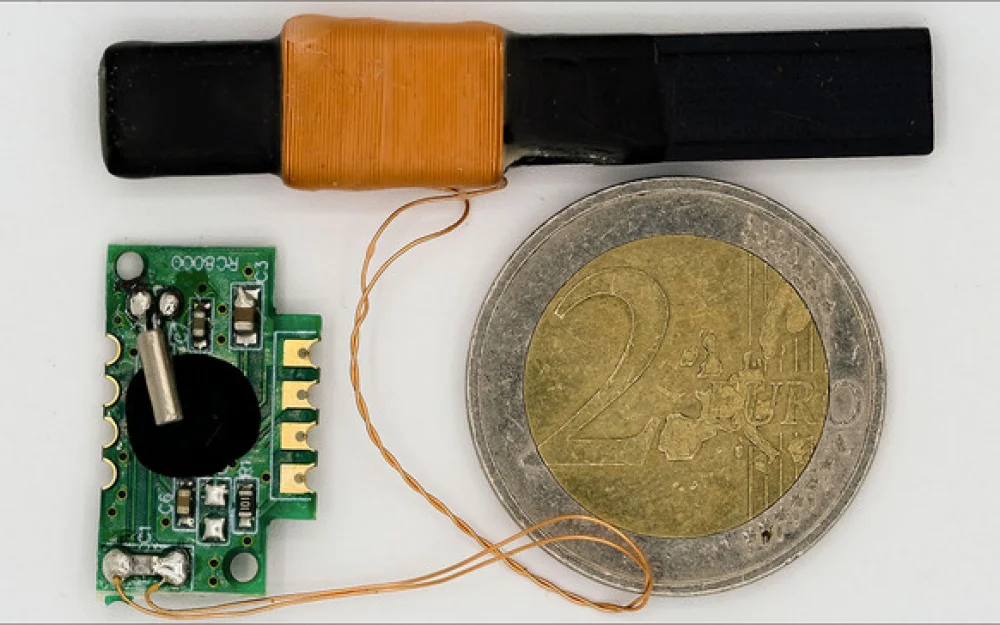
We complete the circuit and fill it with hot glue

Part 2: Programming and flashing the microcontroller.


And here I abruptly interrupt and move on to part 3 of the article...
Part 3: The main problem...
It seemed that everything was ready, it remained to make the case and the mechanism. Mechanisms - this is where I was weak, I knew it and therefore initially assumed that the project would not work out, and so it happened. No matter how hard I tried, I couldn't come up with anything, of course I was upset and put this project in a drawer, but that's not all! I want to sum up and tell you something.
Conclusion
This project was created and conceived with the motivation from coffee, so if anyone liked the idea, you can complete this project, I would be very happy. Maybe someday I'll get back to it and finish it, but for now I'll take on other projects. Thank you all for reading, I will be glad to see your activity, bye!


Write comment