- DIY
- A
Synthesizer on PSP with MIDI Keyboard Connection
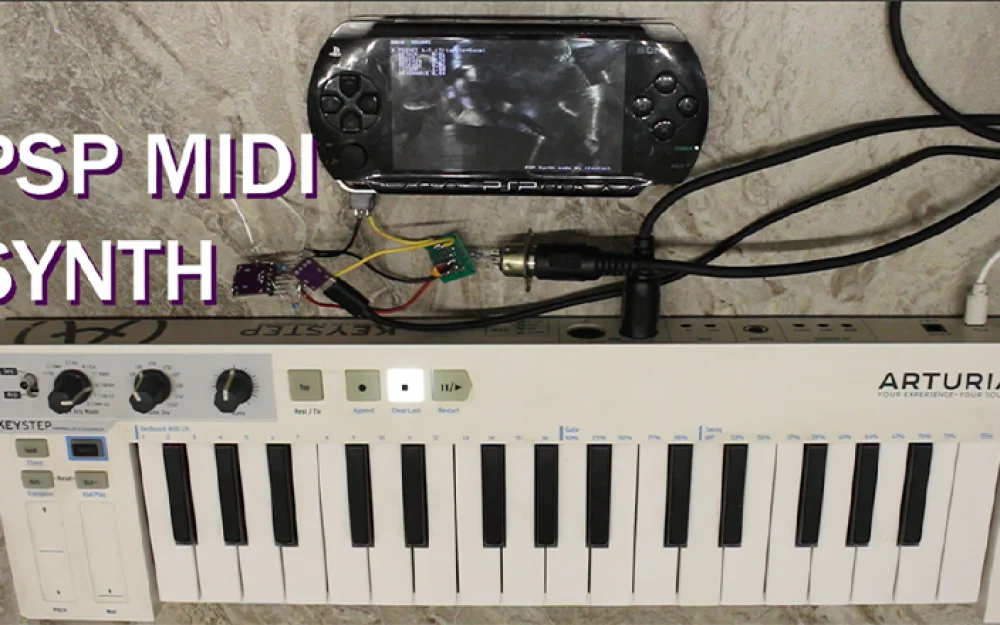
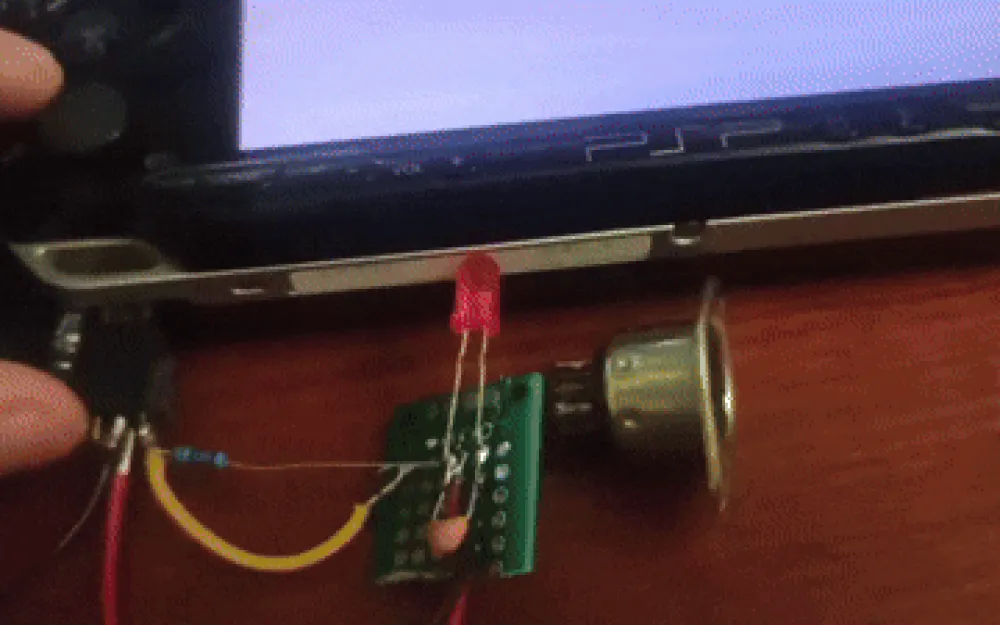
I created a synthesizer on the PSP controlled by MIDI! The application is as simple as possible, with 4 voices, an envelope, a filter, and the ability to save 5 presets. The MIDI keyboard connects to the PSP's headphone remote via a classic optocoupler scheme, the same port next to the 3.5mm headphone jack
Video demonstration - https://www.youtube.com/watch?v=WZJZkFJ37xU
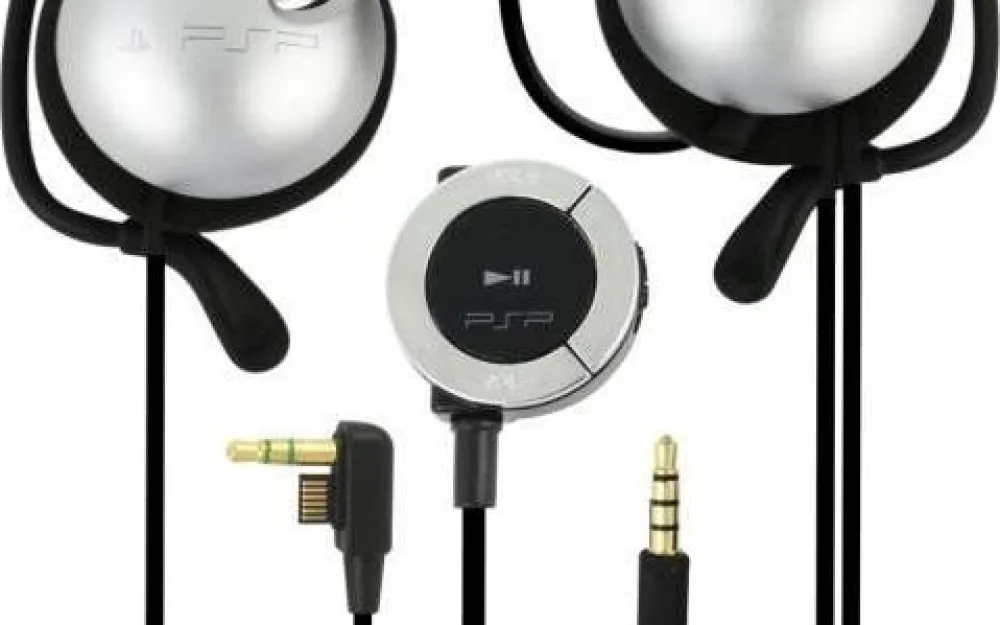
The official headphones for PSP have a remote control for managing the music player; it connects to the HPRM port and communicates with the PSP via UART commands. The microcontroller in the remote also receives power through this port.
Details about the port: https://www.psdevwiki.com/psp/Serial_Adapter
A very important point! There are two types of ports: the PSP 1000 has a 6-pin connector and outputs 2.5 volts, while the 2000/3000 has a 12-pin connector since a video output appeared via cable, with a voltage of 1.9 volts. It is necessary to match the voltage levels when connecting your own devices!
For working with UART, I used this project https://github.com/ste2425/PSP-Serial-Example. Obviously, no PSP games utilized SIO, as throughout the console’s lifetime it was used exclusively for the remote control, so working with it can only be implemented at the kernel level. This project provides the opportunity to interact between a user application and UART.
I recommend checking out the project for which ste2425 implemented UART functionality, which is a project for controlling PSP using popular gamepads https://youtu.be/QHRCPYtjDhs?si=qXpUxitXb5a0Vm1Z&t=170. Gamepads connect via Bluetooth to the ESP32, and the ESP32 transmits button press data to the PSP via UART https://github.com/psp-bluetooth.
The simplest and highest quality option is to buy headphones with a remote, cut the wires, and solder to them. An alternative method is to develop a printed circuit board for the HPRM port; a standard thickness of 1.6mm fits perfectly in it. During the development of the synthesizer, I experienced hyper-fixation, and I didn't want to wait for the delivery of headphones, so I took double-sided fiberglass and meticulously cut the board with a utility knife.
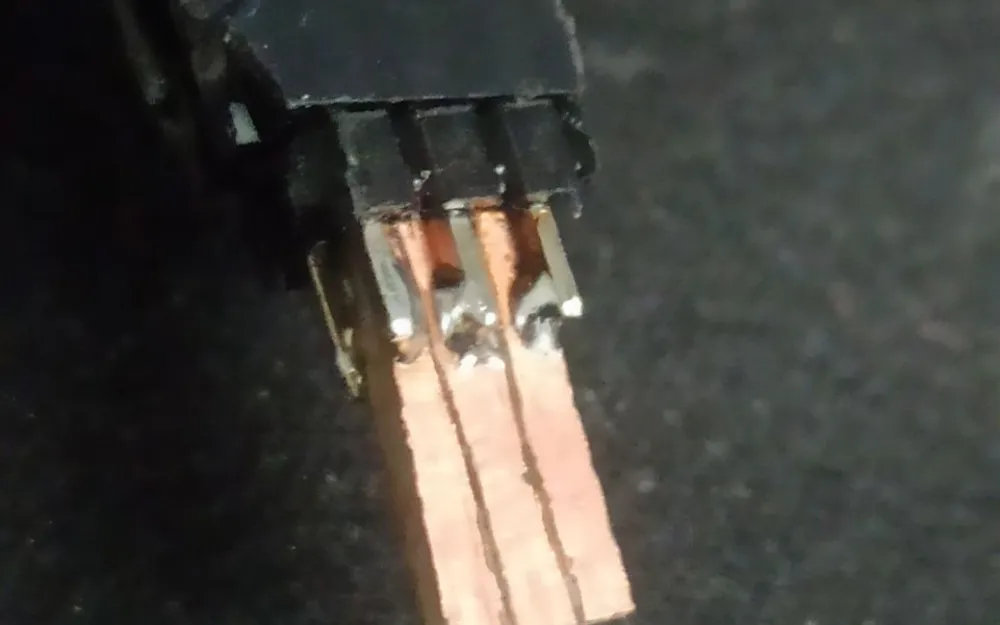
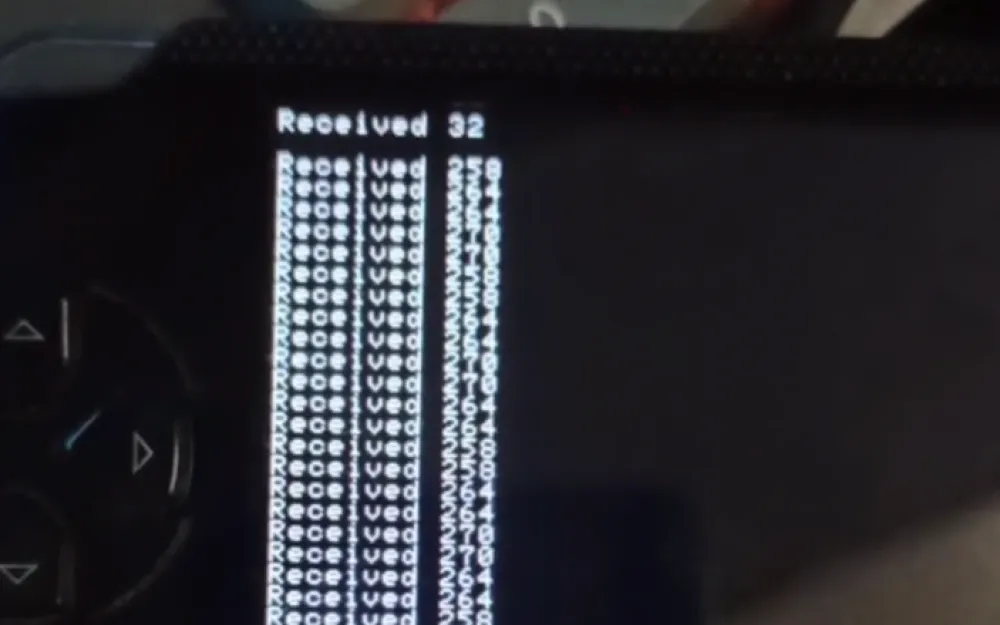
A USB TTL was soldered to this connector, data was sent from the computer, and the PSP successfully received it.
The next step: a circuit with an optocoupler for connecting a MIDI keyboard. I assembled and tested two options:
The first is a classic circuit using 6N138.
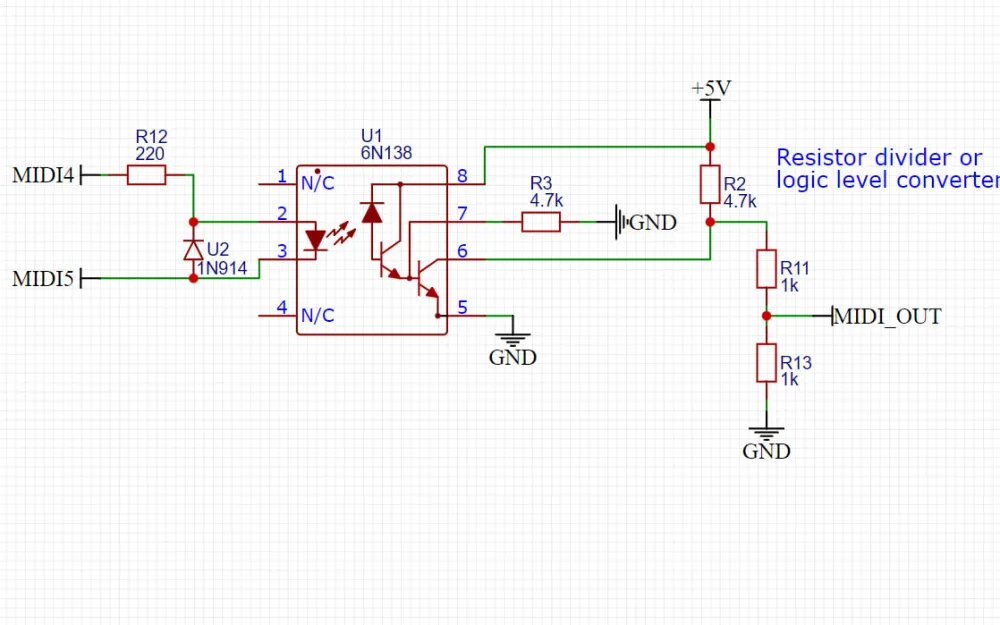
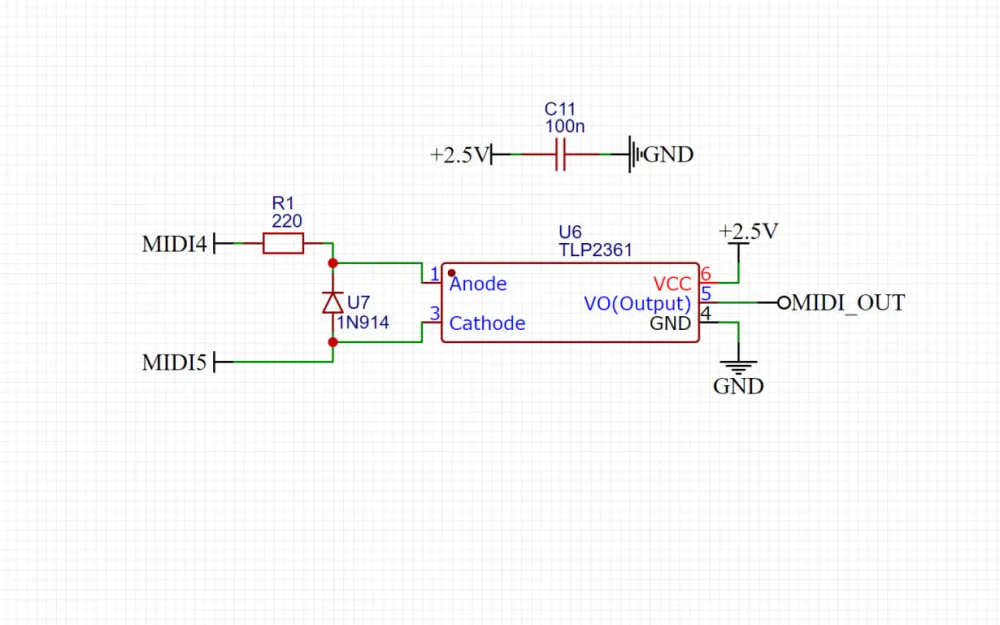
I took 5 volts from USB type-c, so the output signal had to be matched to, in my case, 2.5 volts. The minimum supply voltage for the 6N138 is 4.5 volts; it obviously wouldn't start from 2.5 volts from the PSP. Therefore, I devised a second option using the fast optocoupler TLP2361, which according to the datasheet requires a minimum of 2.7 volts, and 2.5 volts from the PSP turned out to be sufficient for operation. When powered from 2.5 volts, no level matching was necessary.
However, I encountered a problem that I couldn't figure out how to solve nicely. I wanted to create a printed circuit board with an optocoupler and a connector for direct connection to the PSP, so that I could order and sleep on a bunch of such adapters. The issue is that the PSP only outputs voltage to the HPRM port if a 3.5mm jack is plugged into the socket. The board ends up being quite thick, so most jack cables do not fit into the socket; only very thin ones work.
You can disassemble the PSP and throw a jumper to ensure that the voltage is always supplied, but I don't like this option. I hope to come up with something simpler and more universal.
Project on GitHub: https://github.com/AlexKaut/PSP_MidiSynth
To install the application on the PSP, copy the /PSP_MidiSynth folder to the console in /PSP/GAME/.
For building, you need to install PSPSDK https://pspdev.github.io/installation.html and run make in the project folder /PSP. As a result of the compilation, two files are created: kernel.prx which works with UART and the application itself EBOOT.PBP. For convenience in loading the application, these files are copied into the /PSP_MidiSynth folder.
The code is written in C, and for stable operation, MIDI reading and audio generation are divided into two threads. The interface is drawn using pspDebugScreen.
Running this synthesizer on an emulator like PPSSPP will not work since emulators do not support custom kernel modules.
// CONFIG
#define SAMPLE_RATE   44100
#define BUF_SAMPLES   512
#define MAX_VOICES    4
#define VOLUME        PSP_AUDIO_VOLUME_MAX
#define TWO_PI        6.28318530718f

#define GAIN_SINE      2.1f
#define GAIN_TRIANGLE  2.4f
#define GAIN_SAW       1.2f
#define GAIN_SQUARE    1.0f

#define PRESET_COUNT   5
#define PRESET_FILE "ms0:/PSP/GAME/PSP_MidiSynth/presets.bin"
At the very beginning of main.c, you can set up the synth.
The buffer size of 512 samples turned out to be the most optimal. When the application is launched, the volume of the PSP is set to maximum. The gain of each wave can be adjusted separately, as the square wave sounds louder than the triangle and sine waves.
Video demonstration https://www.youtube.com/watch?v=WZJZkFJ37xU
MIDI synthesizer https://github.com/AlexKaut/PSP_MidiSynth
Example project for working with UART https://github.com/ste2425/PSP-Serial-Example
Connecting gamepads to PSP via BT https://www.youtube.com/watch?v=9r6rsSNpkjs
Video of connecting a MIDI keyboard in 2008, yes, I'm not the first https://www.youtube.com/watch?v=5dN_RP0IBAg
Detailed information about the HPRM port https://mc.pp.se/psp/phones.xhtml

Write comment