- Hardware
- A
Well, how are you supposed to fix that? Strange laptop malfunctions in my experience
Hello, tekkix! This is Anton Komarov, I write for the MTS blog. I’ve already published several posts about repairing various devices—for example, a robot vacuum cleaner that drowned in Valencia, and a mini-PC Intel W5 Pro—which, unfortunately, I couldn’t get working again. I’ve seen dozens of laptops in my time, and I got the idea to share the weirdest laptop breakdowns I’ve encountered. I’d appreciate it if you could add your own stories in the comments—that would make this post even more interesting.
Keyboard and its ribbon cable
What I like most are laptops that won’t turn on or charge—because in this case, there’s a high chance of a short circuit in one of the device’s power lines. That’s usually a quick fix—unless, of course, it’s the processor line, in which case the chip itself might be the issue. But sometimes malfunctions you encounter for the first time can really stump you—you have no idea what’s broken or how to even start fixing it.
So, I got my hands on a pretty advanced Chinese laptop, the Chuwi Herobook Pro. Not a bad workhorse, which became a bit of a hit from Chuwi a few years ago. Here are its specs:
display: 14.1" IPS, 1920×1080 (Full HD);
processor: Intel Celeron N4020/N4100;
graphics: Intel UHD Graphics 600;
RAM: 8 GB LPDDR4;
storage: 256 GB SSD (M.2);
battery: 38 Wh, up to 9 hours of use;
ports: USB 3.0, USB 2.0, microSD, Mini-HDMI, 3.5-mm audio;
wireless interfaces: Wi-Fi 2.4G/5G, Bluetooth 4.2;
operating system: Windows 10;
weight: ~1.39 kg.
The laptop would turn on, try to boot, and immediately switch off. Usually, this happens for a few reasons: a problem with the OS, the drive, the battery, or the BIOS. But this time it turned out to be something else—the culprit was the regular keyboard. I figured this out after disassembling the device, disconnecting all the ribbon cables except the display, and turning it on by shorting the keyboard connector pins with tweezers. The laptop started up and booted just fine.
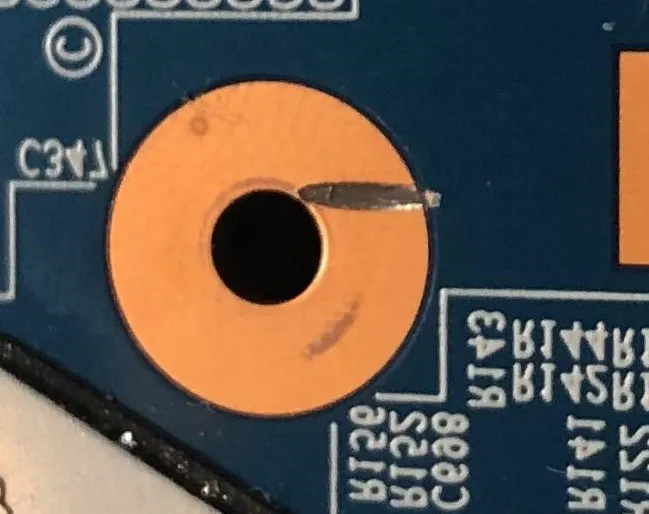
It was obvious what the issue was. The culprit was the power button. It turned out (I found this out after digging online) that over time, the conductive layer in the keyboard degrades and this leads to the power line failing. For the laptop, it’s as if the power button is always pressed. When the user physically presses it, the laptop responds, turns on, but it registers a constant “virtual” press. And, of course, shuts down.
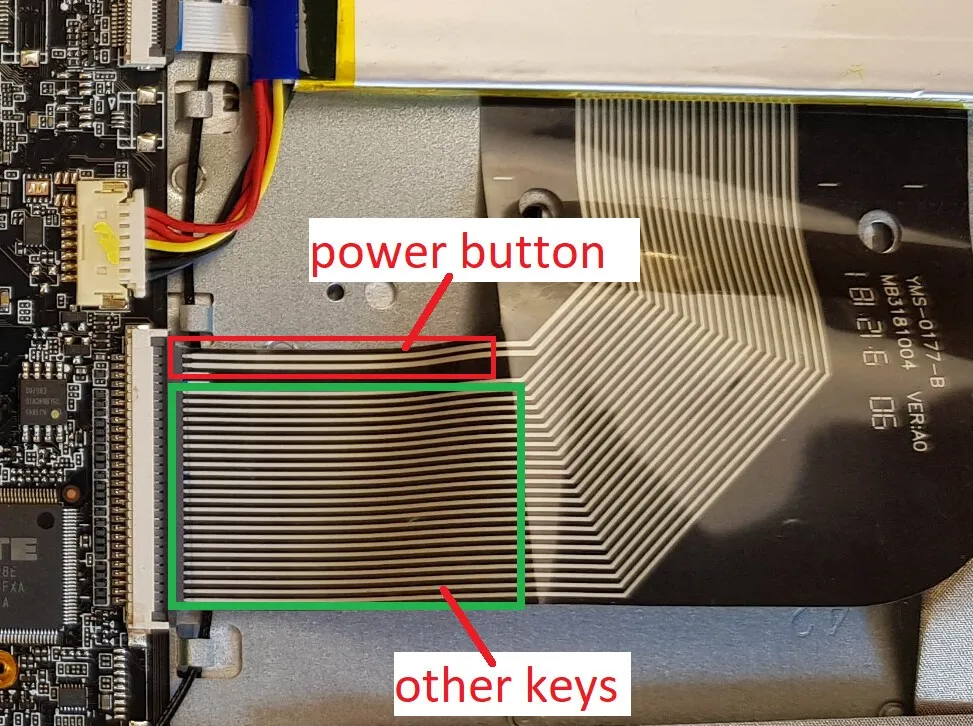
The fix is simple—you need to carefully cut out that black strip just behind the two power button lines and move the narrow part over by one contact. In the end, everything works as it should, and everyone’s happy: the owner—because they don’t need to buy a new keyboard, me—because I was able to fix it quickly. If you have the same problem, give this lifehack a try.
Invisible water
I no longer remember the laptop model, but it doesn't matter, this can happen to any device. The laptop simply wouldn’t turn on. I struggled with it for several hours trying to figure out the cause of the malfunction. I measured the resistances of various components on the board, looked for a short circuit, checked the processor, and inspected the motherboard for signs of liquid damage.
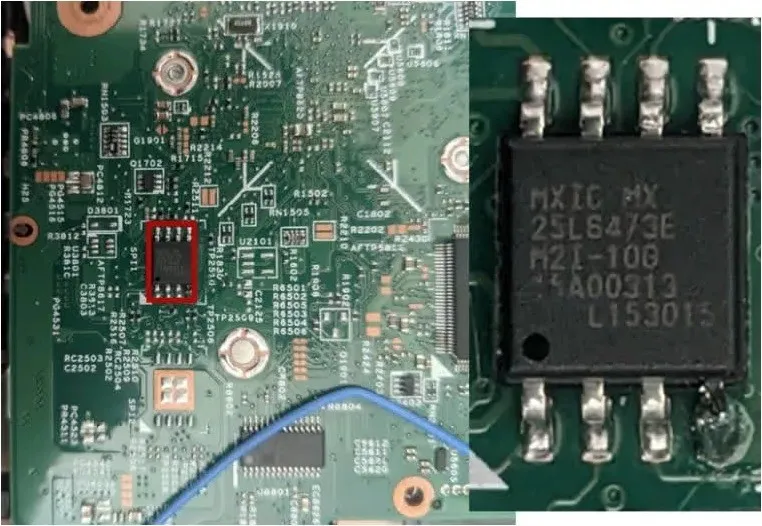
I didn’t find anything, so I put the repair on hold for a while and came back to it a couple of days later. I decided to start with a fresh inspection of the board — and I was right. It turned out that a drop of liquid had once been between the two pins of the BIOS chip (the chip that controls many device functions). What kind of liquid, I can’t tell, but it left a conductive layer of salts. These salts caused a short circuit between the pins, which prevented the laptop from starting up. The damage was so subtle that I discovered it completely by accident.
Of course, the issue could have been detected if I had used an oscilloscope — it would have told me if there was a signal from the BIOS, what type of signal it was, and much more. But I thought I could manage without it, so I went down the standard path. Fortunately, I managed to find the problem, although it took quite a bit of time to localize the fault.
Processor and Windows Boot
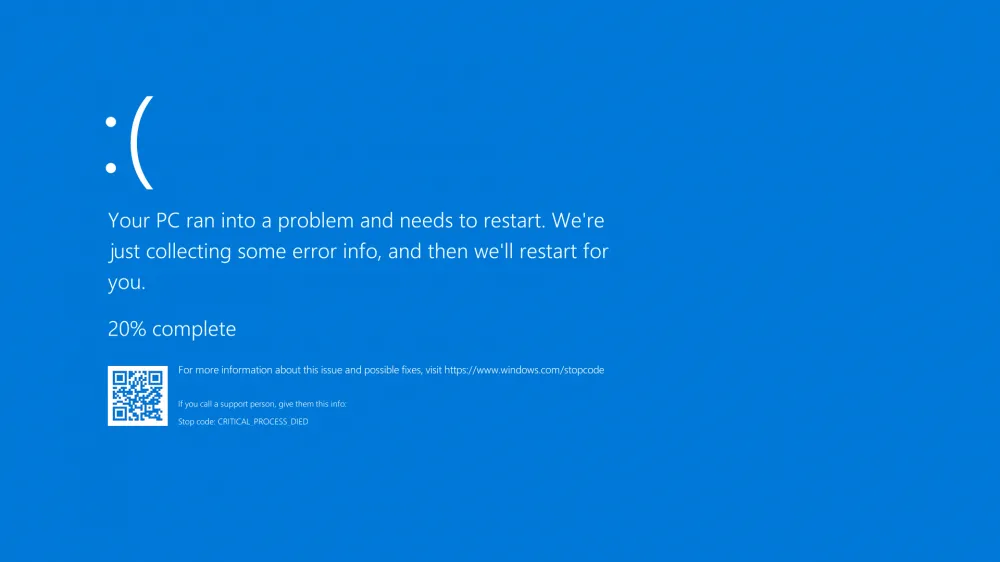
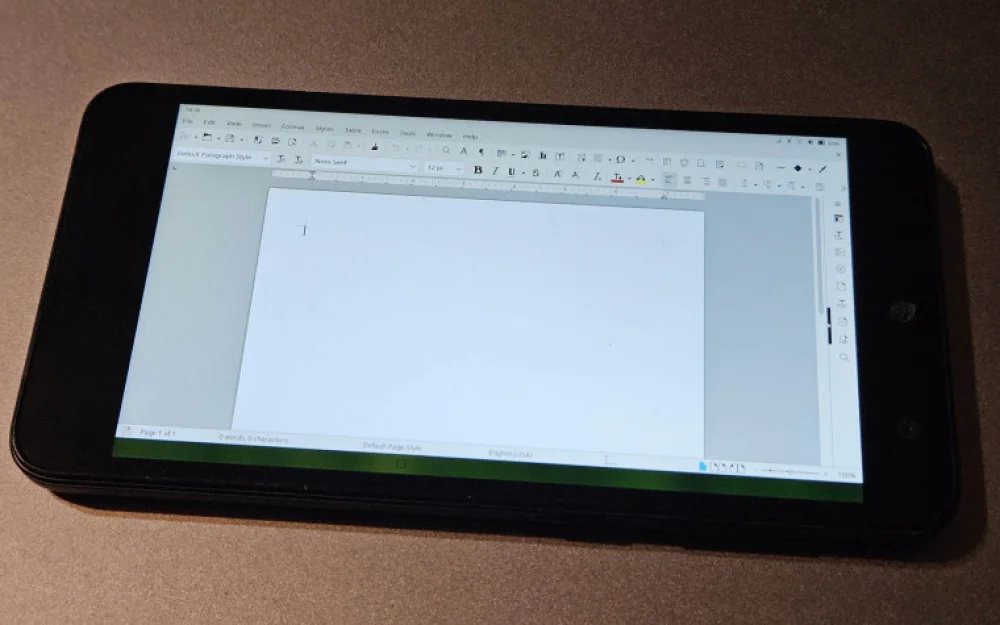
Maybe for some this is a typical failure, but a couple of years ago I encountered it for the first time. Back then, I got a laptop that booted without any issues, began loading Windows. As soon as the screen with the loading circle appeared, the device would crash into BSOD (Blue Screen of Death). As usual, an error code would show up, but it didn’t help at all.
What does a relatively experienced user usually think when facing an OS boot issue? That the problem lies with the operating system or some driver, right? Or that the hard drive is faulty. I tried reinstalling the system — no issues at all. But once the loading screen with that same circle appeared, it would crash into BSOD again. I scanned the disk (using the same LiveCD) — everything was fine. Then I tried booting Linux via LiveCD and encountered the same symptoms.
At this point, it was clear that the problem wasn’t with the OS or the disk. I struggled for a while, thinking the fault would be easy to find — I was sure I’d find it soon. But I didn’t. I started Googling, read through tons of forums, and watched a lot of videos. There are so many potential causes for BSOD — from a meteor passing near Mars to an unsupported processor for the OS.
Then I stumbled upon a video from a technician who explained exactly this kind of problem. It turned out that the issue was a faulty processor, but it was a tricky malfunction — the chip worked, but extremely unstably, certain instructions weren’t executed, which led to the BSOD. The conclusion — the chip needed to be replaced. I replaced it, luckily it wasn’t expensive, and the laptop worked again.
By the way, soon I’ll be posting about how to replace a chip using an infrared station, don’t miss it.
Handmade Fixes
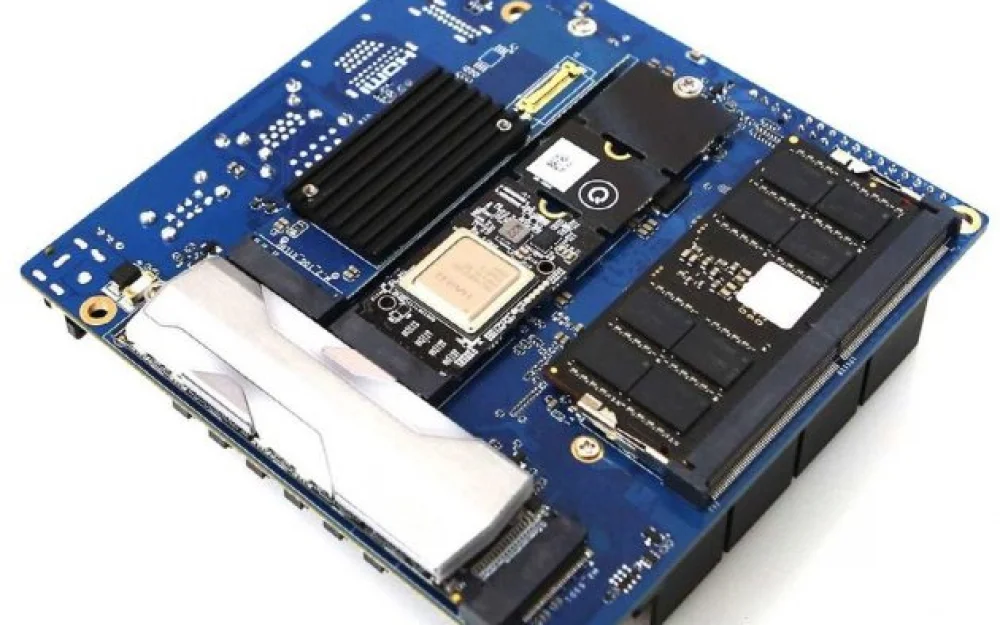
I once bought some parts for a laptop with familiar symptoms — it wouldn’t turn on and wouldn’t charge. On inspecting the board, I didn’t find anything strange. I checked the component resistances — still nothing. I checked the motherboard for a short circuit — again, nothing. That meant the problem wasn’t a typical one, so I decided to examine the board more carefully for microcracks, bad solder joints, and similar issues.
I found a small bit of damage where the cooling system is attached. It looked roughly like the picture below (didn’t take a photo at the time):
Turns out, the laptop owner decided to replace the thermal paste on the CPU (oh, those beginners). Something went wrong with the screwdriver and the screw for the cooling system mount. What was the solution? Of course, just use brute force and try to pry the system up with a screwdriver. In the end, he scratched the board. Normally, this wouldn’t be a big deal, but modern motherboards are multi-layered — traces run not only on the top and bottom, but also between the layers. There can be a lot of them, so even slight surface damage sometimes breaks internal connections. As a result, power doesn’t reach the necessary components and the laptop “won’t start.”
Using the schematic, I tracked where the connections should go. I soldered a jumper wire over the break, replacing the cut trace — and the laptop started working. This was probably the most interesting and unusual case of all I’ve written about.
That’s all the cases for today. If you’ve had any interesting repair stories in your experience, share them in the comments — they might end up being useful for me or other readers one day!


![From Virtual Hands to AI for Survivalists: Curious Open Agent OSes [and One Hardware Project]](https://cdn.tekkix.com/imgs/2026/05/habrcom/big/ce0b1057616faed51cd8b9f3b2b9.webp)
Write comment