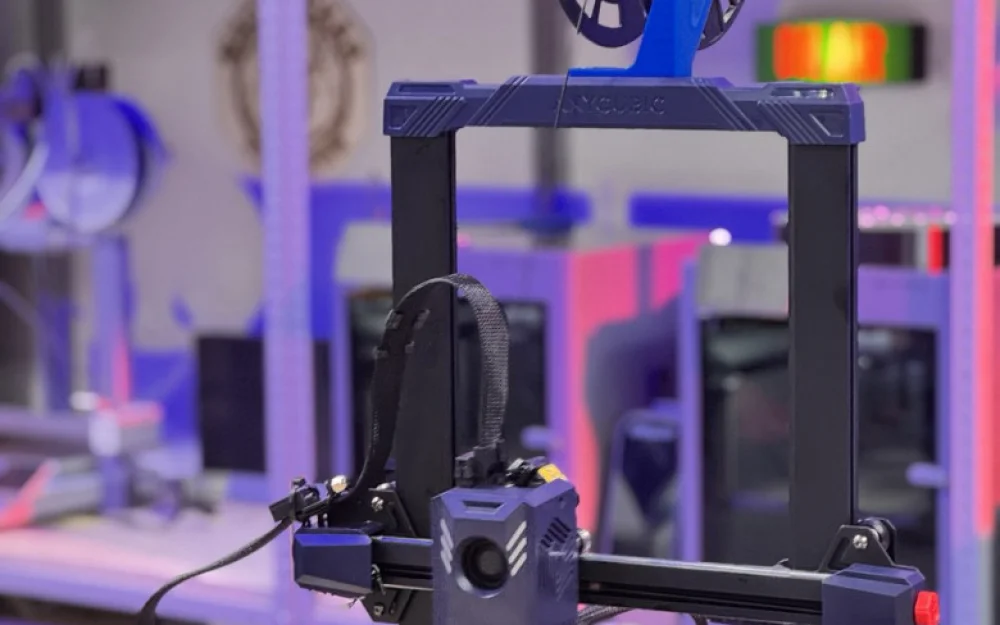
- DIY
- A
Anycubic Kobra 2 Pro: two days, a kilogram of plastic and the illusion of savings
"What are you always fixated on Bambu? There are other good printers too — and cheaper." That's basically what they told me when handing over the Anycubic Kobra 2 Pro for testing. Well, okay. I'm an open-minded person — give me the hardware, give me time, and I'll give you an honest verdict.
Kobra 2 Pro is a bed-slinger with a claimed build area of 220×220 mm and speeds of up to 300 mm/s (marketing claims, of course). On paper, it’s a competitor to the Bambu Lab A1 Mini: bigger bed, lower price. It seems like a clear win for the Kobra. Spoiler: no. But let’s go in order.
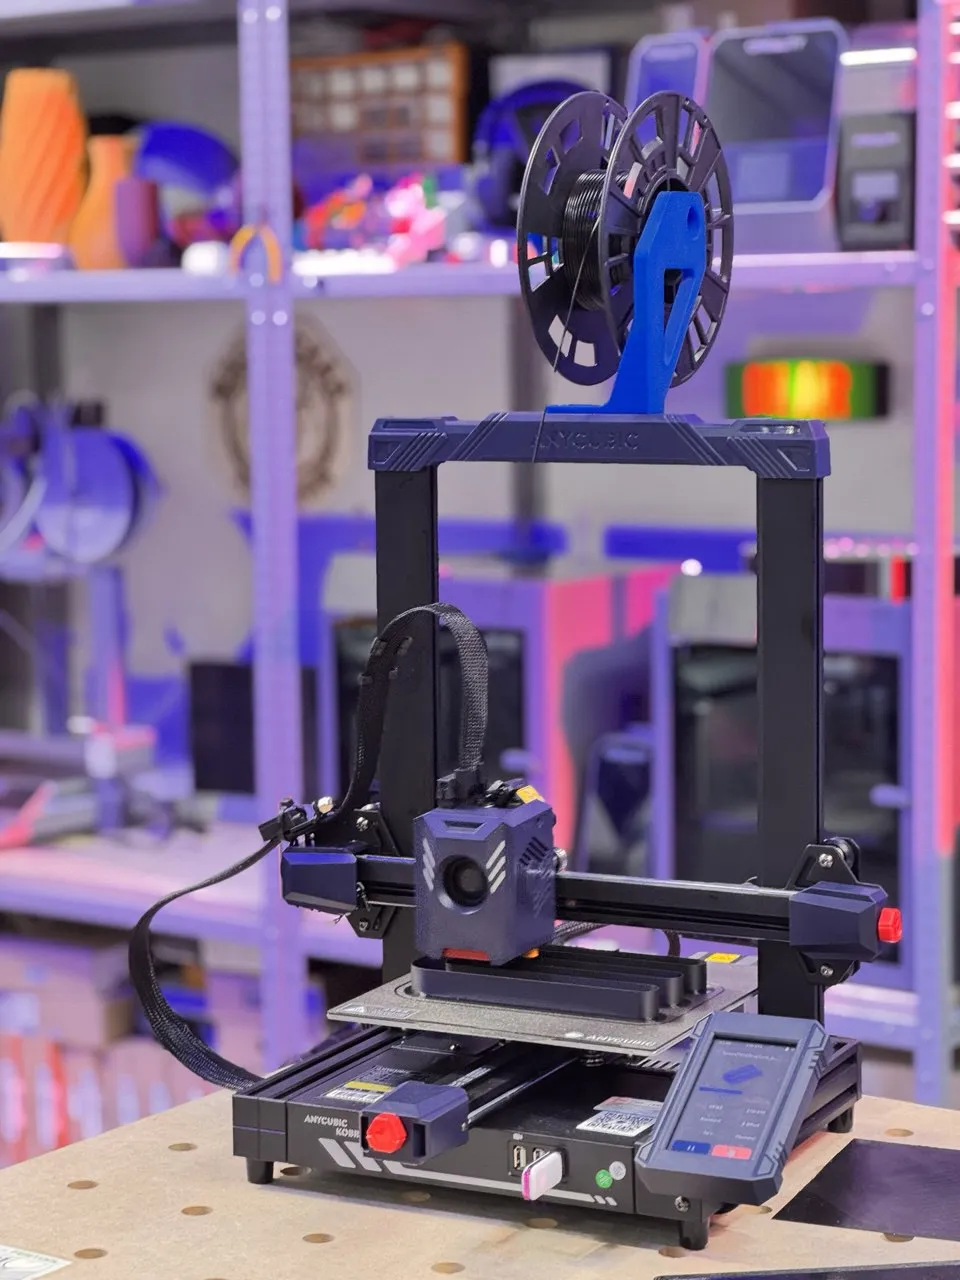
Assembly took about twenty minutes — nothing complicated, all typical for printers of this class: attach the portal to the base, connect the cables, tighten the belt. I ran the benchmark from a flash drive. It printed quickly, and the quality at first glance was decent. At that moment, I almost believed that for less money, you could get comparable results.
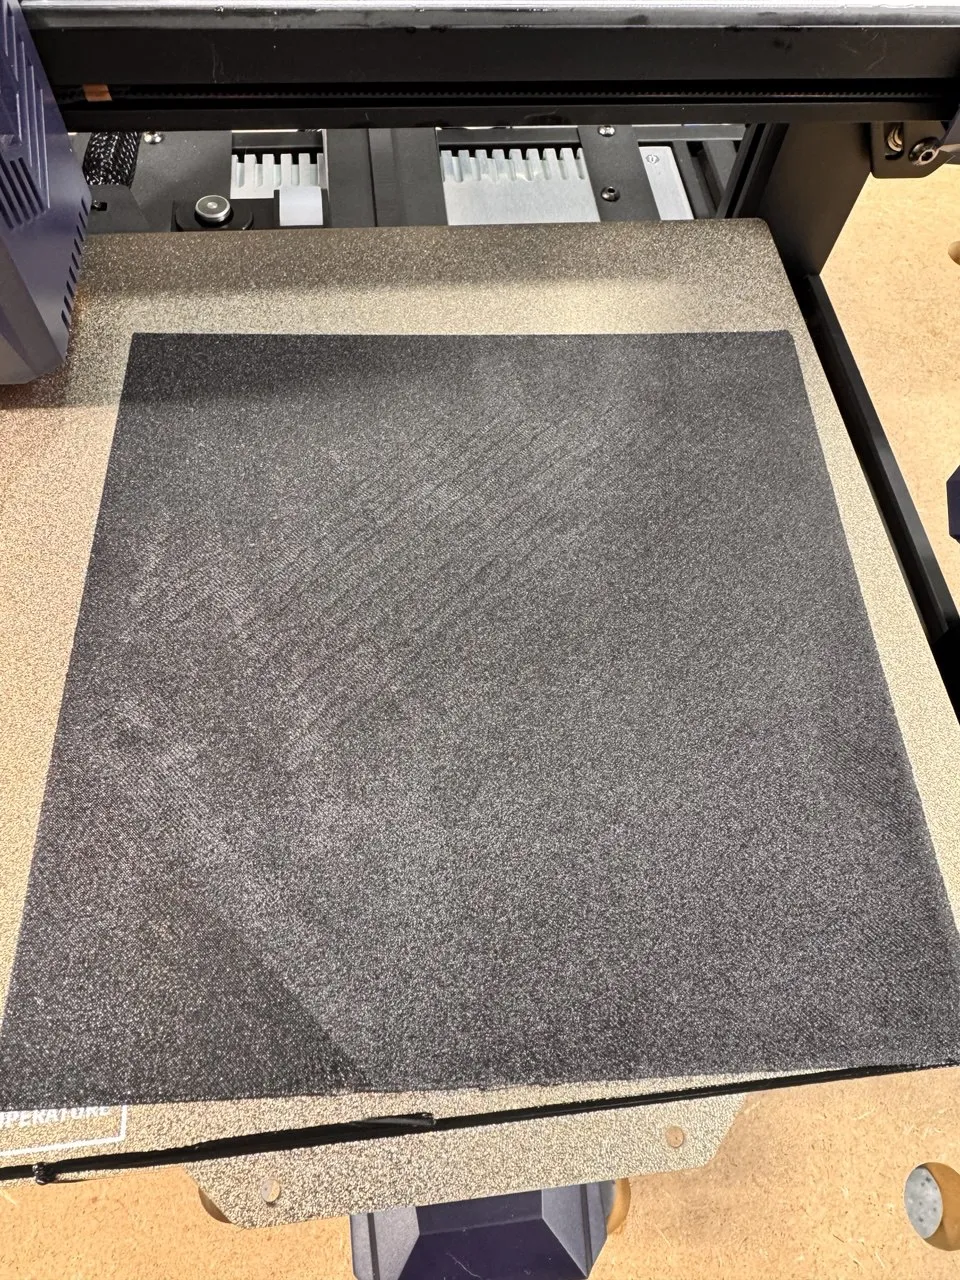
But we’re not writing marketing brochures here. We’re testing. And the testing began exactly when I started my own test for maximum flow — and the first layer turned into a farce. On one side of the bed, the plastic wouldn’t stick, while on the other, the nozzle was almost tearing off the PEI coating. Monolayer? Forget it — not even close. And that’s when the real adventures began.
Problem Analysis: What Went Wrong
X-Axis Misalignment — 2.5 mm Height Difference
First, I played around with the Z-offset — useless. Tightened and loosened the four bed mounting screws — even more useless. Then I decided to check a fundamental thing: the parallelism of the X-axis relative to the bed.
The height difference between the left and right sides turned out to be 2.5 mm. Two and a half millimeters. To understand the scale: the thickness of a standard print layer is 0.2 mm. A misalignment of over twelve layers — this is not a “deviation within tolerance,” this is a design flaw in the assembly, where normal printing is simply impossible.
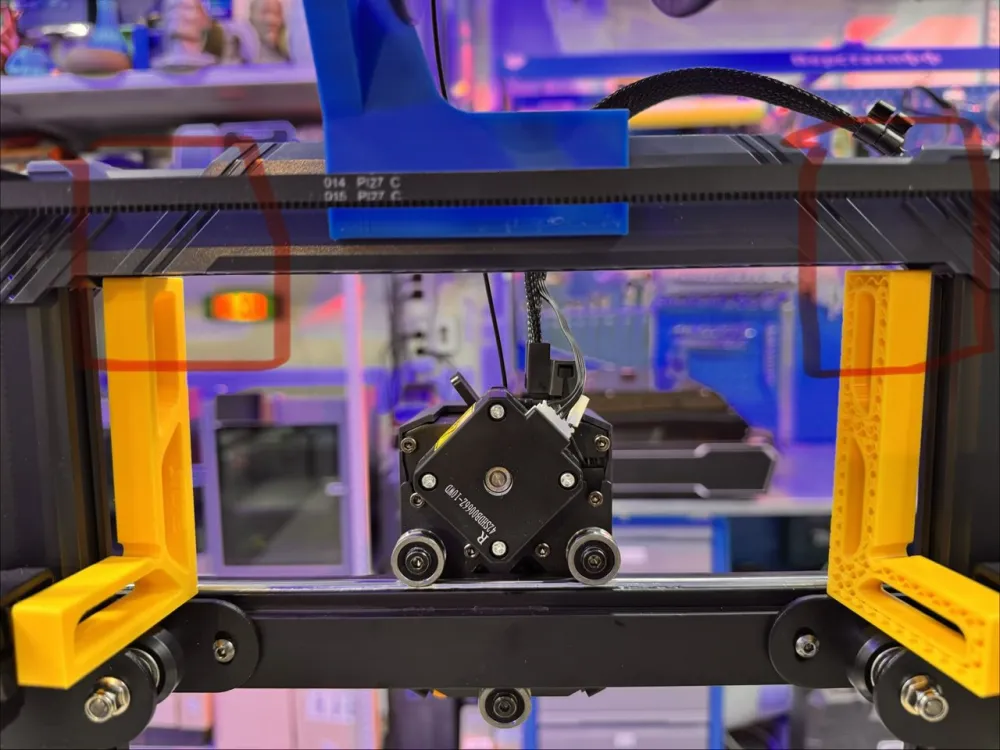
Solution: I printed two calibers on another printer (the difference between them is three hundredths of a millimeter, which doesn’t matter for this task). I placed them between the X-axis and the upper crossbar of the gantry, loosened the washer mounts on both Z-screws, achieved equal height on both sides, and fixed them. This took about an hour — considering that everything had to be carefully tightened back without disturbing the result. I ran a single layer — voilà, the layer is there. Not perfectly "bamboo-style," but it’s there.
Z-offset Auto-calibration: a printer that calibrates itself incorrectly
The Kobra’s auto-calibration stubbornly sets the Z-offset in the range of −1.8…−1.9 mm. Using the method of successive approximation (printing a single layer → evaluation → adjustment), I determined the correct value: −1.63 mm. A difference of 0.17–0.27 mm is significant. For the first layer, which everything else depends on, such an error is critical.
A printer that calibrates itself incorrectly is, of course, a story on its own. Especially when the marketing materials say “automatic calibration.” The word “automatic” implies that the result will be correct. Here, the automation consistently misses, and the user is forced to fix it.
Flow adjustment and network printing
Without manual flow calibration, the single layer was “mediocre” — under-extrusion in some places, over-extrusion in others. The standard dance: print a test pattern, measure, adjust the multiplier, repeat. Each iteration — twenty minutes. Five such iterations were needed.
A separate pain — network printing. Anycubic Slicer stubbornly refused to send the job “over the air.” The printer is visible on the network, the slicer finds it, but when sending the file — silence. Reinstallations, restarts, tinkering with network settings — eventually it worked, but a bad taste remained. For a printer marketed as “plug and print,” this is too much.
Closed ecosystem and invisible height map
But the main problem of the Kobra 2 Pro is not in the hardware. Hardware can be set, adjusted, tightened. The main problem is in the software, or more precisely — in its total closedness.
Bed mesh: data exists, no access
The printer performs auto-calibration before each print — it probes the bed, builds a height map (bed mesh), and uses it to compensate for unevenness. Sounds great. The only problem is that this map can't be seen anywhere.
Neither on the printer screen, nor in the Anycubic App, nor in Anycubic Slicer — there's no bed mesh visualization anywhere. The printer knows your bed is uneven, but it won't tell you about it. You can't look at the map and figure out: is the problem the bed? The sensor? The calibration settings? There's no answer — just silence. Imagine a navigator knows the route but shows you a blank screen. That's roughly how it feels.
No web interface. No SSH. No API.
Let's try to access the printer through the browser using its IP address. Nothing. Silence. There's no web interface — not Mainsail, not Fluidd, not even a simple status page.
SSH? No. Moonraker API? No. USB port for local connection? No. G-code console for diagnostic commands? No.
Printer control — only through the touch screen or through Anycubic's cloud service. That's it. No diagnostic tools, no extensibility, no access to the internals. If something doesn't work — your only debugging tools are your eyes and calipers.
KobraOS = Klipper, but in a cage
The most ironic part: under the hood, Kobra 2 Pro runs KobraOS — a modified Klipper. The very same Klipper that's known for its openness, flexible configuration, powerful API, and active community. Anycubic took an open-source engine and packed it into a closed shell.
The printer.cfg file — the core of Klipper configuration — exists inside the printer, but it's inaccessible to the user. BED_MESH_OUTPUT, BED_MESH_CALIBRATE, QUERY_ENDSTOPS commands — all of this exists in the firmware, but there's nowhere to send them. A fully functional tool, deliberately crippled by the manufacturer.
For an experienced user, this is like a car with a welded hood. The engine is there, but you can't look at it. You can't check the oil. You can't change the spark plugs. "Just drive to our authorized service."
Why is this critical? Because without access to bed mesh, it's impossible to understand why the printer prints poorly. Without printer.cfg, it's impossible to fine-tune pressure advance, input shaper, or the number of calibration points. Without a console, it's impossible to diagnose problems. You are a hostage of what the manufacturer considers "sufficient."
Solutions and Workarounds
⚠️ This section contains firmware hacks — use at your own risk. Warranty may be voided. The author is not responsible for printer damage.
Rinkhals: freedom via USB flash drive
Rinkhals is a custom firmware for the Anycubic Kobra series, developed by enthusiasts. It is not a complete replacement for KobraOS, but an add-on: all standard Anycubic functions are preserved, but it adds what has been missing.
What Rinkhals provides:
Mainsail / Fluidd — a full-featured web interface via the printer’s IP
Moonraker API — for external clients and automation
SSH access (root:rockchip)
Bed mesh visualization — 3D graph and numeric table
G-code console — send any Klipper commands
OTA updates, support for OctoEverywhere, Tailscale, OctoApp
Touch UI on the printer screen via Rinkhals WebUI
Installing Rinkhals
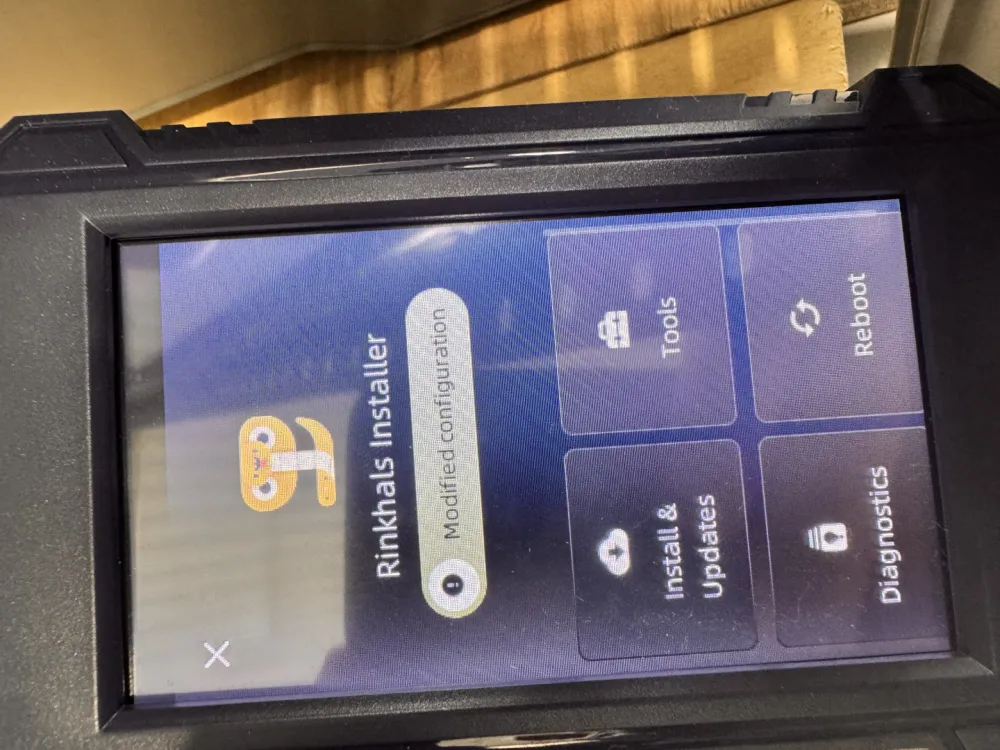
On paper, it looks like “put the file on a flash drive — here’s your web interface,” but in reality, the Kobra 2 Pro has a few important “buts.”
First, you will need to roll back the printer to stock KobraOS 3.1.2.3 firmware specifically for the Kobra 2 Pro (not Plus/Max) and make sure the board is Trigorilla Spe B v1.0.x: this combination is considered by the Rinkhals author to be functional and predictable.
From GitHub Releases, take
installer-k2p-k3.swu(notupdate-k2p-k3.swu), rename it toupdate.swuand put it on a small flash drive formatted as FAT32/MBR, in the folderaGVscF9zb3Nfin the root.Turn off the printer, insert the flash drive, turn on the power, and wait: a beep, the update progress bar, then a green strip and two “beeps” — this indicates the package has been applied.
After reboot, a new menu item appears: Rinkhals/Advanced/Installer — through it, the layer is activated, the network is configured, and the web interface (Mainsail/Fluidd) opens via IP.
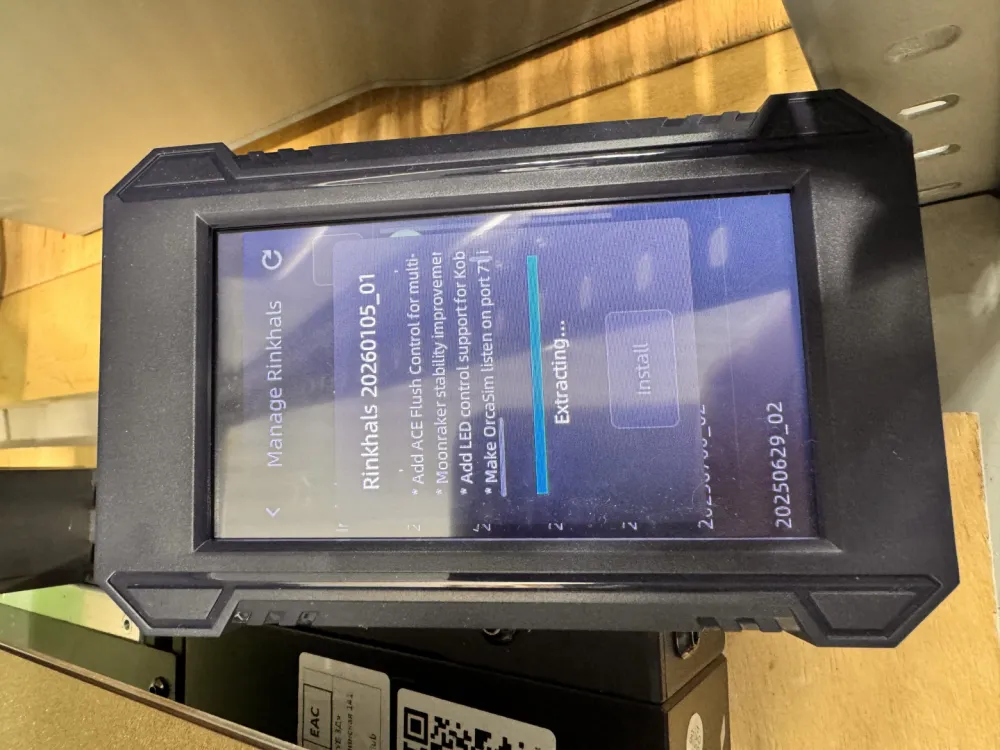
Risks, rollback, and common sense
Installing Rinkhals is still third-party firmware, even if it is installed through the native update mechanism.
Anycubic officially does not know about Rinkhals, so warranty-wise you are always “slightly in the gray area,” especially if something goes wrong during the update process.
If the installer doesn’t start (no progress, the Rinkhals menu never appears) — you will have to investigate using the installation logs on the flash drive and, possibly, repeat the procedure.
In case of a complete failure, the only real “plan B” is to reflash the printer with the official
update.swufrom Anycubic/mirrors (the same 3.1.2.3 or a newer version), if it still boots into update mode.
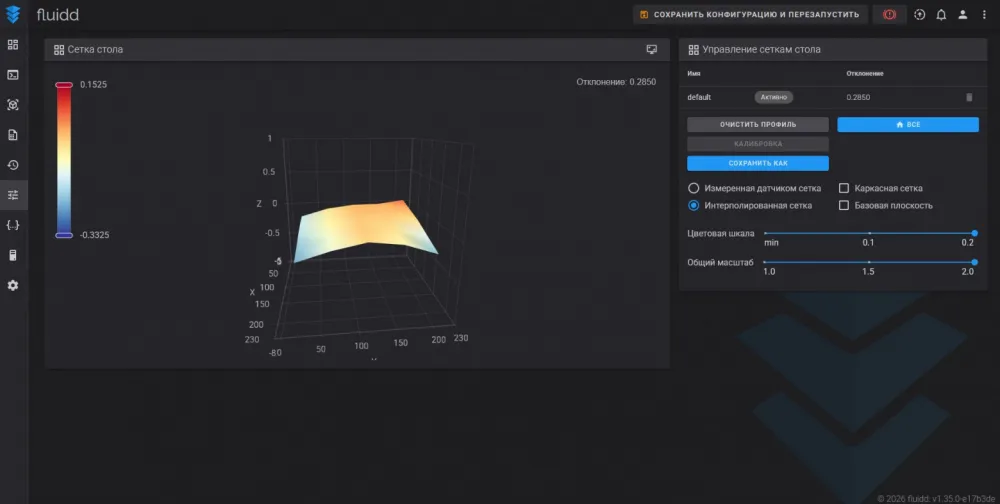
After all the dance with the flash drive, rollback to 3.1.2.3, and installing the Rinkhals installer, the printer finally stops being a “black box”: Fluidd and Mainsail open easily via IP, and in the web interface, among other things, something suddenly appears that Anycubic so persistently hid — a proper bed mesh view.
In my case, this is where the main discovery emerged: the height difference across the bed of this Kobra 2 Pro is approximately 0.285 mm, and this is no longer an abstract feeling of “something’s off with the first layer,” but a concrete number that can be used further in tests and settings.
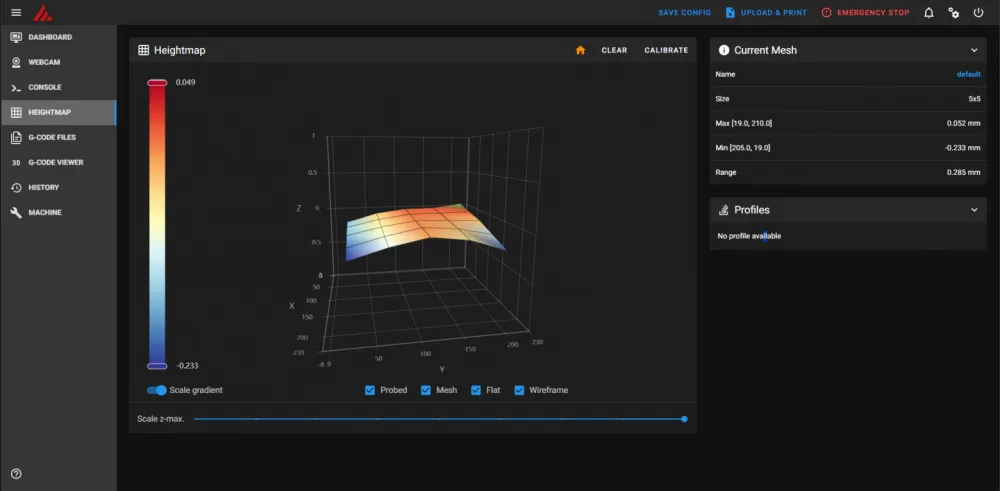
In the Mainsail console, all key Klipper commands for working with bed mesh are available:
Command | Description |
BED_MESH_CALIBRATE | Start bed calibration |
BED_MESH_OUTPUT | Output numerical height map data to the terminal |
BED_MESH_PROFILE SAVE=name | Save the current height map profile |
BED_MESH_PROFILE LOAD=name | Load a previously saved profile |
BED_MESH_CLEAR | Clear the current mesh |
Additionally: via the Moonraker API (bed_mesh/dump_mesh), you can get a full data dump — useful for automation and external visualization tools.
Important: Rinkhals allows editing printer.custom.cfg (not the main printer.cfg!) — you can add calibration points, change the interpolation algorithm to bicubic, and adjust other parameters.
Alternative: complete replacement with Klipper + Raspberry Pi
For hardcore users, there's a radical option: completely flash the mainboard with klipper.bin file and connect an external host (Raspberry Pi, old laptop) with the full Klipper + Moonraker + Mainsail stack. This gives absolute control — printer.cfg, input shaper, pressure advance, any macros. But you lose all Anycubic stock functions, the process is complex and risky. For most users, Rinkhals is the optimal balance.
Economics: cheap entry ≠ cheap exit
Let's calculate. Not marketing numbers from the shelf, but real ownership cost — considering consumables and time spent.
Kobra 2 Pro: 22,000 ₽ (printer) + 1,300 ₽ (kilogram of plastic for setup and tests) + 2 full working days for debugging. If you value the time at least at the minimum IT specialist rate, that's another 5,000–10,000 ₽. Total: 28,000–33,000 ₽.
Bambu Lab A1 Mini: 25,000 ₽. Prints out of the box. With correct auto-calibration and working network connectivity.
Parameter | Anycubic Kobra 2 Pro | Bambu Lab A1 Mini | Bambu Lab A1 |
Price (RUB) | ~22,000 ₽ | ~25,000 ₽ | ~35,000 ₽ |
Table (declared) | 220×220 mm | 180×180 mm | 256×256 mm |
Actual working area | ~190×190 mm | 180×180 mm | ~250×250 mm |
Out-of-the-box printing | No (2 days of setup) | Yes | Yes |
Auto-calibration Z-offset | Incorrect | Works | Works |
Web interface | No (only with Rinkhals) | No | No |
Camera | No | Yes | Yes |
Double-sided plate | No | Yes | Yes |
Bed mesh visualization | No (only with Rinkhals) | Limited (Bambu Studio) | Yes (Bambu Studio) |
Eco-system | Closed (KobraOS) | Semi-closed (Bambu Studio) | Semi-closed |
Custom firmware | Rinkhals | — | — |
As can be seen from the comparison table, the claimed advantage of the Kobra in table size practically shrinks to a few millimeters on each side, while the A1 Mini’s configuration wins in several areas — from correct calibration to print monitoring. When recalculated to rubles per actual square centimeter of the working surface, the gap nearly disappears.
The arithmetic is harsh but fair: the hidden cost of owning a "budget" printer can exceed the cost of a "premium" competitor, which simply works. The price on the box is just the first payment, and you'll only see the full check afterward.
Field Test and Results
After all the adjustments — a combat test. I took the robot model, split it into two parts without any modifications: didn’t change tolerances, didn’t add gaps, didn’t adjust anything in CAD. All the body parts were printed on the Kobra (yellow plastic), all the joints — on the Bambu P2S (blue plastic). The robot assembled perfectly: parts from two different printers fit together without play and without adjustment — the best proof that the calibration ultimately succeeded. The single layer now also works on the first try.
Kobra 2 Pro is capable of delivering decent quality, comparable to competitors one and a half to two times more expensive — but only after manual tuning of the mechanics, Z-offset, and flow. Without these rituals, the printer remains a beautiful box with marketing promises. Moreover, the tuning is one-time: after setup, the printer consistently maintains parameters from print to print. The problem is not the reliability of the hardware, but that the factory quality control and software fall short of the claimed level.
Who Kobra 2 Pro is suitable for: experienced users willing to spend time on setup, capable of working with mechanics, and not afraid of custom firmware. If you enjoy the process of fine-tuning — Kobra provides room for experiments and a good result in the end.
Who it is NOT suitable for: beginners, those who value time over money, and those who need a printer that works straight out of the box. Here you’ll pay twice: in money and in time.
Conclusion
Kobra 2 Pro put me in an awkward position: what should be considered the price of the printer? If only the number on the price tag — Kobra wins. If you sum up everything I invested in it — hours with a screwdriver and calipers, a kilogram of test filament, nerves while struggling with the slicer — the advantage disappears.
I don’t regret the time spent: the printer taught me things that Bambu does for the user unnoticed. Now I better understand bed-slingers’ mechanics, know how bed mesh works internally, and can diagnose first-layer issues in a minute. But I can only recommend Kobra to those who pursue 3D printing for the process, not just the result. Others should ask themselves a simple question: what is more valuable to you — three thousand rubles or two working days?
Rating: 6 out of 10. Hardware gets a seven, software a three. Rinkhals pushes it up to a solid six — without it, the score would be even lower.
Question for you: How many hours are you willing to spend setting things up for the sake of saving money? Where do you draw the line between "hobby" and "wasting time"? Share in the comments — let's see how divided the opinions are. And yes, if you have experience with Cobra or other budget printers — write, and we’ll compare.
Write comment