- Hardware
- A
Homemade NAS on ARM. Part 1
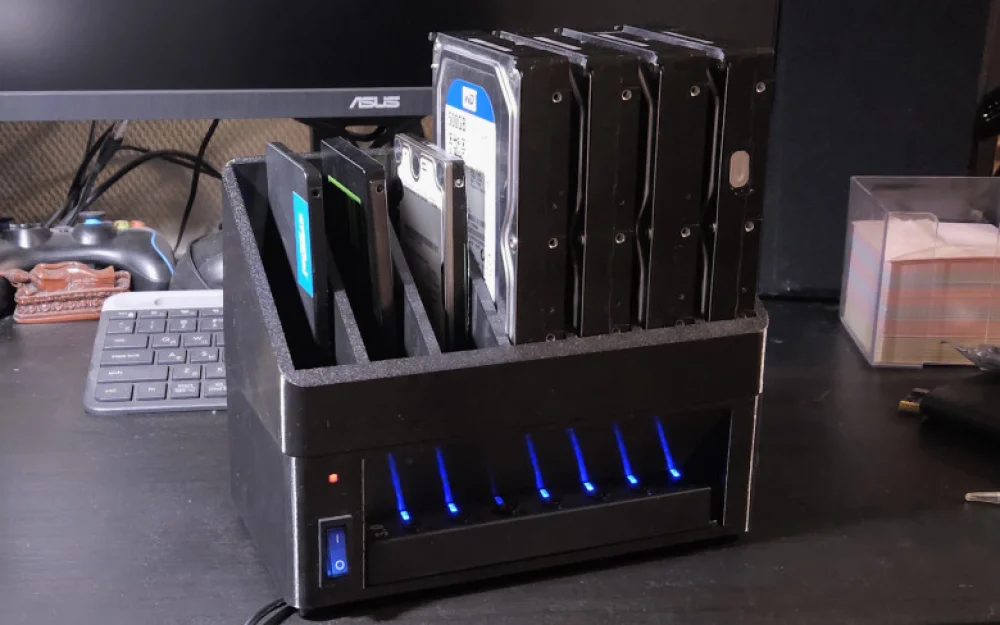
As a hobby project, I wanted to assemble a simple home NAS with 7 drives based on a single board computer.
In this article, I will talk about the "hardware" part of the project:
list of components for assembly,
case,
nuances during assembly,
installation of the operating system.
In the second part, I plan to share my experience using such a NAS server and the software for working with it.
Introduction
Over the past 10 years, I have accumulated a large number of old HDDs and SSDs. It's a pity to throw them away, and using them for any serious task is impractical and unsafe. Additionally, I have long wanted to work with a single-board computer based on an ARM processor. Thus, the idea of building a NAS server using these components was born.
I plan to use the NAS for archival storage; I don't have specific speed requirements for the server. Therefore, the simplest configuration was chosen. I'm interested in the process of construction itself, and the result is not that important. It's essential to consider this aspect, as many may question the practicality of such a build.
Choosing Components and Configuration
Connecting Disks
For connecting the disks, I chose the simplest and cheapest option - a USB-tekkix with 7 ports and 7 USB-SATA adapters.
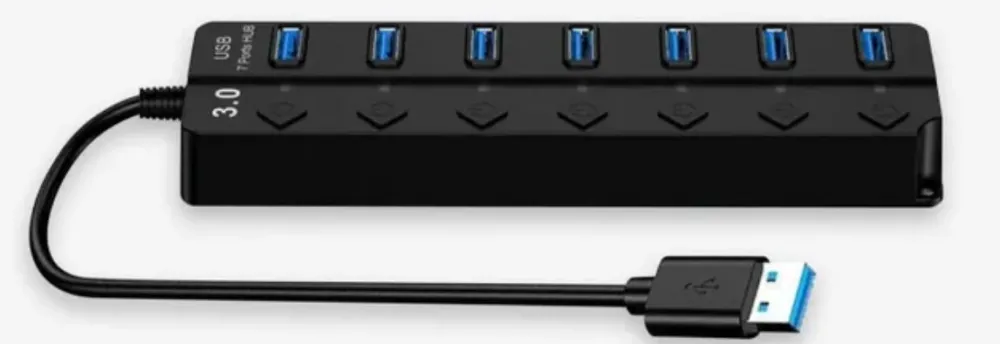
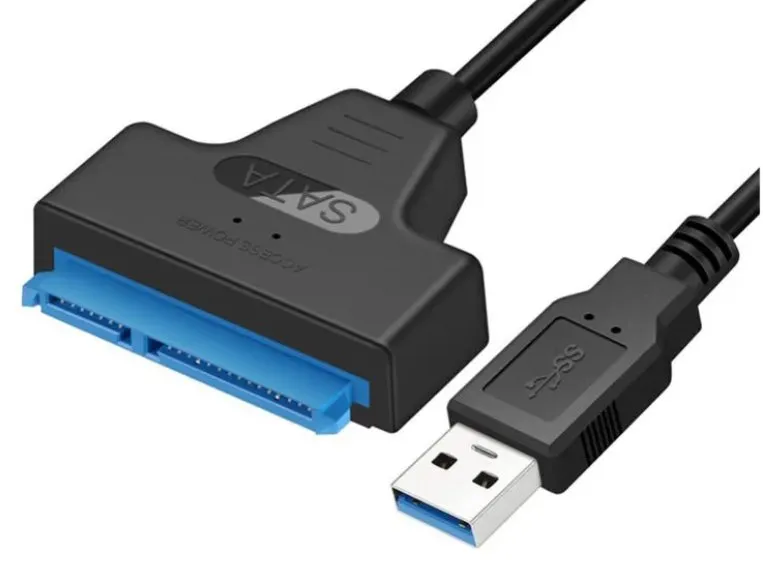
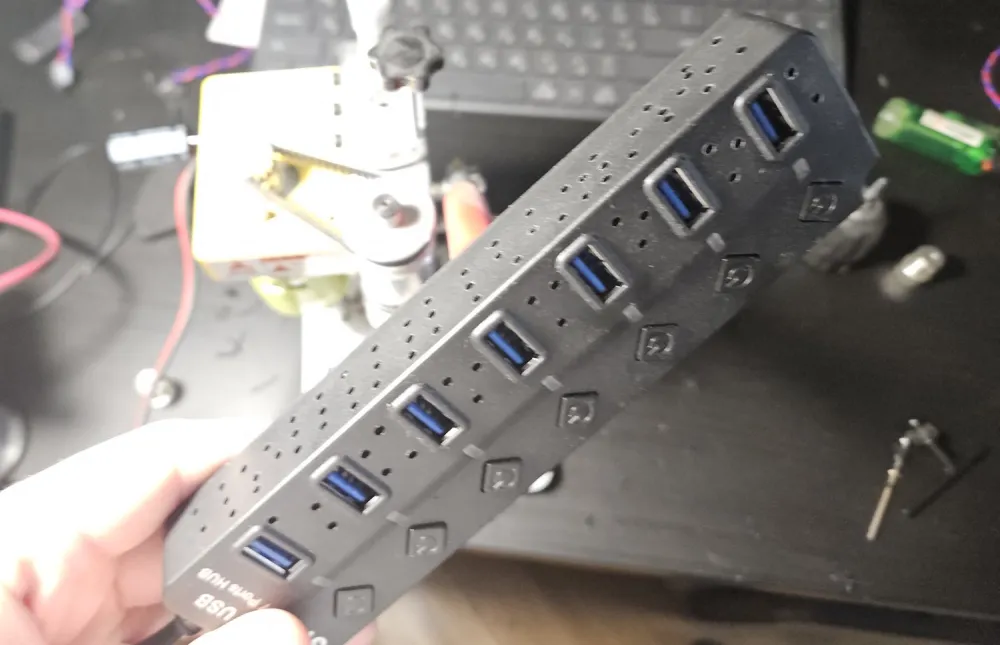
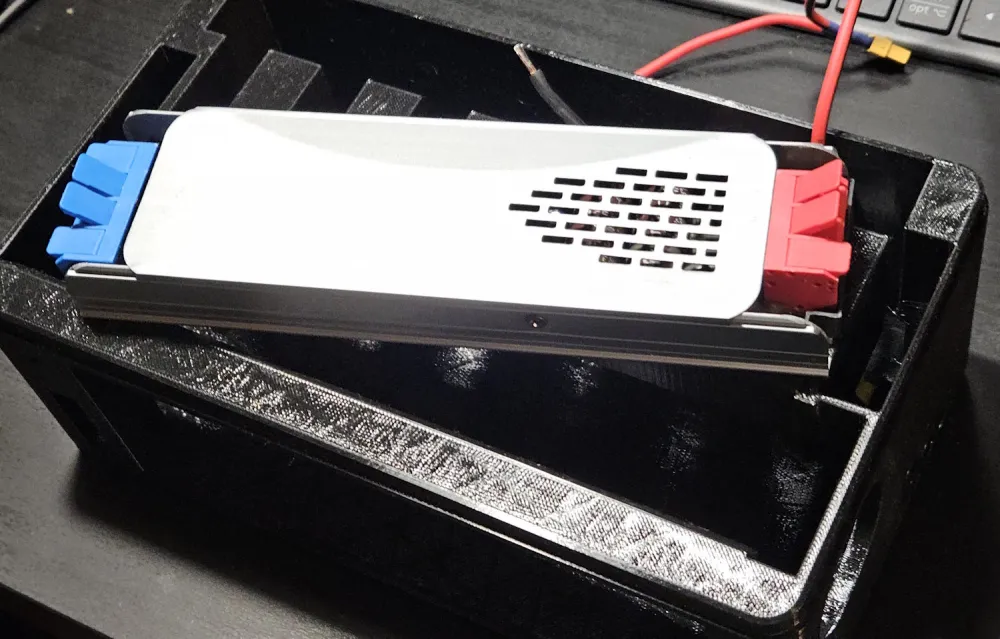
I chose a simple USB-tekkix so that it would fit my case and be easy to install. I wanted to have power buttons leading to the external panel, which would allow for individual disk shutdowns and hot-swapping. I selected a tekkix with USB 3.0 support, but it turned out to have only one 3.0 port. To improve its reliability, I made several holes in it for cooling.
Single-Board Computer
For the single-board computer, I had very simple requirements: Wi-Fi, compactness, and USB-C. I settled on the Raspberry Pi Zero format and even wrote a comparative article about it to simplify the choice. The optimal option for me was the Orange Pi Zero, but I decided to pay a little more and chose the Banana Pi M4 Zero with 2 GB of RAM and built-in eMMC of 8 GB. I thought that eMMC might be necessary for stable operation, as the Orange Pi lacks eMMC.
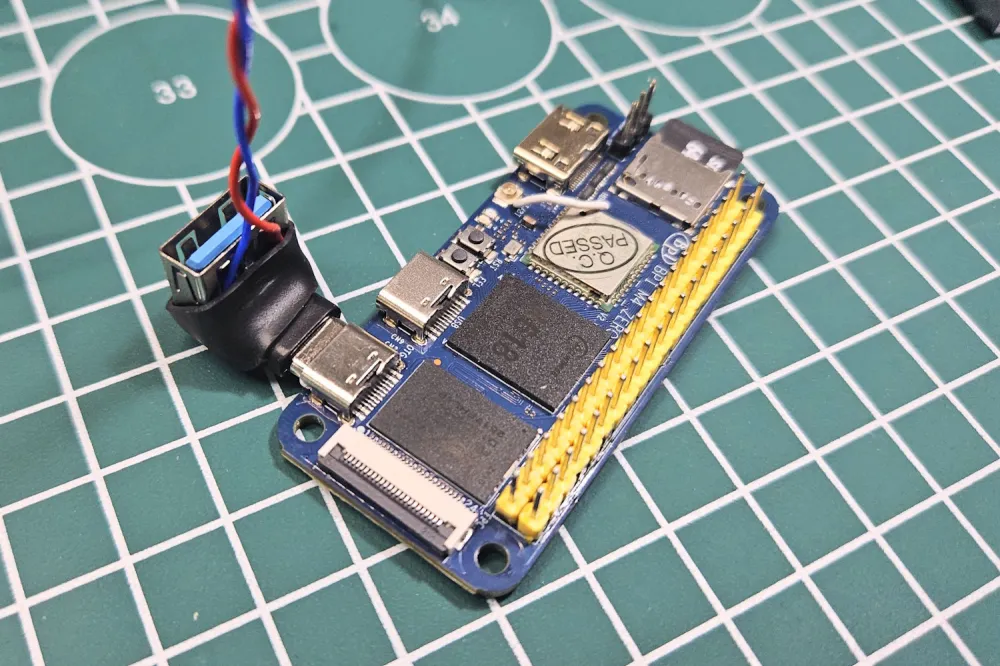
When choosing a single-board computer, I only looked at the specifications. Now I would add one more important aspect: there should be an available open stable Linux distribution for the single-board computer. If the selected model only has Chinese images from the manufacturer, it's better to avoid that model. This time I was lucky — there is an Armbian distribution available for the Banana Pi M4 Zero.
The single-board computer came without a comb, and its contacts were dark-colored, as if covered with some lacquer. Soldering the connector was quite challenging. As a Wi-Fi antenna, I simply soldered a small pin.
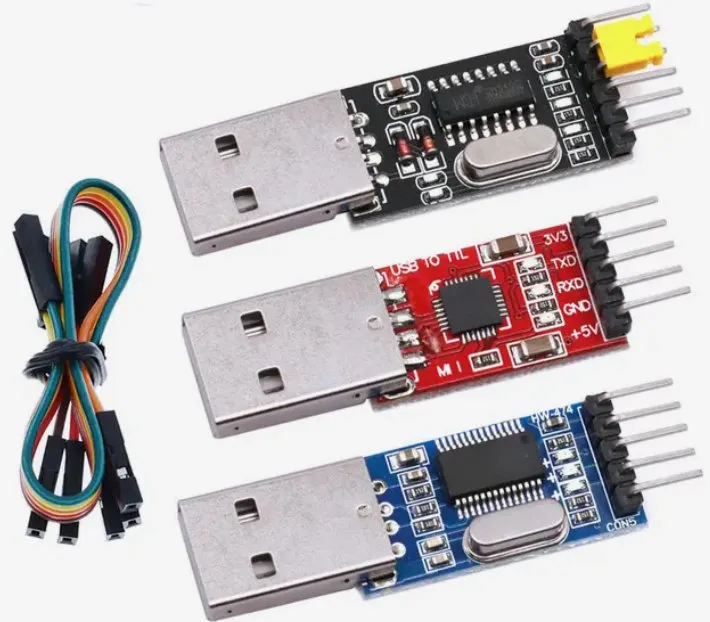
For the first launch, a USB–TTL adapter will also be required to connect to Wi-Fi without a monitor.
Power Supply
In my server, it is necessary to provide 12 V power for hard drives and 5 V for powering the board and USB devices.
For 12 V, I chose a power supply from LED lamps rated at 16 A - it fit well in size. For my setup, 10 A would have been sufficient, but I took the maximum that fit in dimensions. This will help reduce heating and increase reliability.
A lamp power supply is not the best choice: they are not the most reliable, and their output voltage has ripples that can damage hard drives. To reduce the ripples, I added a large 22 µF capacitor and a current-limiting resistor that acts as a filter. To supply power to the USB–SATA adapters, I used a factory adapter with 8 plugs from surveillance systems.
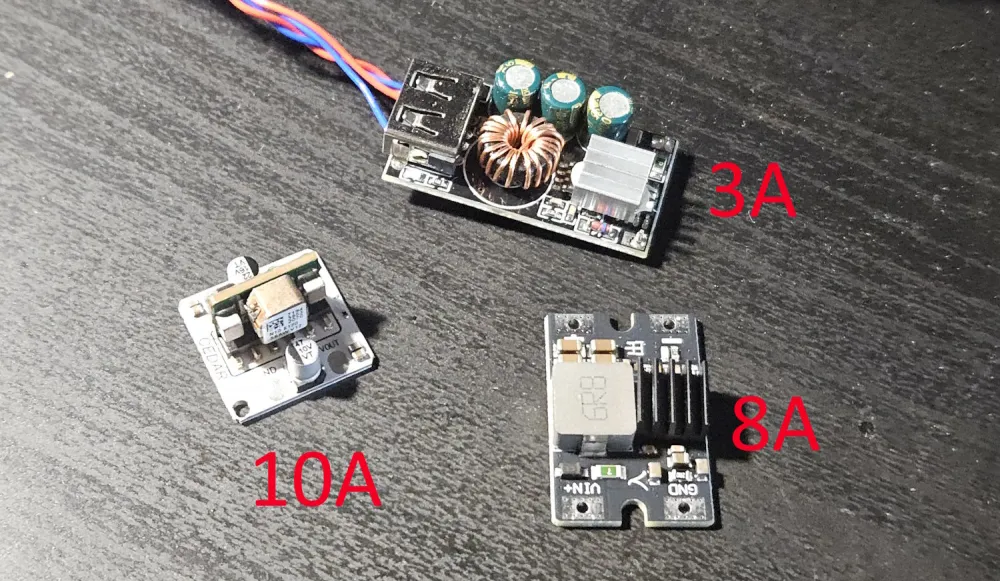
I generate 5 V from 12 V. For this, I installed a DC-DC converter. I had three options: with a 3 A USB port, an 8 A option, and a 10 A option with an advanced control board. Initially, I chose the 3 A option - it has a sufficiently large inductance and hardly heats up. However, it goes into protection at 3.5 A, and it may not be enough when multiple drives start simultaneously. The 10 A converter is good for high currents, but it has high idle power consumption - almost half a watt. In the end, I opted for the middle option of 8 A: it has good efficiency and low losses up to 3 A, and it can withstand a brief starting pulse. I also added a 1 mF capacitor to the 5 V line.
Case and Assembly
I designed and manufactured the case using a 3D printer. It contains a socket for a 220 V power cord, a power button, an indicator LED, a fan, and holes for mounting rubber feet. The USB-tekkix is routed to the side so that it protrudes halfway out of the case - this allows pressing the buttons on it.
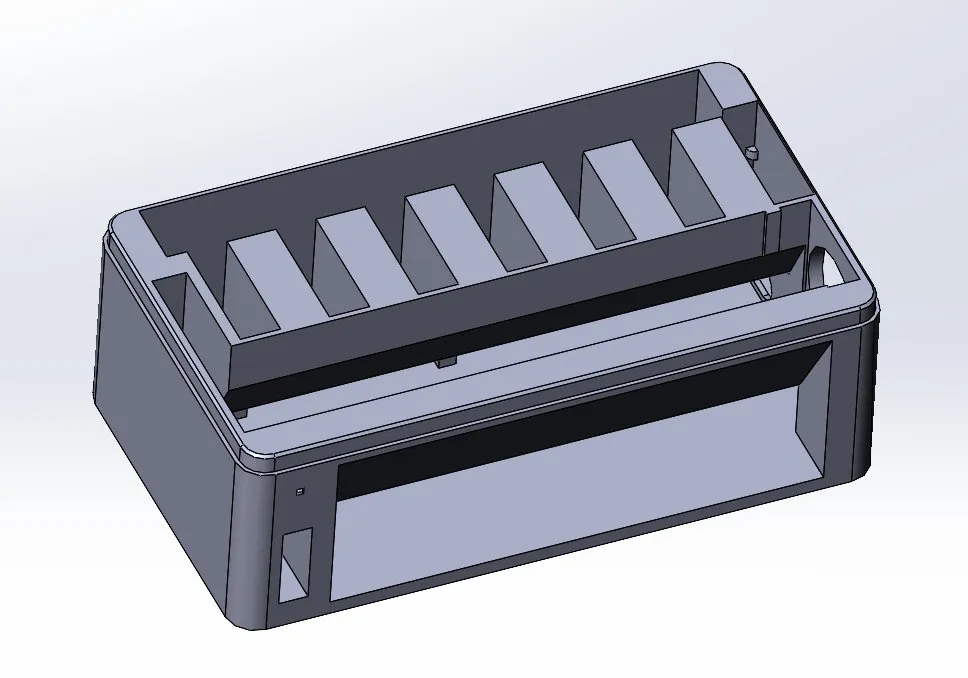
The two-color LED is connected to the pins of the single-board computer through current-limiting resistors. It will indicate the operational status and errors of the server with green and red lights.
I connected the 12 V fan directly to 5 V so that it operates silently. Initially, I wanted to implement fan control, but there was neither space nor motivation for that. I also planned to install two fans at the bottom - for this, the case was raised on rubber feet - but after trying it out, I realized that it wouldn't be possible to run the wires in this case.
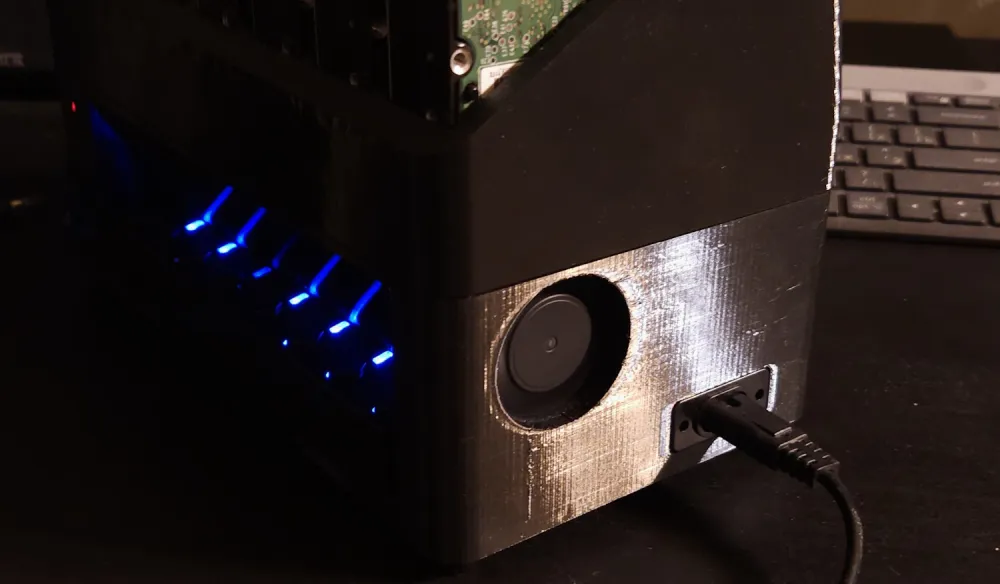
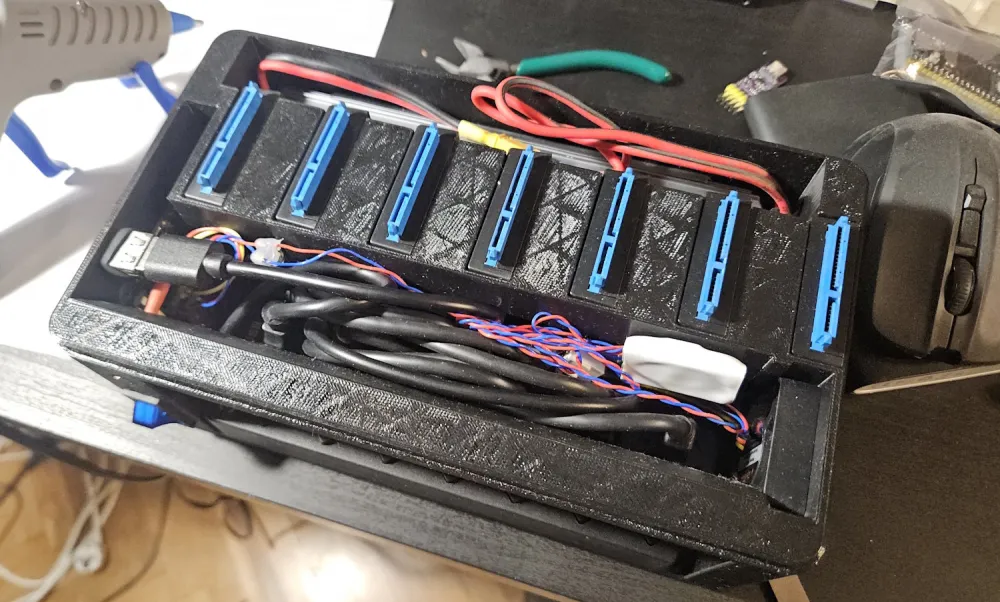
The case turned out to be as compact as possible: after assembly, there was no free space left inside. The assembly was not easy - some of the wiring had to be pulled with tweezers.
The components in the case are secured by snug fitting without screws; only the feet are attached to the case with self-tapping screws. This option turned out to be quite simple and successful: everything holds tightly, nothing rattles or wiggles.
Powering On and Configuration
Everything started up the first time without serious problems. The issue arose only with the small 2.5-inch HDD, which significantly dropped the voltage at startup and rebooted endlessly. I temporarily disabled it using the button on the hub.
The Armbian Linux distribution is downloaded from the official website and installed on an SD card using the Balena Etcher utility. It can later be transferred to eMMC.
When first booting the single-board computer, it is necessary to connect a TTL adapter to the PC and connect to it via a terminal - for example, in the PuTTY program. You will need to set a password for the root user and configure the connection to the Wi-Fi network. After that, the TTL adapter can be disconnected and connected in the usual way - via SSH.
USB drives were not recognized immediately. I had to configure USB overlay to make it work in host mode. The problem may be related to the fact that I connected everything to USB-OTG, as recommended by the documentation for the single-board computer.
I wanted the single-board computer to launch a Wi-Fi hotspot at startup, through which I could connect to my home Wi-Fi network. However, I was unable to set up the hotspot, and I abandoned this idea. It’s possible that there are driver issues with the board, or maybe I just did something wrong.
Conclusion
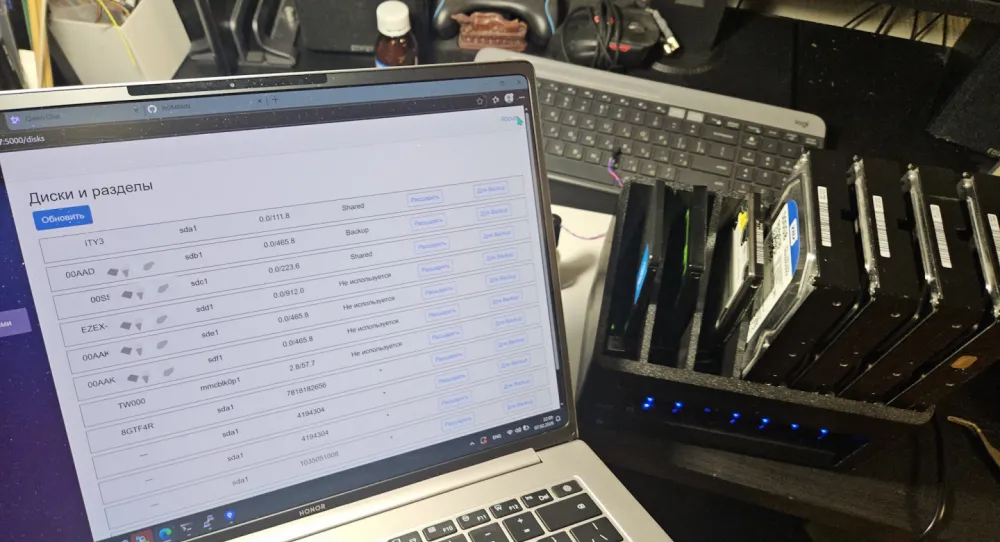
As a result, the server starts up, the drives are correctly recognized, mounted, and go into sleep mode.
Currently, I am working on a utility for configuring the server. I plan to create a web interface in C# Blazor, where you can create shared folders on the drives, add users, and configure access. The utility should also perform periodic backups.
More details about the utility and the experience of using NAS will be discussed in the second part.
![From Virtual Hands to AI for Survivalists: Curious Open Agent OSes [and One Hardware Project]](https://cdn.tekkix.com/imgs/2026/05/habrcom/big/ce0b1057616faed51cd8b9f3b2b9.webp)


Write comment