- DIY
- A
Here’s the translation you requested:PETG like glass, hairdryer in action, and matches in the fasteners: 2.5 months with Reborn 3
Warning to the reader: This article is essentially a rewritten review. I am not an engineer, not a 3D printer expert, and not a brand representative. Just an ordinary user who encountered FDM printing for the first time and decided to share an honest experience.
When I was choosing my first printer, there was very little information about Reborn 3 — mostly promotional videos or copied descriptions from marketplaces. So, I decided to leave a detailed report on what awaited me after unboxing. This is not advertising, not a tech blog, and not an attempt to look smarter — just a subjective, sometimes naive, but honest look at the printer that I spent more than two months with.
Maybe this article will help beginners with their choice or just be useful to those who are just learning to work with a 3D printer.
P.S. Some photos were just taken to document the unboxing, so don't judge too harshly for the not-so-great angles.
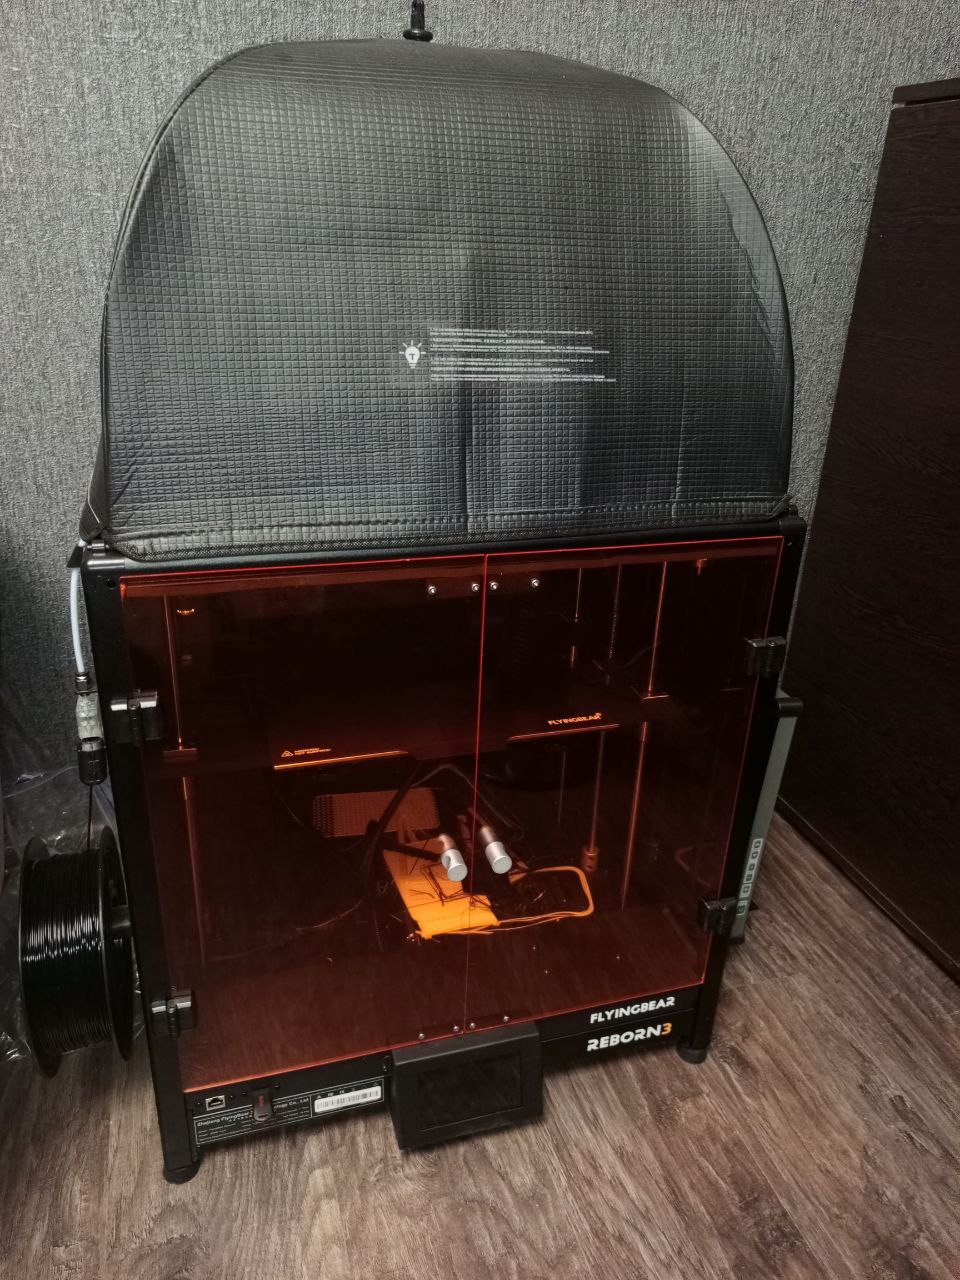
So, what attracted me to this printer in the first place? It's simple — a very large printing area (300×300×350 mm), which I haven't seen in any other printer for this price and with a closed case.
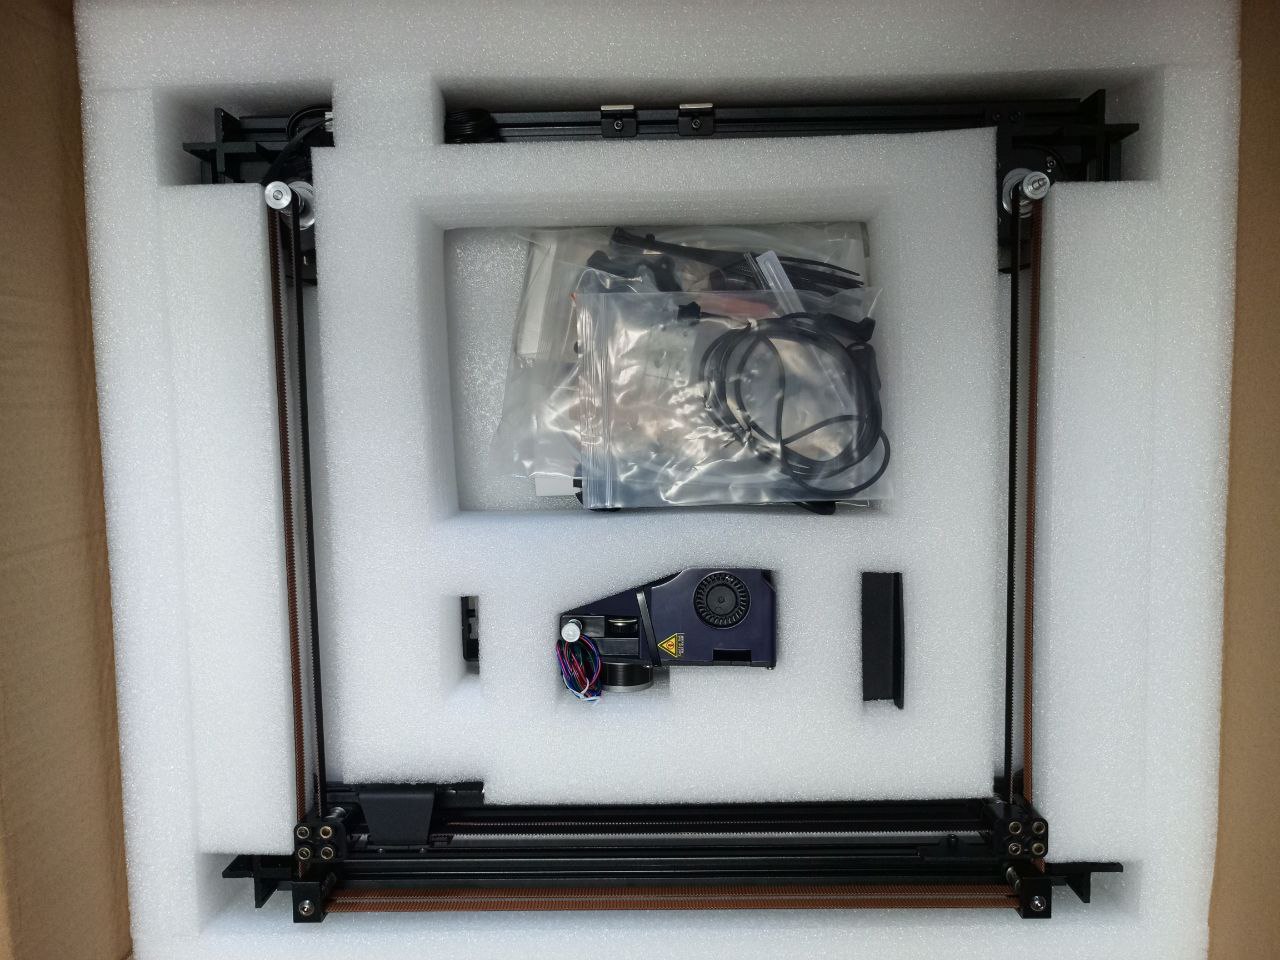
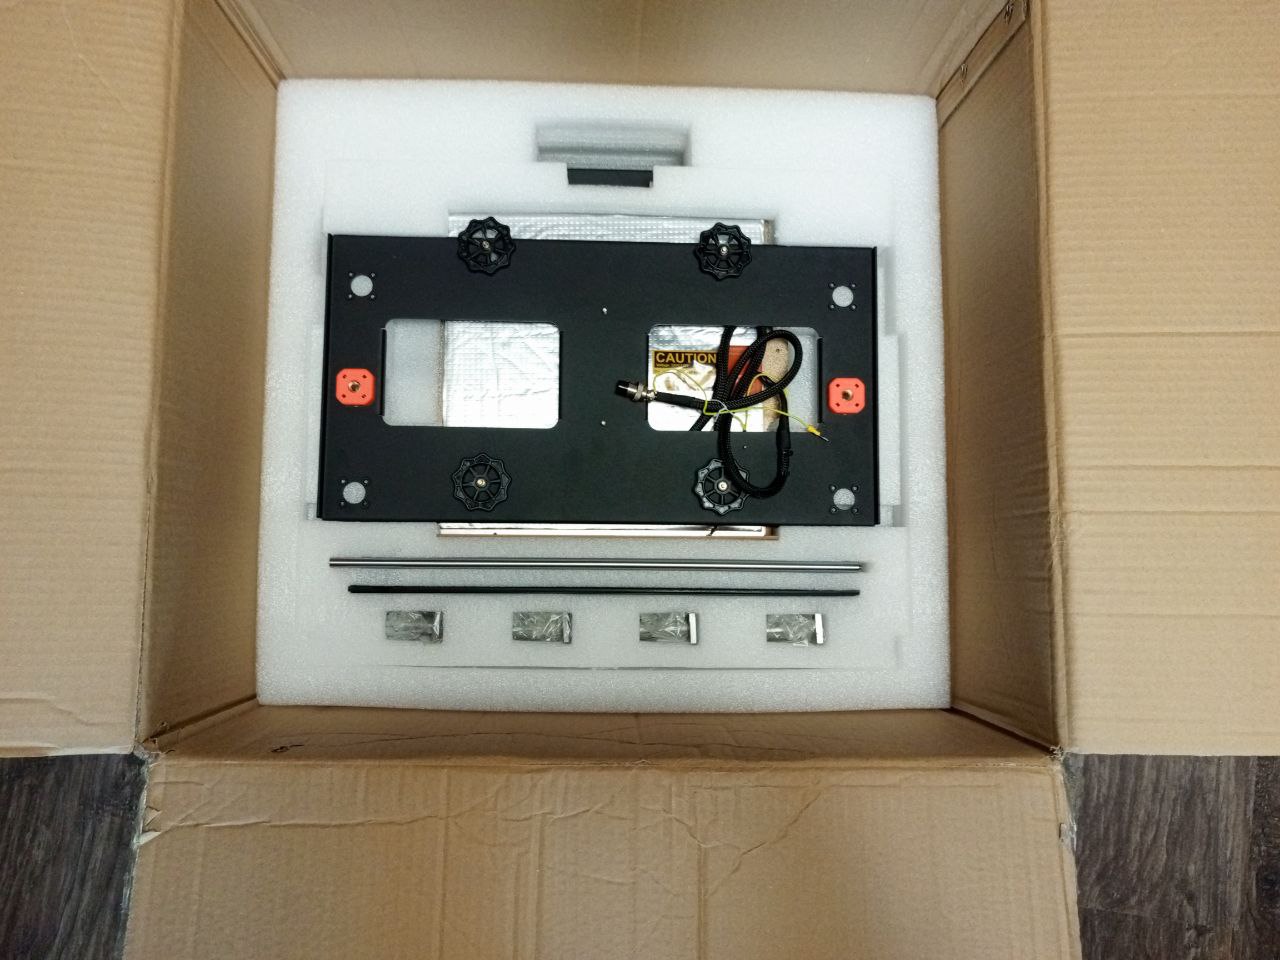
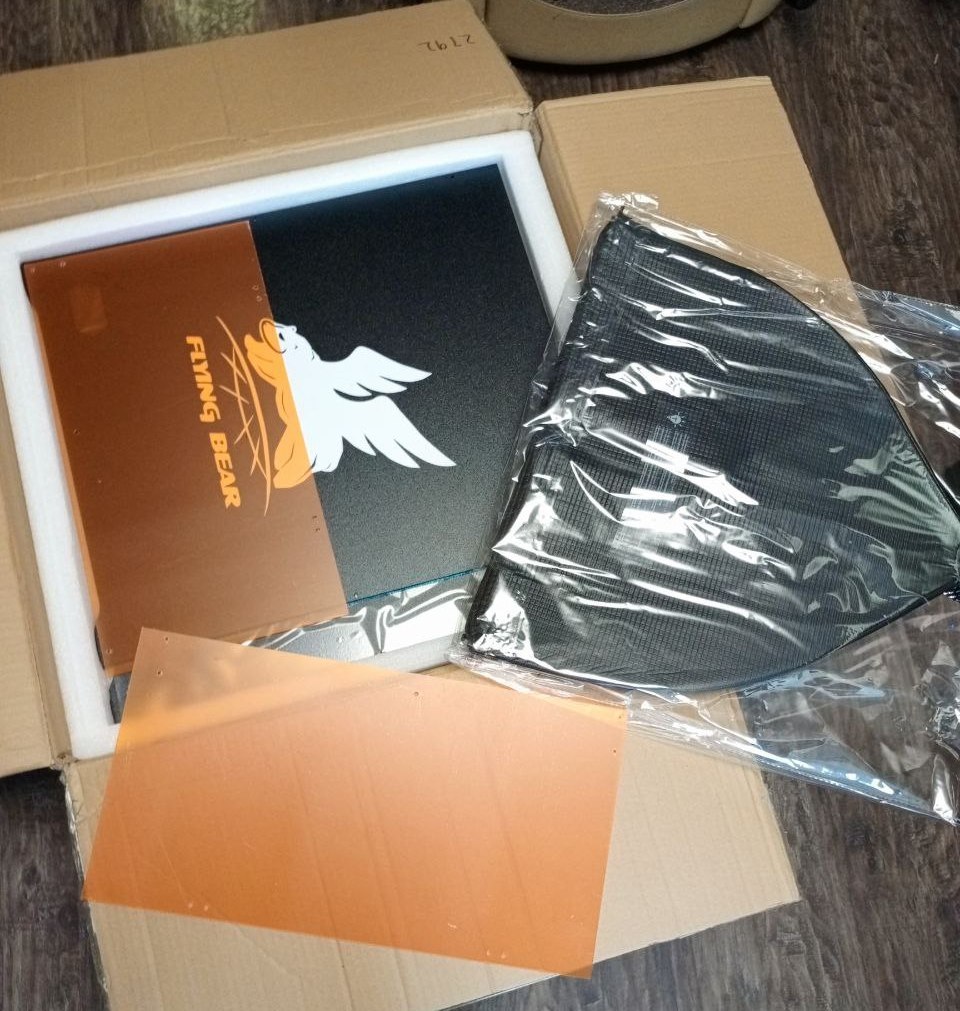
Unboxing. The first thing that met me — chips and grease
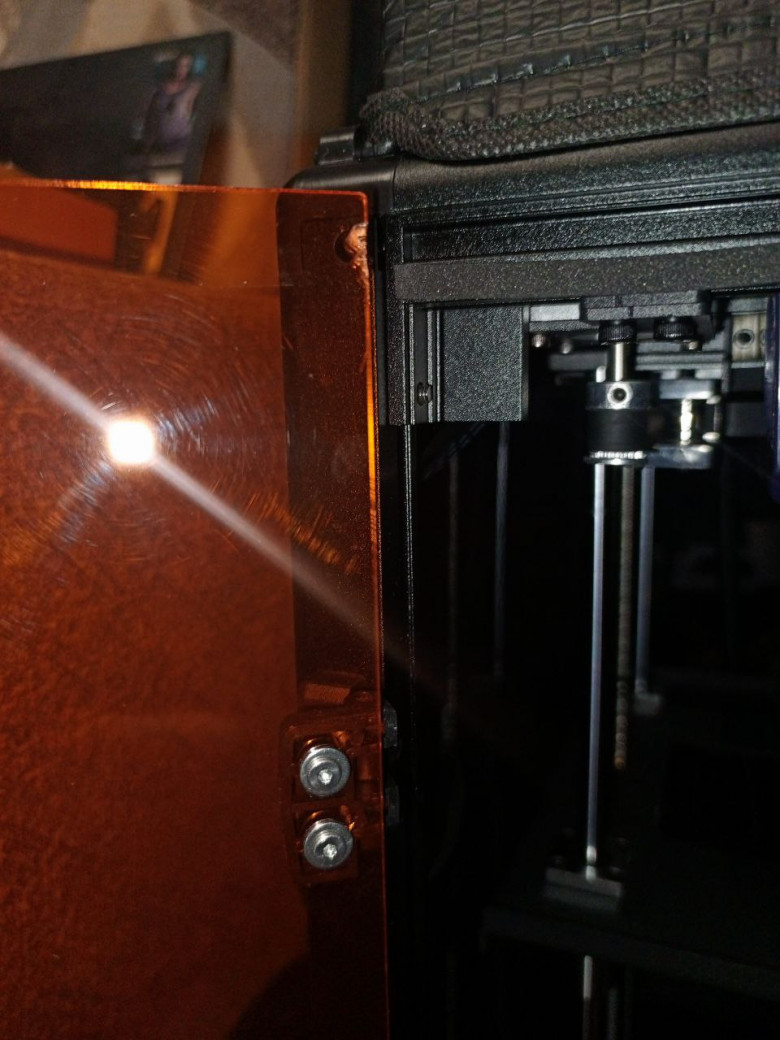
After placing the order, I had to wait for the package for two and a half weeks. Of course, when it arrived, I didn't even wait for delivery, I went to pick it up from the warehouse myself. I was really anxious, after all, it's not the lightest item, bulky, and not cheap. When I brought it home — I open the box, my eyes are shining, my hands are trembling — finally! And there... on the doors in the corners, there are chips. A small thing, of course, acrylic is a delicate material, but still, it's a bit disappointing. However, nothing critical, and I didn't start a dispute — just sighed and moved on.
But the packaging itself deserves applause. All the parts were lying in their recesses in the foam form — tightly, sturdily. The guides were generously lubricated, which seemed good... but only until you start turning them by hand. Grease everywhere. Tip: after assembly, wipe it off and apply fresh grease — you'll feel better.
By the way, the kit included a stainless steel nozzle, not brass. This seems like a plus — durable, resistant to abrasives. But it has a downside: it conducts heat worse. So, when printing PLA, I had to raise the temperature a bit, otherwise, the extruder started skipping.
Assembly: doing it alone
Assembling the Reborn 3 alone is quite a quest. The printer is heavy, there are a lot of screws, and each one requires attention. But the instructions are good, the pictures are clear, so if your hands grow from your shoulders, you'll manage.
There was a funny moment: on one of the ribs, there was an over-drilled hole for the screw. Well, classic. A match helped. Seriously. I inserted it as a gasket — and the screw tightened. Who said I’m not an engineer?
Printing: first blood and PETG in action
When I first started printing, I was a bit scared. But everything went smoothly. PLA and PETG hold well — thanks to the PEI bed. After cooling, the model comes off by itself. Pleasant.
Over time, I started noticing that adhesion was getting worse. The solution — what to clean the table with. But ethyl alcohol didn't help, it leaves a film on the surface of the table which doesn't provide good adhesion. Soap didn't help either... Only isopropyl alcohol was left. Wipe it down — and everything sticks again as it should! The main thing — don't breathe it in. Better to blow a hairdryer in your face than inhale those fumes.
Oh, by the way, about the hairdryer. Remember that stainless steel nozzle? It got stuck so bad I had to heat it up with a heat gun. All because I stupidly left the PETG in the nozzle after printing. Turns out, it solidifies in the channel like glass. Then you have to clean it, dig at it, curse... A tip from the heart: always wash the nozzle with a piece of PLA after printing PETG! Or, better yet, don't remove the PETG until the next print).
In all two and a half months, I haven't encountered any errors/bugs/glitches. There was just one moment — during printing, the printer stopped once. The head froze, plastic was dripping, but no movement — zero. A restart helped. It hasn't happened again. Maybe it was just tired. I would be too, in its place).
Noise, sleep, and myths about silence
The Reborn 3 isn't the quietest beast in the barn. Most of the noise comes from the cooling of the model. But! With the doors and dome closed, it's surprisingly tolerable. I haven't tried sleeping in the same room with it, but theoretically, it's possible. Especially if you can sleep under a fan or the hum of a spaceship).
Control: PC rules, the screen is a backup
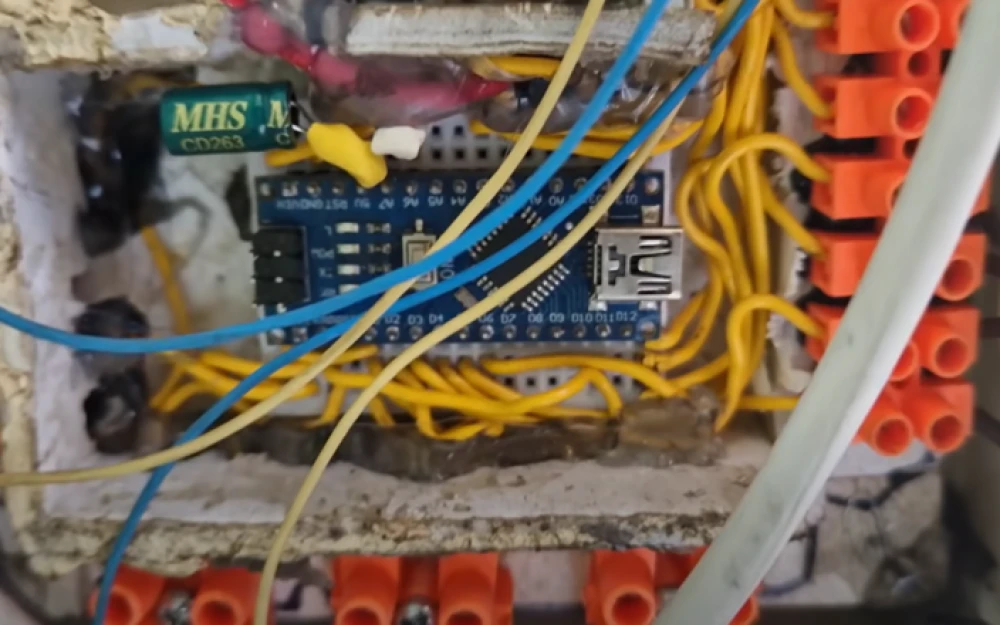
Klipper on board, Wi-Fi and RJ-45 available. Control via PC — a dream. The web interface is convenient, everything is clear. The USB stick at the front — a small thing, but nice.
The screen is touch-sensitive, responsive, but — non-rotatable. If the printer is on the floor, the screen becomes a test of spinal flexibility. So, I almost immediately switched to control via the slicer. I specifically used OrcaSlicer. It's more convenient in every way.
About the camera. It’s not there. But Klipper can stream printing. So, if it’s important to you to watch plastic dinosaurs being born — buy a camera and figure out where to mount it. I didn't find any factory mounting spots.
Other goodies in the box
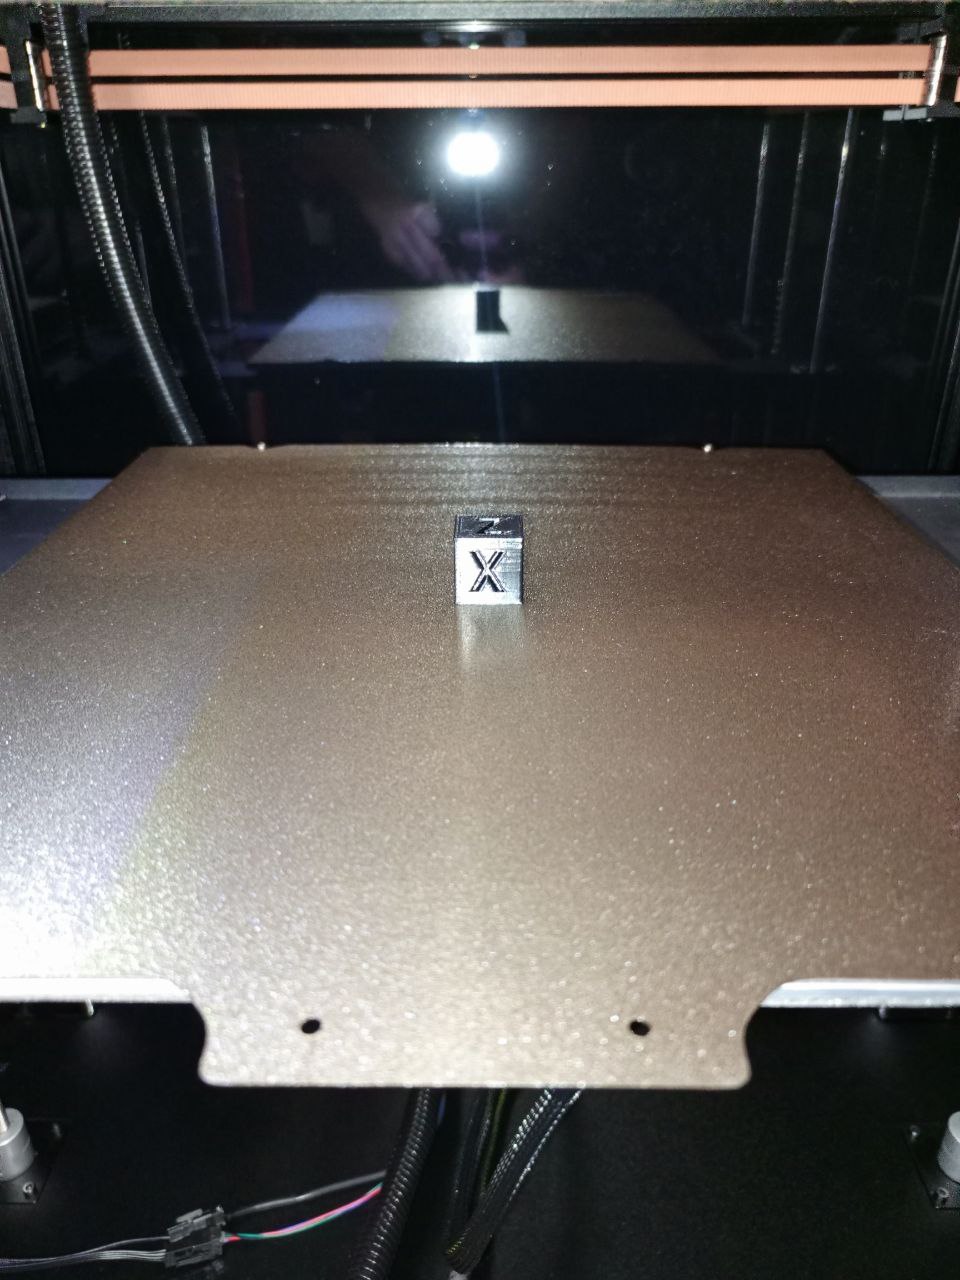
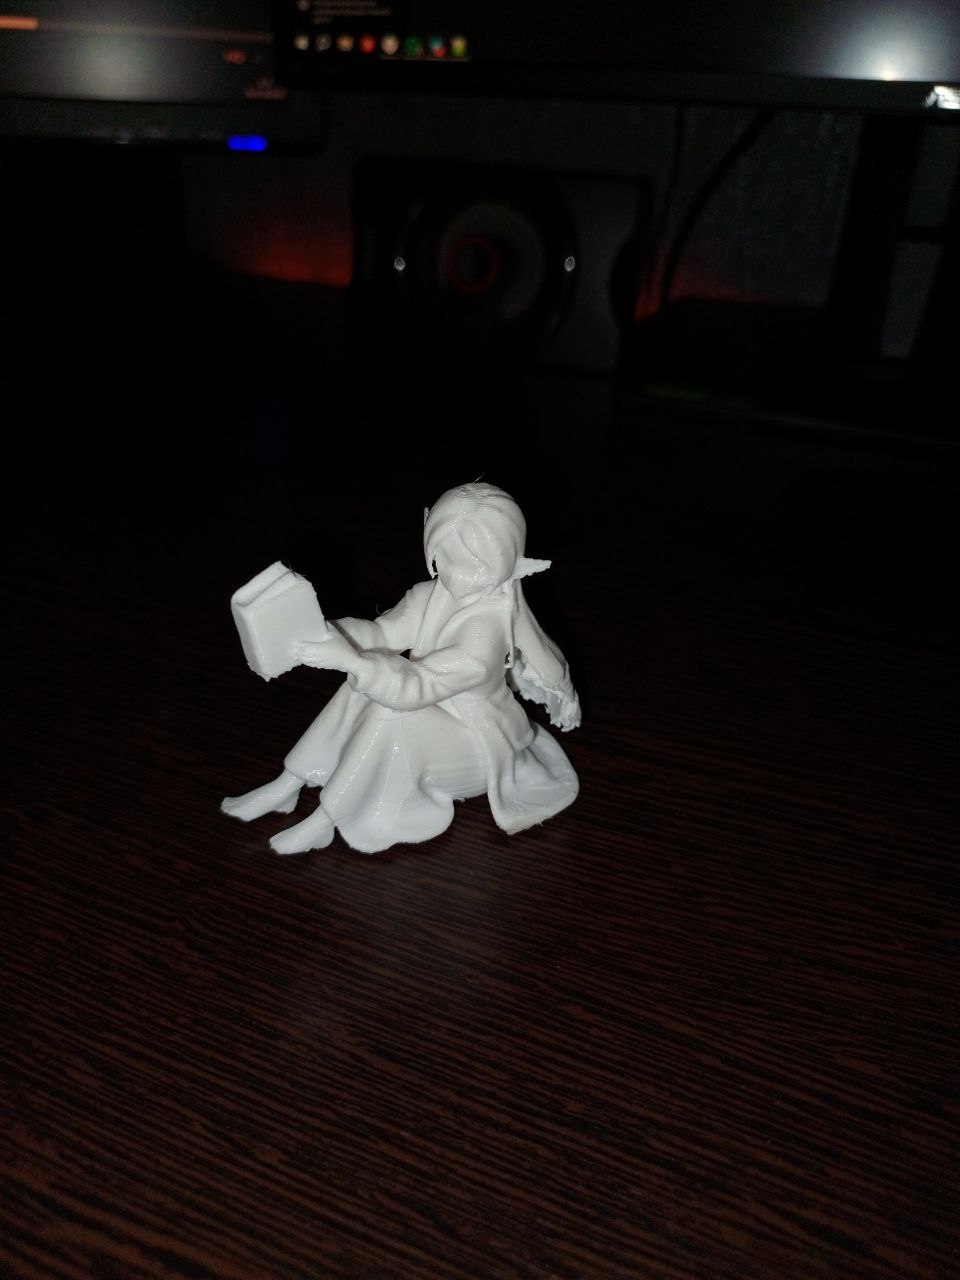
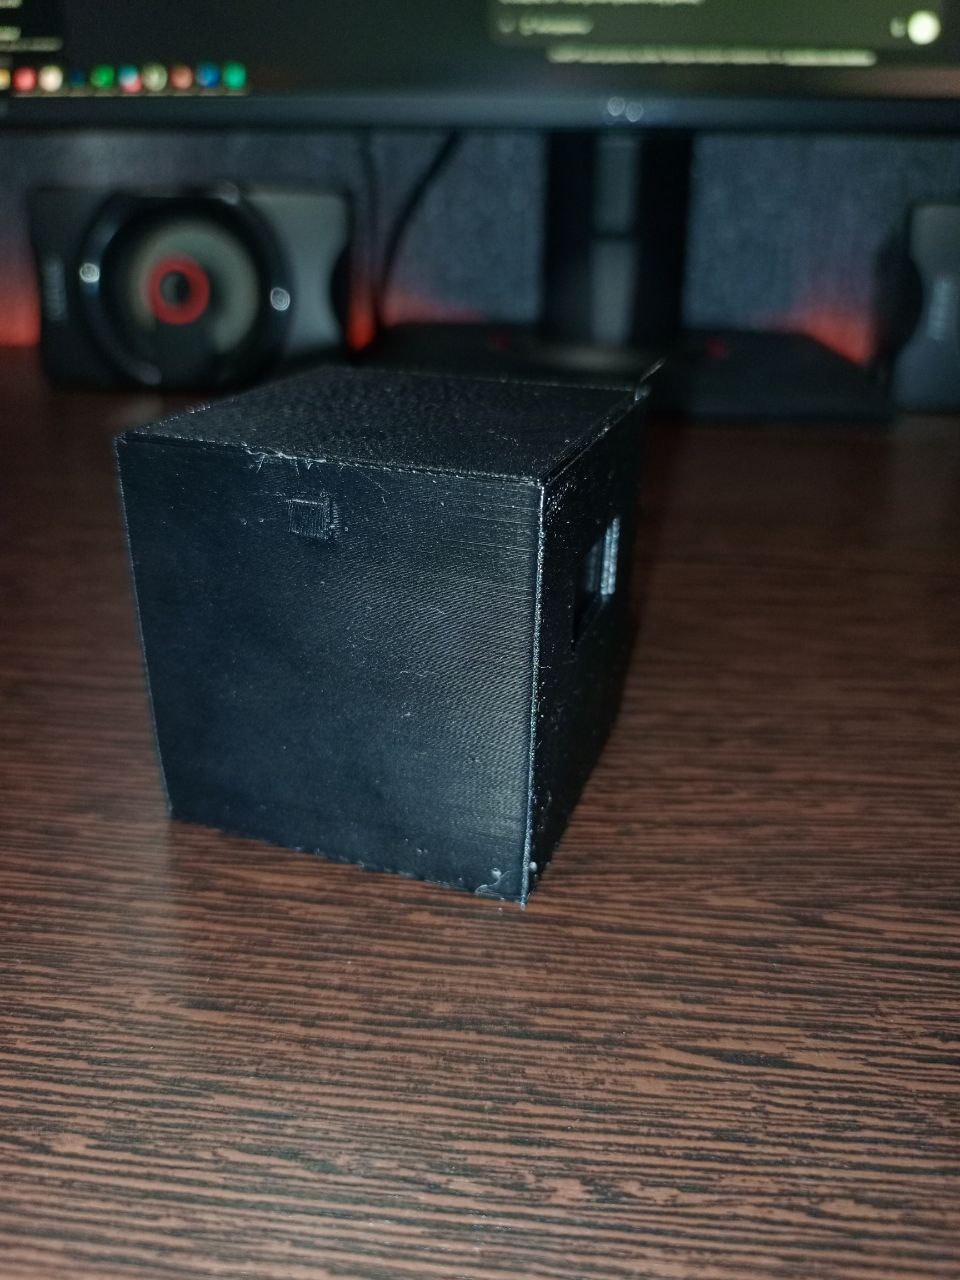
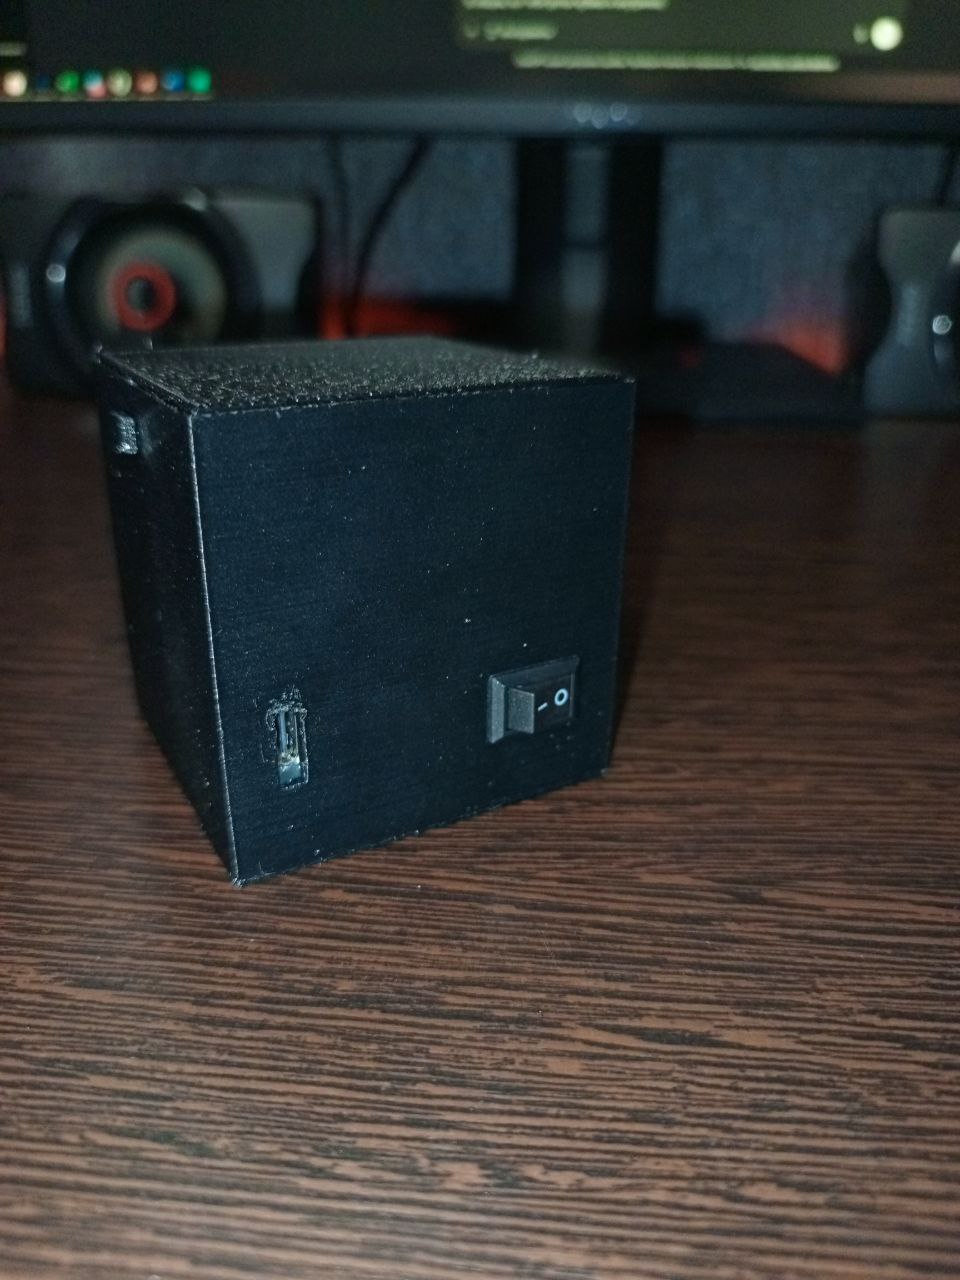
The package included an 8 GB flash drive with pre-made models — a dinosaur, a cube, a ship, a hexagon. Nice bonus: you can start printing right away without having to go to Thingiverse.
There was also a dome — it helps retain heat when printing PETG. But there was no plastic, only a sample figure. So, my advice — buy a spool in advance.
Conclusions with a taste of reality
This is my first 3D printer. And, despite the chips, matches, and hairdryer, I’m really happy with it. It’s not without flaws, but it’s a pleasure to learn with it. Everything works, nothing has burned, the details are precise, the interface is user-friendly.
If I had known before buying:
-
Never leave the nozzle empty after printing PETG
-
The nozzle can be tightened too much — a heat gun is necessary
-
The printer is heavy — better to assemble it together
-
No plastic included — buy in advance
-
PC control > screen
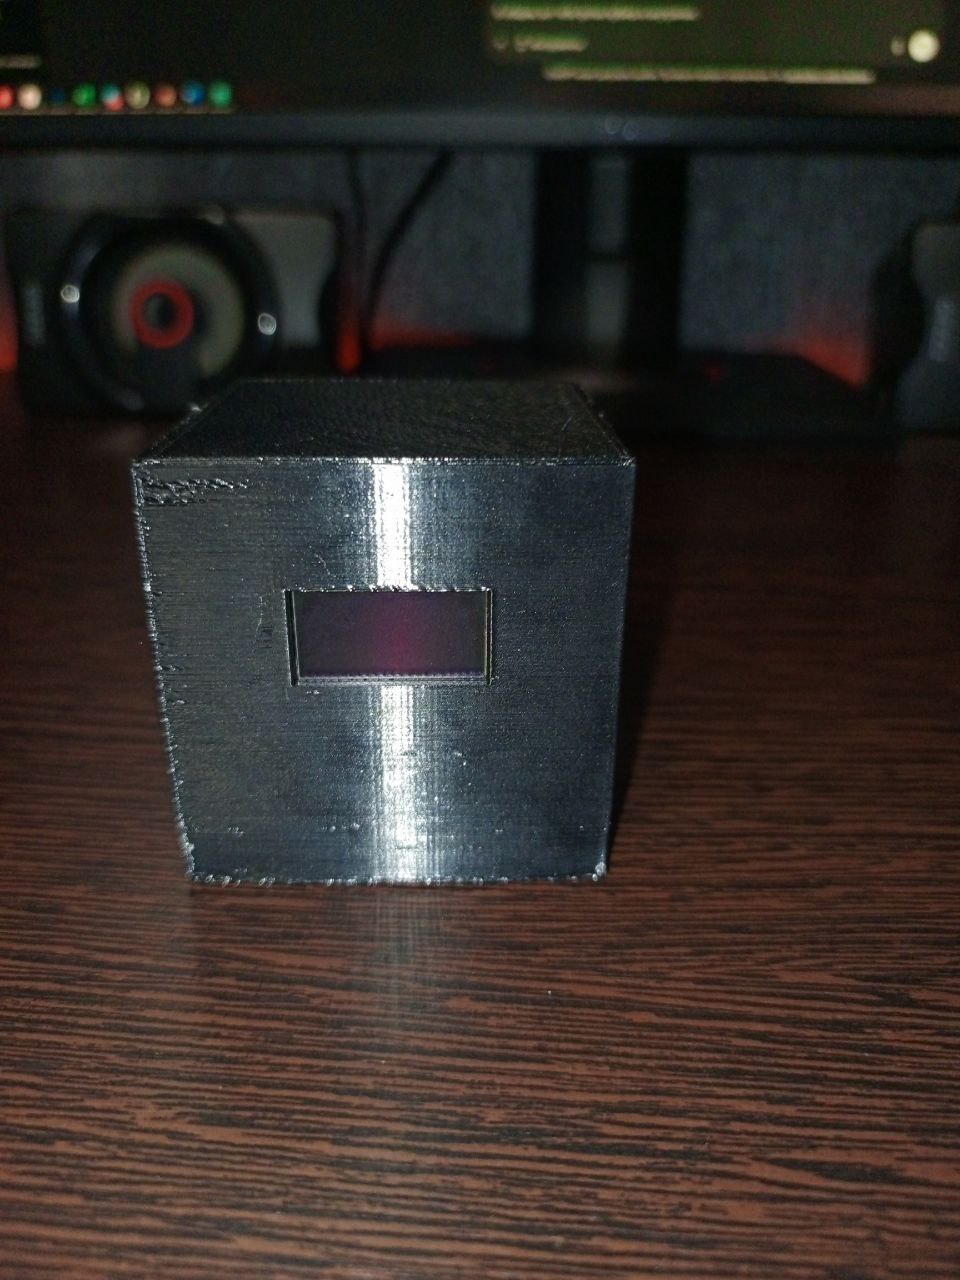
And I would like to share a few photos of what I’ve printed on this printer (at least, this is what I managed to capture).
Summary
Not an ad, not hype, not a review in the classic sense. Just the experience of an ordinary person who needed to buy "not pain." Hope this text saves someone nerves and a couple of evenings of googling.
If you have any questions, feel free to ask, I’ll be happy to answer!
Or share your stories, opinions, and "secrets" of successful printing—I’d love to read them:‑)


Write comment