- DIY
- A
Stairway to Heaven: customizing WLED
There have already been several articles about wled on tekkix, but they usually limited themselves to the standard firmware features - garlands with effects, control of RGB backlighting of PC components, and the possibility of integration with a smart home was briefly mentioned.
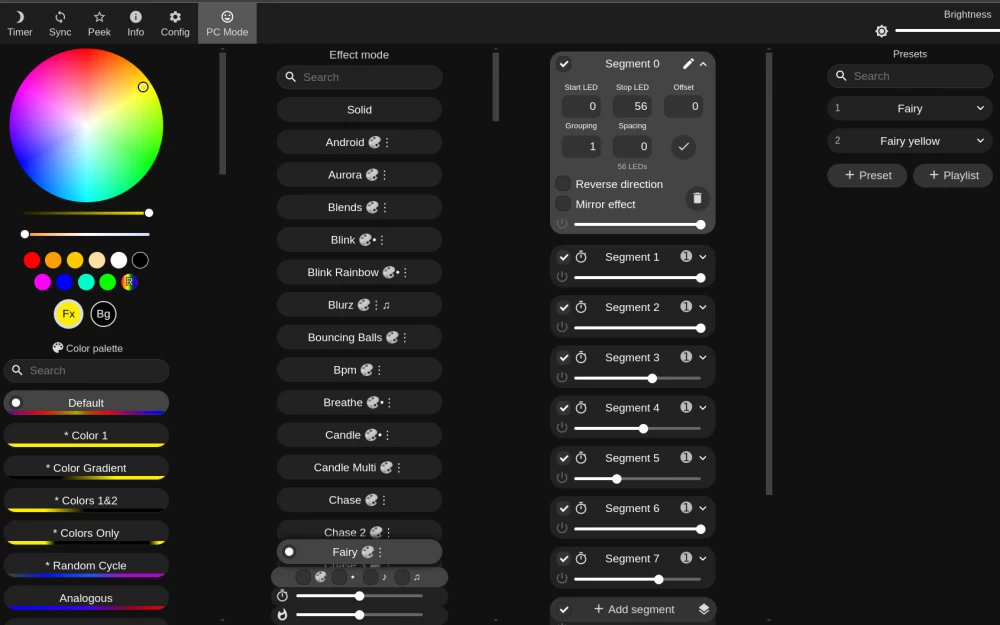
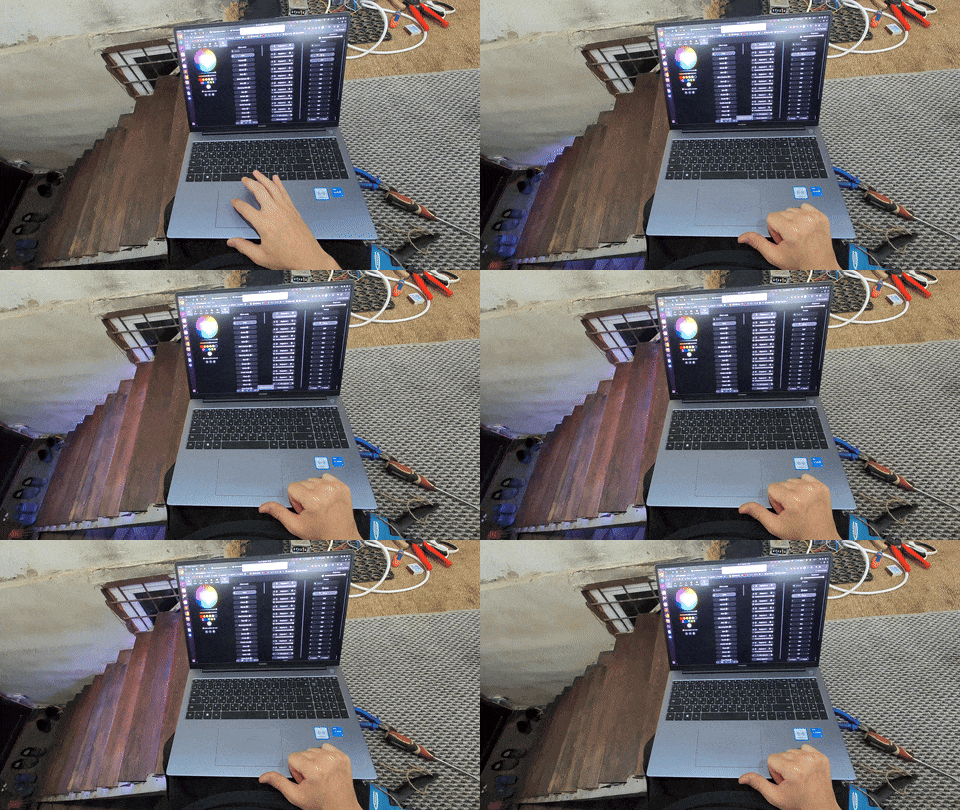
Actually, it works like this (here I am connected to the WiFi access point wled from my laptop and launch the animation manually from the web interface):
It looks great, but in practice, not everything is so rosy:
each time the sensor is triggered, the animation restarts,
2 animations cannot run in parallel,
by default, the ESP8266 firmware only has 2 input pins available, so the light sensor cannot be connected,
even if the number of available pins is expanded, there is nowhere to bind the light sensor, it is impossible to write complex conditions or at least a banal if with a check of a couple of values (and configure it in the interface, respectively, too).
The problem with the light sensor can be solved by installing a lighting relay to power the entire device (in my opinion, a crutch, but overall workable), but even so, the animation does not suit me at all - with any sensor and timing settings, correct operation is possible only in ideal conditions - a single triggering of one sensor.
We will gradually solve these problems.
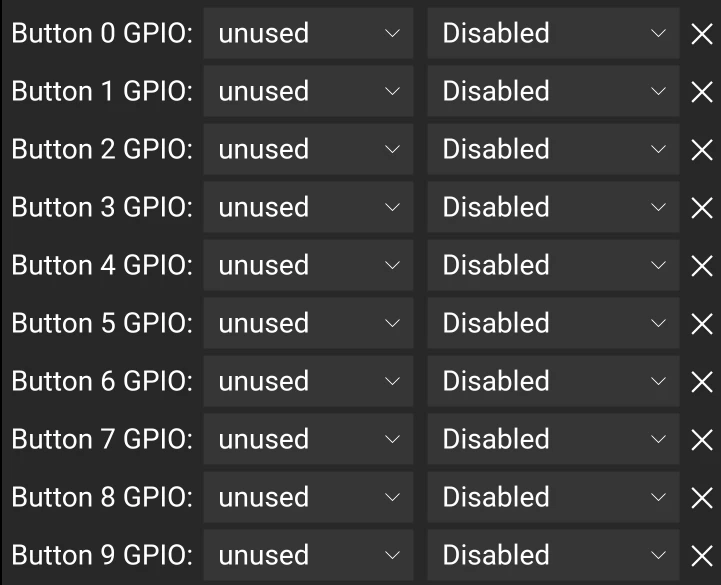
Expanding the number of inputs (buttons)
By default, the wled firmware for the wemos d1 mini allows only 2 input ports, despite the fact that the controller and board contain a much larger number of free pins.
Fortunately, this problem is easily fixable - you just need to specify the WLED_MAX_BUTTONS flag with the required number of pins and build the firmware.
Building the wled firmware
And here the difficulties begin, if you have not previously encountered such a build scheme, the experience of flashing arduino will not help here.
However, everything is described in the official instructions. You will only need some software - git, vs code, platformio extension, docker, node, wsl in the windows system. Also several reboots and probably a non-working build button, which, judging by some issues, may work randomly and build the binary not the first time.
If you do not want to build the firmware immediately for all supported platforms, you will also need to uncomment the line in the config with d1_mini and comment out the line above with the list of all supported platforms.
Next, you need to add the key -D WLED_MAX_BUTTONS=10 in build_flags to expand the number of available "buttons".
In the end, everything was assembled through test, the first stage of which includes build and produces the desired firmware binary.
Customization of wled
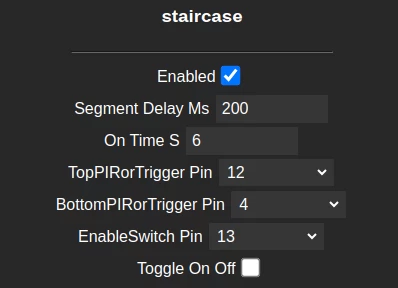
Since we have already found out that standard functions are not enough, let's see what wled offers for customization: here is an instruction on how to implement your own scripts (usermods), within which you can expand the gui, write an api, and work with the microcontroller pins in C++.
Initially, I started writing this code according to the instructions, until I accidentally discovered a whole bunch of ready-made usermods in the depths of the repository, which the official documentation does not mention.
Meanwhile, there is a lot of everything here:
animated_staircase - usermod for a staircase with 2 motion sensors (without a light sensor and without parallel animations),
measuring battery charge if you have an autonomous project,
the ability to configure IR remotes via json,
connecting and PWM control of fan speed,
control via microphone.
My usermod and its description can be found in the repository, all necessary explanations are in the readme and in the code. The coding style (or lack thereof) is a consequence of implementation based on someone else's solution (and in general the overall approach to writing usermods), after getting a working version, I didn't have time to refactor.
And yet, despite the convenient and fast flashing process by microcontroller standards, debugging bugs on the physical device and circuit turned out to be laborious. I honestly tried to do it, but after a couple of dozen iterations, I asked chatGPT (at that time still version 4) to convert all the current code into a demo on html/css/js and debugged the logic there.
Connection diagram
Here is a small lyrical digression regarding the connection diagram.
We connect all sections of the strip in series, but at the same time, the power supply, especially in the case of a 5v strip, will be catastrophically insufficient and the strip will at best lose brightness from beginning to end. For this reason, it is necessary to supply power also to the intermediate points of the strip (in my case, every 2 steps - I ran a power wire along one side of the staircase).
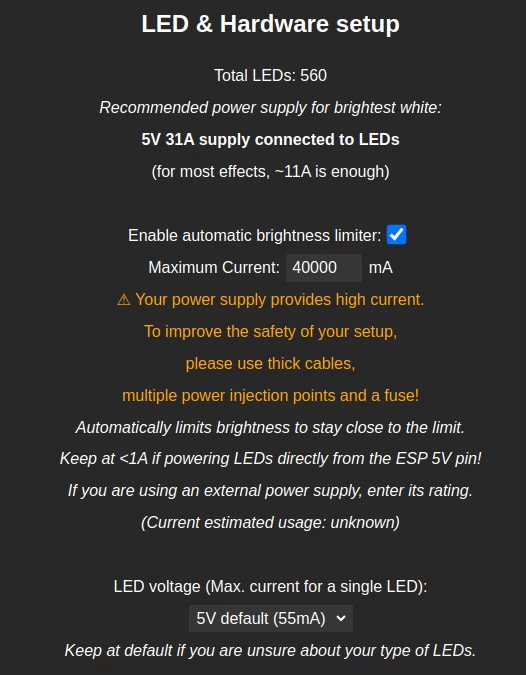
Also, it is worth mentioning that the developers of WLED have taken care of safety, and the firmware includes a software calculation of the maximum power consumption of the strip in the selected modes. By default, a limit is set on the maximum possible power of the strip, calculated based on the direct connection of the strip to the controller pins. If this value is exceeded, the controller will proportionally reduce the brightness of the LEDs depending on the effect used.
If your strip is powered according to all the rules, and not directly from the controller, this value should be set equal to the maximum (nominal?) current that your power supply provides, or the limit should be removed altogether.
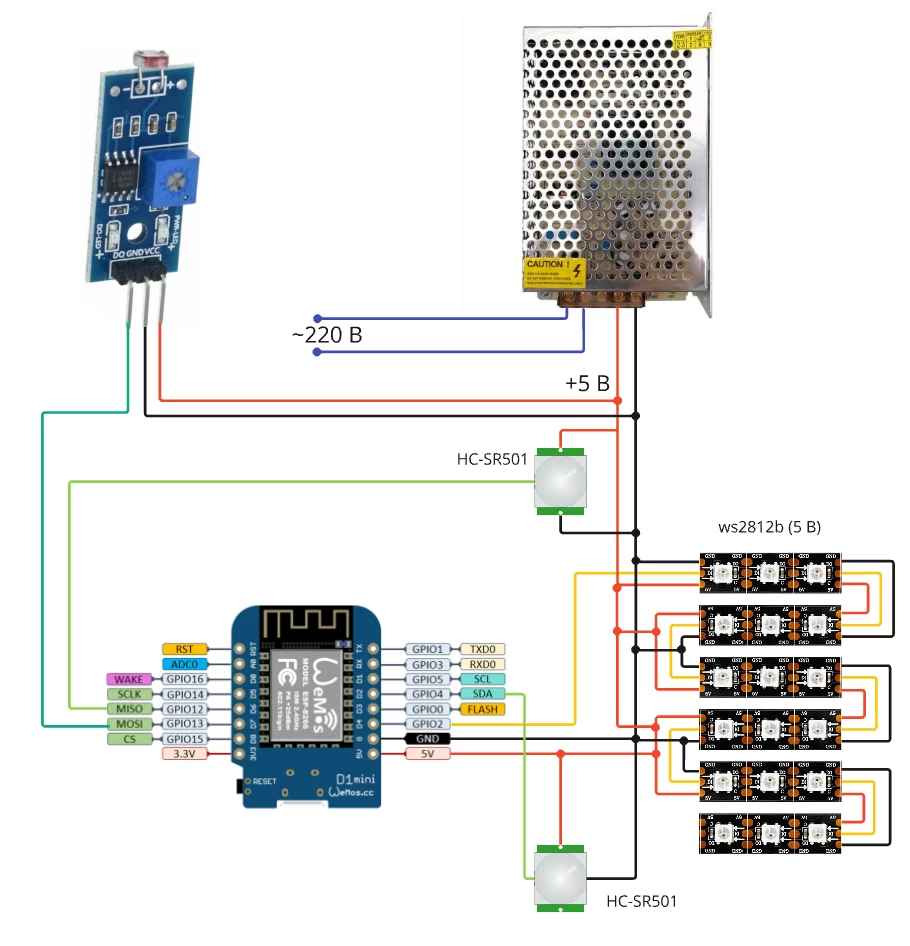
The general connection scheme can be depicted approximately as follows:
Despite the fact that the ESP operates at 3.3 V, and the strip is powered/controlled by 5 V, the direct connection works correctly, partly due to the short distance between the controller and the first section of the strip. If in your case this distance is large and there are failures, and also if the strip is powered by a different voltage and cannot be connected directly (12 V), a level converter should be added to the circuit according to the official recommendations.
As you can see, fewer wires are needed here than in the case of a ready-made controller.
Result
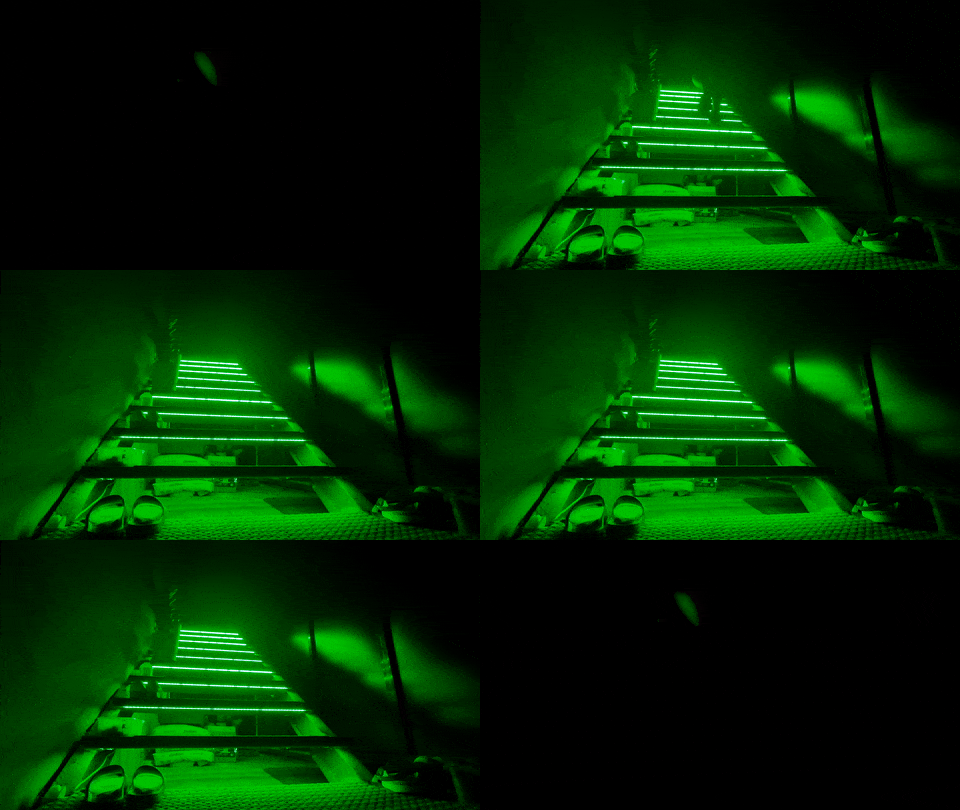
The final result looks like this:
I stopped at one of the animations that only slightly changes the intensity of the glow of individual diodes to make it look dynamic, but at the same time does not interfere with the operation process.
However, you can choose any effect up to using different animations for each step. For example, here is a more dynamic mode:
Also, usermod can be disabled and the backlight can be controlled by standard means - in case your staircase is in the center of the house and you want to have a party with light music.
Necessary components and budget
Here and below are links to components for searching on Ali, without referrals.
Component | Cost |
|---|---|
Wemos d1 mini | $1.57 |
Addressable LED strip 60led/m 5V ip65 | ~$22.47 |
Power supply 200W 5V | ~$14.61 |
2 motion sensors HC-SR 501 | ~$1.46 |
1 light sensor | ~$0.90 |
Power and signal wires | ~$11.24 |
Cable ties and wire braid for aesthetics | $5.62 |
Cases for sensors and microcontroller | Optional, I printed |
That is, the total costs amounted to approximately $57.87.
Ready-made solution
I also promised a comparison of the ready-made solution and the described implementation.
At the moment, the 2nd version of the controller with support for the light sensor has appeared, I have the first version without it.
Component | Cost |
|---|---|
Controller with sensors | $44.94 |
Single-color LED strip | ~$22.47 |
Power supply can be slightly less powerful, but with voltage up to 24v (must match the strip) | ~$11.24 |
Wires - need more length, but smaller gauge, we assume the cost does not differ dramatically | $11.24 |
Ties, braid for aesthetics | $5.62 |
Total minimum amount $73.03 (without light sensor support).
As you can see, the only significant savings come from the power supply and sensors. The controller is much more expensive than the one we use.
Conclusions
Despite the broader capabilities of the described implementation, the ready-made solution is still inferior in terms of price and ease of installation.
Yes, the development cost is not taken into account here, but the described device is more of a hobby nature - I was simply interested in the process, no matter how costly it turned out to be in the end.
If you have any questions or comments/suggestions - feel free to leave a comment.






Write comment