- DIY
- A
How I tested the WSPR beacon
Summer 2024, not much time has passed since my WSPR beacon project reached the release version. But tests, where are the tests? After all, the device, no matter how useful it is, has no practical value if it does not work, and we are wary of those who claim that their device works only in words :) Therefore, it was decided not to delay, but to check the operation of the device in real conditions in order to detect possible problems in time.
Choosing a place for testing
Since I live in a fairly large city, the problem of a significant amount of electromagnetic interference and densely populated areas with dense urban development is common, so there are few options - we go out of town. But where? How to choose a place where it will be convenient to get to, calmly deploy a large dipole antenna, lay out all the equipment and check everything without haste?
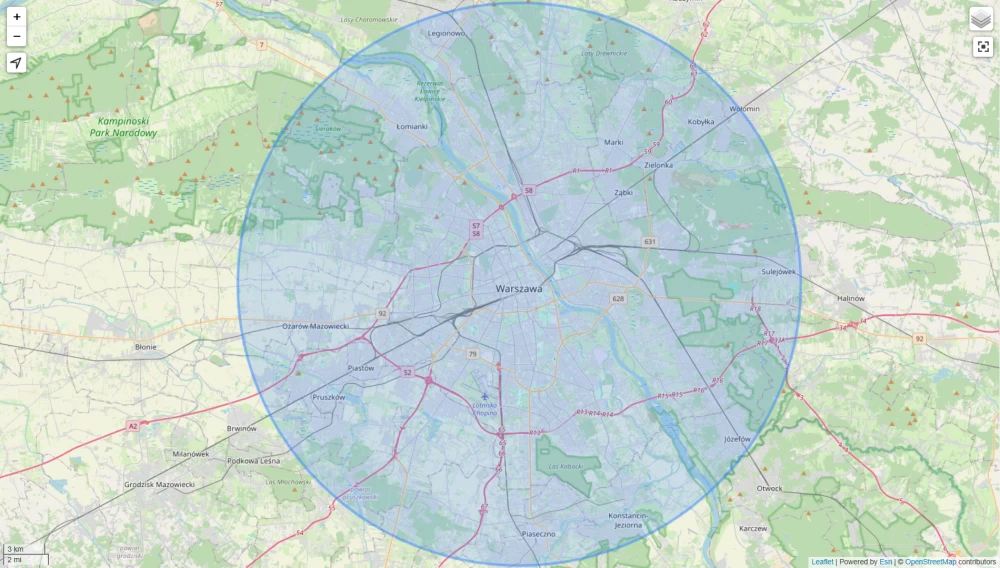
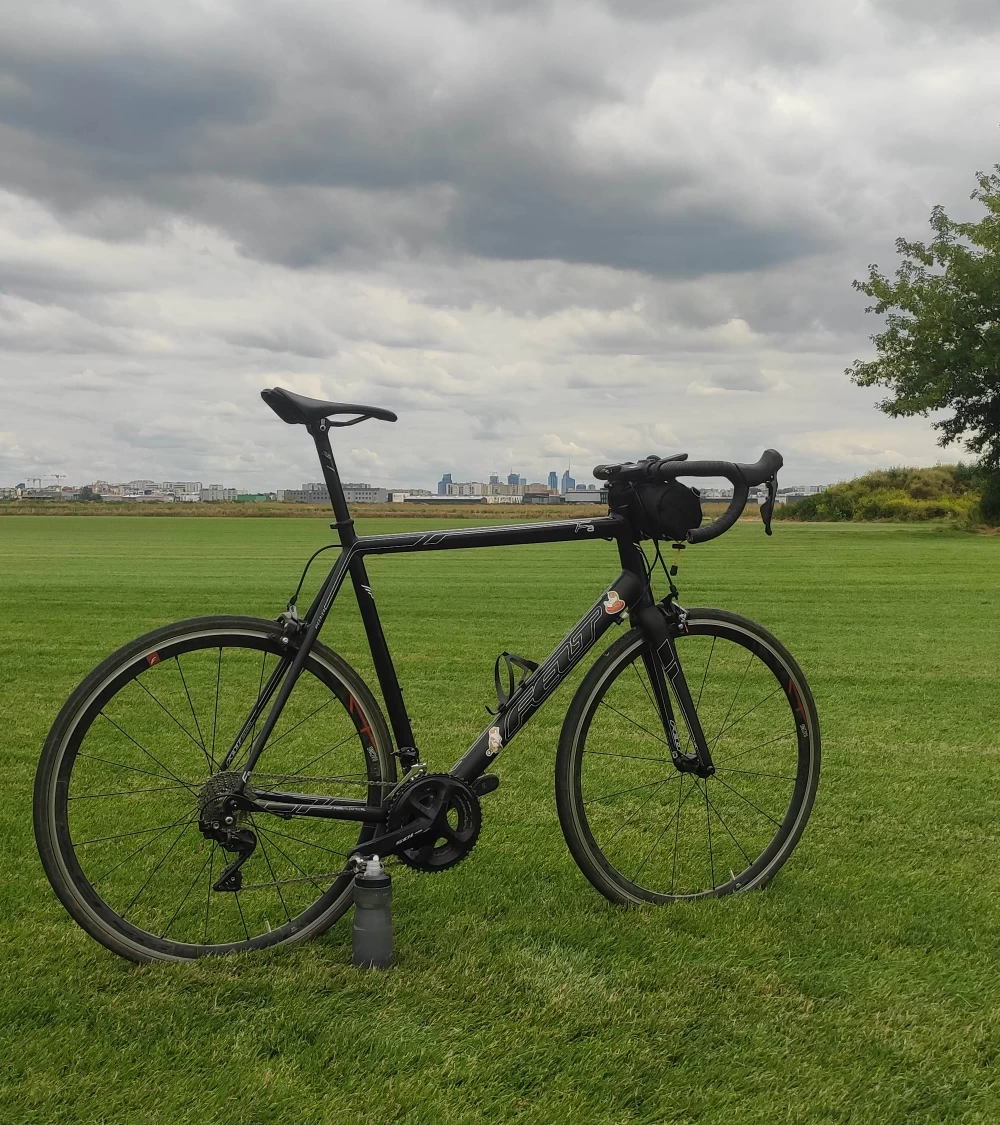
Since in my free time I often and a lot ride a bicycle, we will look for a testing point in such a way that it is easy to get to by bicycle and return back. One of the options that came to my mind was the idea of using a circle with a radius of 20 kilometers from my house as an area for finding the optimal place for testing.
Well, then the search for potential places began using Google Maps satellite images. The search concept was as follows:
We are looking for an open area of suitable size, ideally in a field;
There should be no dense thickets of bushes/trees nearby, but there should be solitary trees to hang the antenna;
There should be no high-voltage power lines passing nearby;
Residential/farm buildings in the immediate vicinity of the test site should be absent or low;
There should be at least some road for convenient access;
The place should not be too crowded and should not be private property;
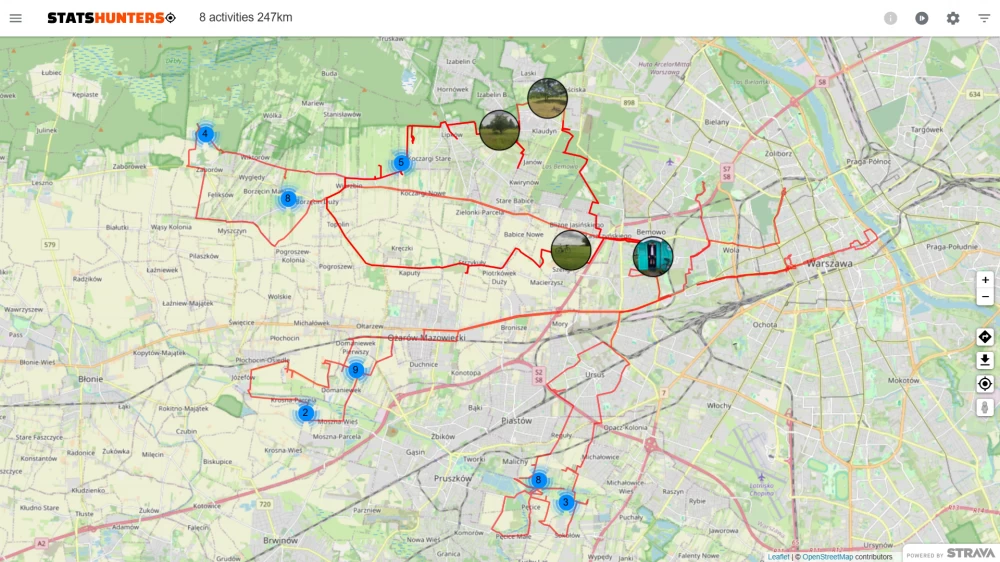
After such a list has been compiled, we get on the bike and check each place from the list in turn, hoping to find the best option.
Checking all the places took me 5 days. There were situations when I had to go through thickets and walk through a plowed field. Many potential places were on private property, but in the end, several places were found that met all the described conditions. I settled on a small lake in the middle of a field, about 15 kilometers from home.
Preparation for testing
The device was planned to be tested in two stages: in the morning and in the evening. Why is such a division into morning/evening testing necessary at all? It's very simple - the testing will be carried out on shortwave amateur bands, at frequencies up to 14 MHz. In this case, radio waves of different frequencies propagate differently at different times of the day. In lower frequency bands, propagation is better in the evening, for higher frequency bands - the opposite. Therefore, it was decided to check the operation of the device in the 10 and 14 MHz bands in the morning, and in the 5 and 7 MHz bands starting at sunset to achieve the greatest transmission range.
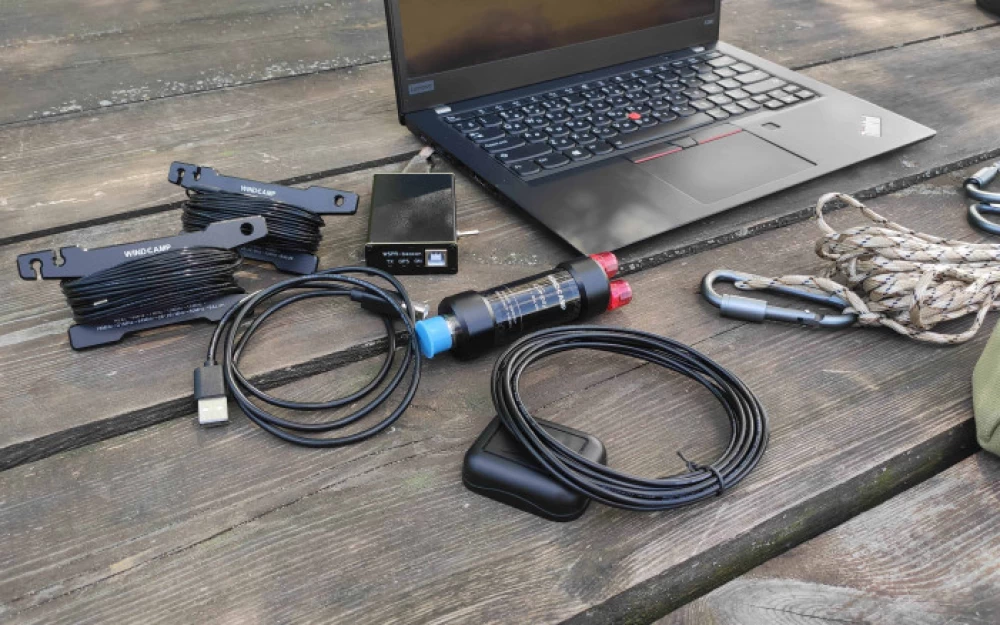
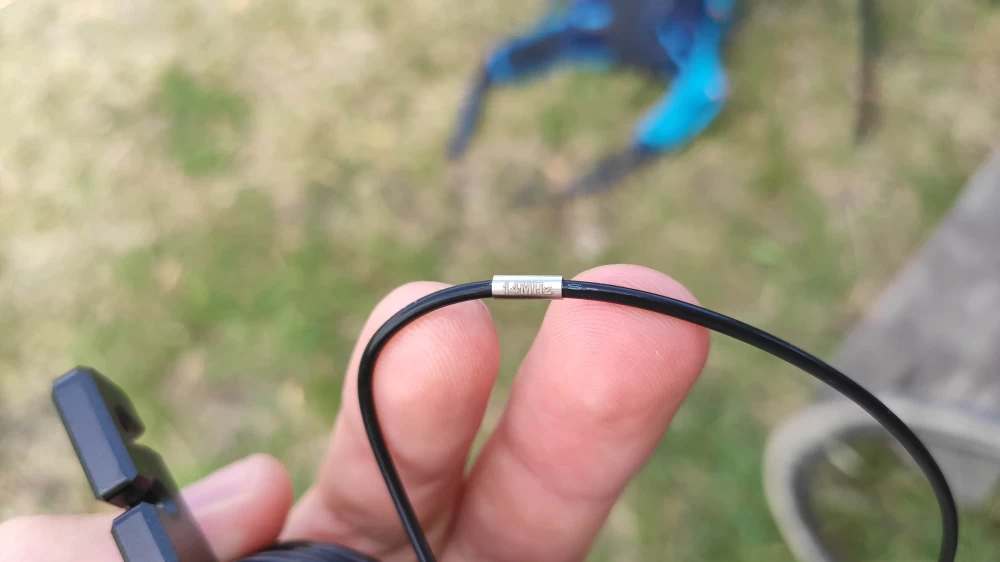
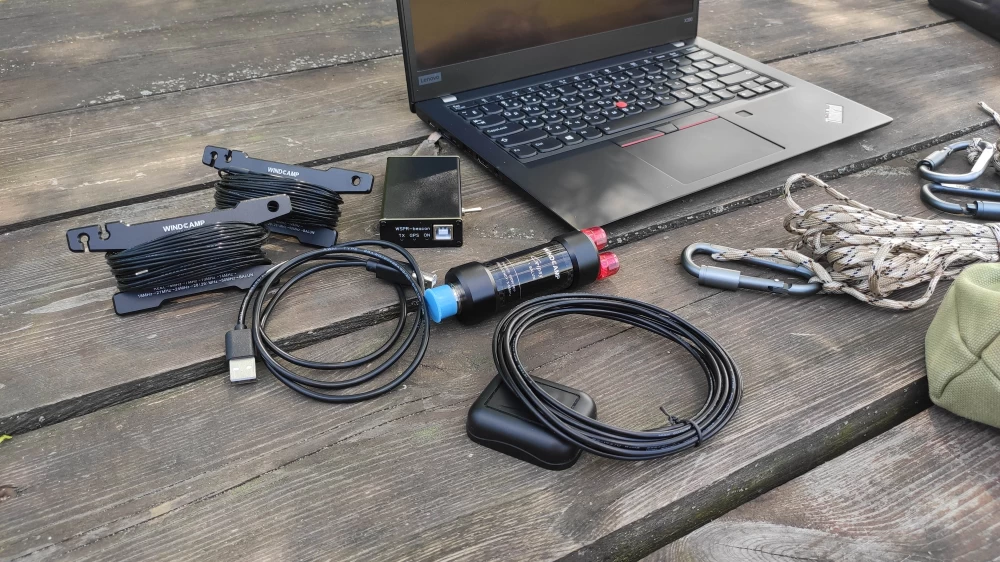
As a transmitting antenna, we will use a compact factory dipole antenna pre-ordered from Aliexpress - Windcamp Gipsy with its tuning to the resonant frequency using the NanoVNA vector analyzer. Why exactly it? Simply because it turned out to be one of the most compact ready-made dipole antenna options with good reviews. The homemade dipole antenna I made a long time ago took up much more space when folded and weighed several times more - this option does not suit us.
We take with us several pre-calibrated and flashed to the desired operating frequency WSPR beacons, a laptop, coaxial cables, a rope for hanging the antenna, a power bank and set off.
Device testing
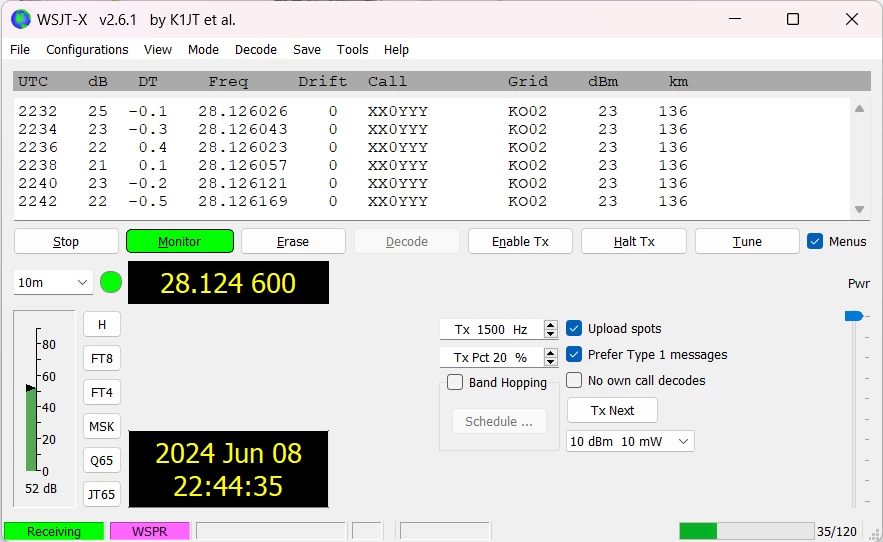
The purpose of the test was to check how far it would be possible to transmit WSPR packets. During local testing, using an SDR receiver and the WSJT-X application, decoding was performed without problems in all cases. However, I had absolutely no idea about the performance of the device when transmitting over long distances.
Testing was carried out as follows: the antenna is tuned to a specific transmission range, with the resonance set in the center of the working range by adjusting the length of the shoulders and checking the antenna resonance using the NanoVNA vector analyzer. The device is connected to the power bank, turned on, after which the process of automatic calculation of the QTH locator and synchronization of the transmission time begins using data received from the built-in GPS module.
The start of the test is considered the time of the first transmission of the WSPR packet and continues for 30 minutes. The device transmits a new WSPR packet every even minute on a randomly selected frequency in the range of +/- 100 Hz from the central operating frequency. Why exactly 100 Hz? Because the bandwidth for transmitting WSPR packets is 200 Hz. By choosing a random frequency from the operating range in each new transmission cycle, we can avoid possible collisions if another WSPR beacon happens to be operating on the same frequency nearby.
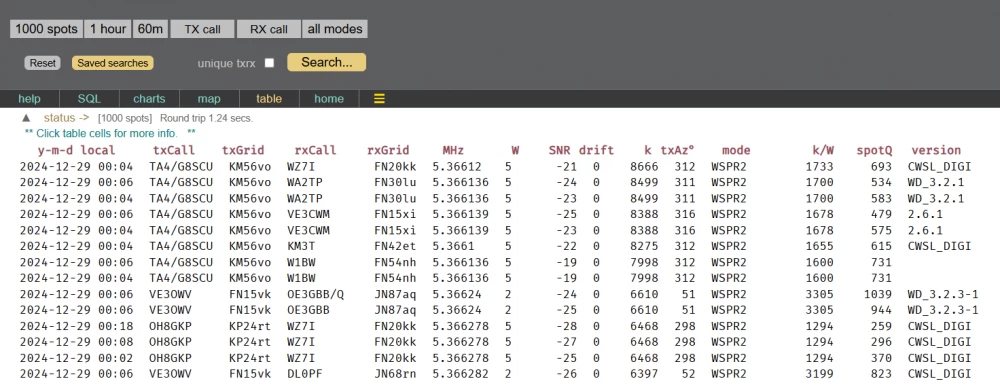
After completing the device testing on a specific range, using the WSPR Rocks! service, we extract the results of all confirmed spots, filtering by the "Band" and "TX Call" parameters. Then, the data is sorted by the "k" parameter to detect the most distant transmissions.
Test results
Significant transmission range results were achieved in my opinion :
60 meters band (5.2887 MHz): 3898 kilometers, -19 SNR, 0 frequency drift;
40 meters band (7.0401 MHz): 2849 kilometers, -13 SNR, 0 frequency drift;
30 meters band (10.1402 MHz): 2849 kilometers, -6 SNR, 0 frequency drift;
20 meters band (14.0971 MHz): 3898 kilometers, -19 SNR, 0 frequency drift;
Am I satisfied with these results? - Definitely yes! The testing showed that the device is fully operational, WSPR packets are transmitted correctly, without any failures. Frequency drift was absent in all cases, transmission time synchronization and automatic QTH locator calculation worked perfectly.
Is there room for improvement? - Of course! Right now I am working on transferring the device to the ESP32-C3 platform. So next year I will definitely tell you about the new version of the device, we will test it again and see if it has been improved.
Among the most significant changes that I plan to implement in the new version of the device is the addition of automatic calibration of the SI5351 operating frequency (no longer need to manually calibrate, which can also be disrupted depending on the temperature of the device) and the addition of device control via a Desktop/Android application (the configuration of the device can be performed in real-time without the need for firmware updates).
Well, if you have read to the end, I would be glad to hear your suggestions for improving the project and possible Pull Requests :)




Write comment