- DIY
- A
How to Fix a Tesla and Save the Holiday Spirit
Hello, tekkix! My name is Askhat, I work at Yandex Infrastructure — an engineering team that creates fundamental technologies for Yandex. Sometimes an engineer's trained eye can come in handy in personal matters as well. The autumn before last, on my birthday, my Tesla Model S gave me a gift. It just stopped driving and started throwing errors. In the morning, nothing foreshadowed trouble, but in the evening I got into the car, and the screen flashed: "Low voltage," "Service required," "Unable to drive."
Is the weather to blame?
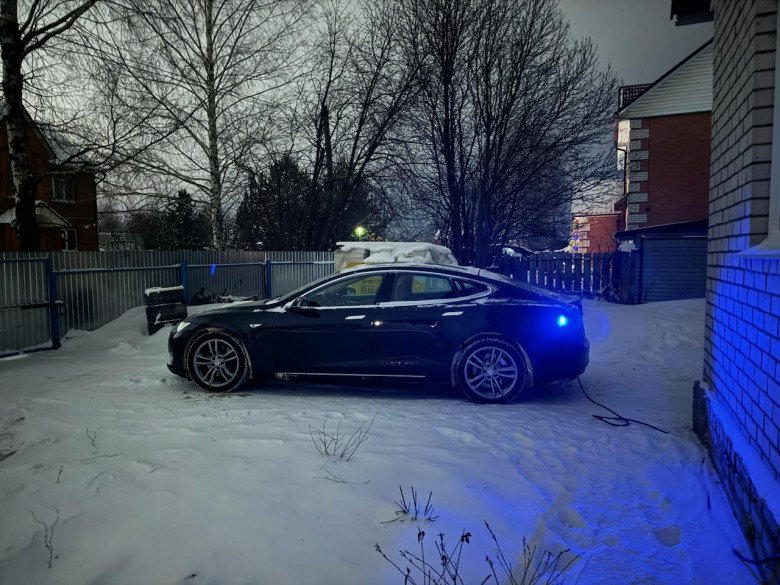
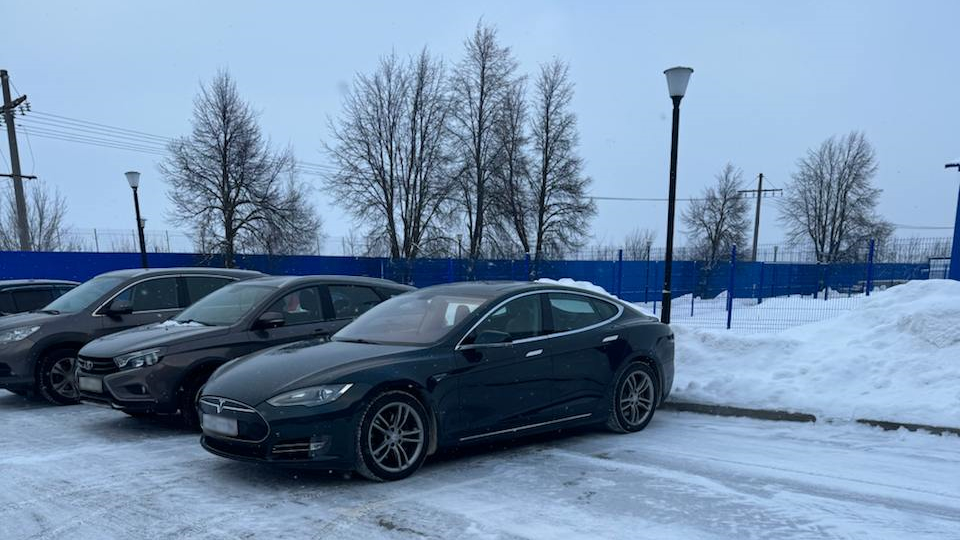
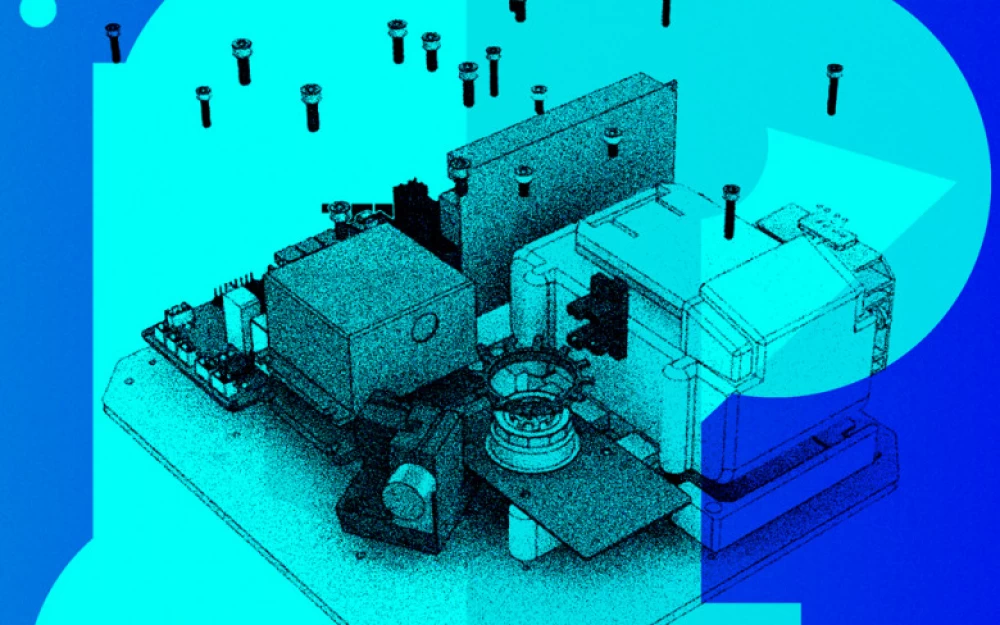
So, we get into the car and see this picture:
It was quite cold outside that day. I decided that the battery was just very discharged. For those who have not dealt with Tesla, let me clarify: the car has a low-voltage part of 12V and a high-voltage part up to 400V. I blamed the 12V battery and thought about charging it overnight and trying again in the morning. Removing such a battery from the car is very difficult, as it is installed under the cowl behind the right pillar. So I connected to a special terminal for emergency starting the car in case of a complete discharge.
In the morning, I sat behind the wheel, but the miracle did not happen, the car was dead. At the same time, the high-voltage battery charge level was around 56%, the 12V battery voltage was more than 12 volts, and I found no obstacles to starting.
Important about starting the car: at the moment you open the door, the contactors in the high-voltage battery that power the entire high-voltage network are turned off. When turned back on, two characteristic clicks are heard. In my case, they did not click, the power to the high-voltage network did not come, and, accordingly, the car did not start.
I was upset and realized that the matter was more serious than I had anticipated. But there was still hope: perhaps the 12V battery had completely died and simply could no longer provide the necessary current to start the systems. The low-voltage battery in the Tesla is an AGM, a lead-acid battery with 33 Ah, like in a UPS.
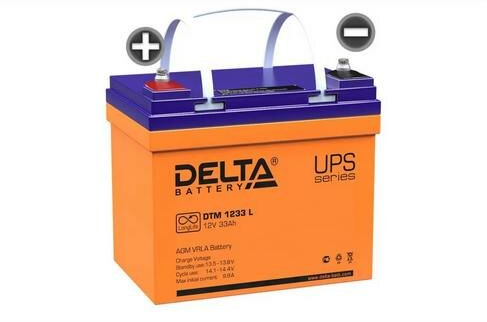
I placed an order for one, received the battery a few days later, and started the replacement. I had to disassemble the cowl and somehow remove the battery from there.
I installed the new battery, but the problem remained.
Meanwhile, everything was happening outside in the cold, and the car was stationary. I got even more upset. I had to go on a business trip for two weeks. When I returned, it had already snowed outside. I had to find a more suitable place where I could thoughtfully work on the car in the warmth.
Looking for a garage
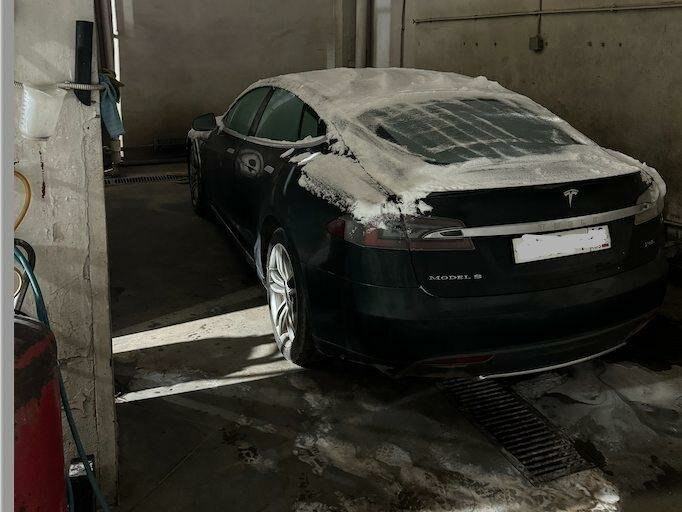
First, I found a place at a car wash where one of the boxes was not working, so I could leave the car there. But how to move it? The Tesla was parked nose-first into the yard, and it has no hooks at the back. Pushing it by hand was also not possible because the car weighs 2200 kg. I had to hook onto the wheels and pull it out of the yard with a Niva. Here, the frost and slippery road helped us.
On a warm wash, it was possible to dig further. After searching for information on the internet, I found out that the "Low Voltage" error is quite common. It may indicate a malfunction of the DC-DC converter, which reduces the voltage from 400 V to 14 V, thereby recharging the low-voltage battery and powering all systems. I opened the DC-DC, but didn't see anything burnt or faulty.
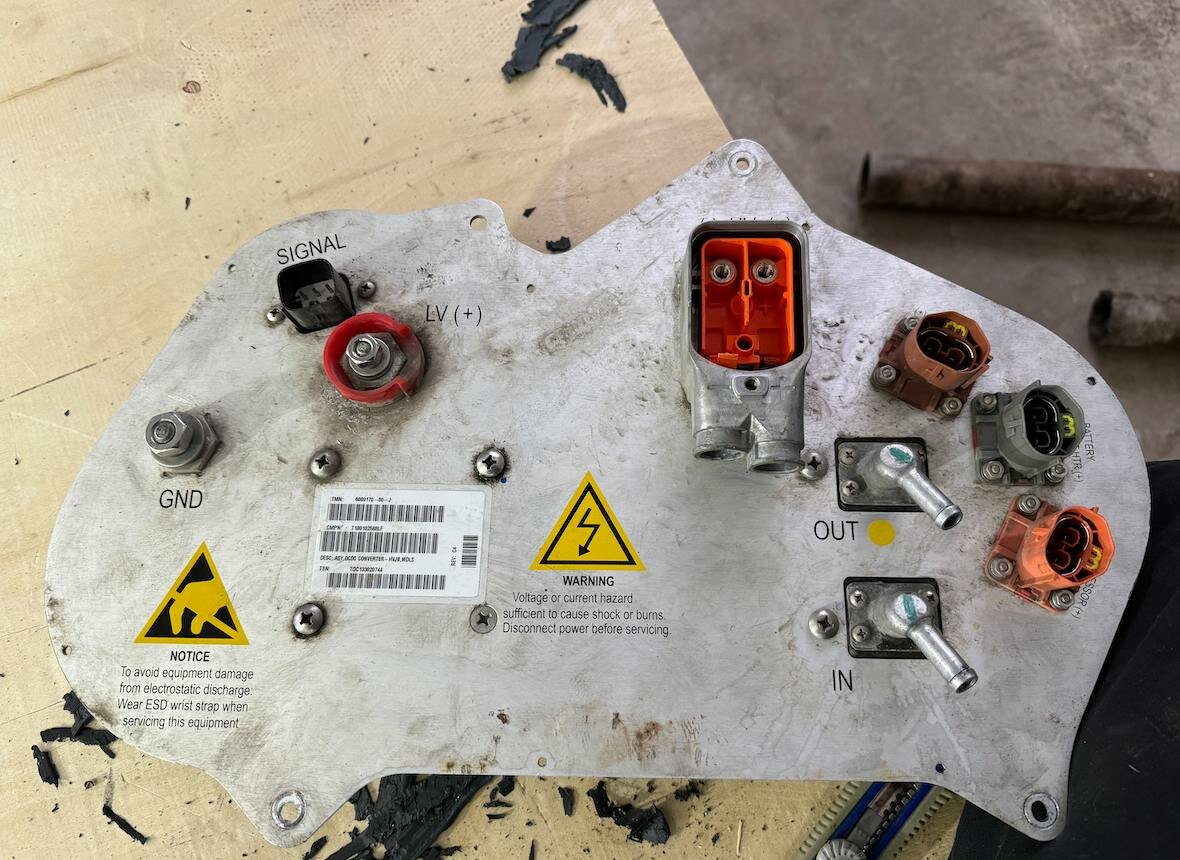
It was not possible to check it, as it was necessary to find 400V DC somewhere. A moment of despair came, and I tried to find a car service specializing in electric cars.
Since it was 400 km from Moscow, I started with what was closer. In Ryazan, I found a service for electric vehicles, but it was engaged in something simpler, like the Nissan Leaf. In Moscow, there were also a couple of services where it was clear from the description: when contacting them, you need to be prepared to give half the cost of the car for repairs. I decided to dig on my own.
Assembling a repair toolkit
Then I found out that the car has OBD II — an on-board diagnostics system. But it needs an adapter and software. I bought the adapter, but the software was more difficult: there is a paid program Scan My Tesla for Android, but it cannot be purchased in our region. Thanks to the help of a friend from Serbia, I registered a Serbian account and bought the program through it. This made it possible to view everything that is on the
Of interest, I wanted to see the visibility of the DC-DC and the voltage spread across the cells in the high-voltage battery. And if the DC-DC was not visible at all, the spread was 0.09 V.
By that time, I had already read on the internet that Tesla starts warning and reducing power when the spread reaches 0.1 V. So I remained calm about this, but it turns out I didn't find the source of the problem.
Tesla also has a paid diagnostic service available to the public, priced at ~ 5$0.00 per hour. We connect through a special cable with a regular RJ45 at the end, attach it to a laptop, set up the network, and go to the Tesla website. After paying for access, it seems like you can use it. I bought an hour of diagnostics thinking: "Well, now everything will become clear".
However, the first 20 minutes were spent establishing the connection. There are no instructions in advance that you will need to unlock the GTW by pressing the brake and turning on the right turn signal. It also took some time to set the correct IP address on the laptop. Finally seeing the Tesla diagnostics, I felt sad: it is not at all like the standard diagnostics of other cars. It is more like a vendor utility where you can reset errors after a repair. There were also links to detailed descriptions that actually led nowhere. As a result, the hour flew by quickly, and I didn't learn anything new. I started reading more carefully about each error found.
It was getting close to New Year...
The main error was this: DI_u014. DI stands for drive inverter, it gives the system an error "Low voltage". I already knew about the common problem of these models, where the engine seal leaks and coolant can get into the engine and inverter. So I decided to check for the presence of liquid. We towed the car to the lift, we were just lucky that it was idle before the New Year.
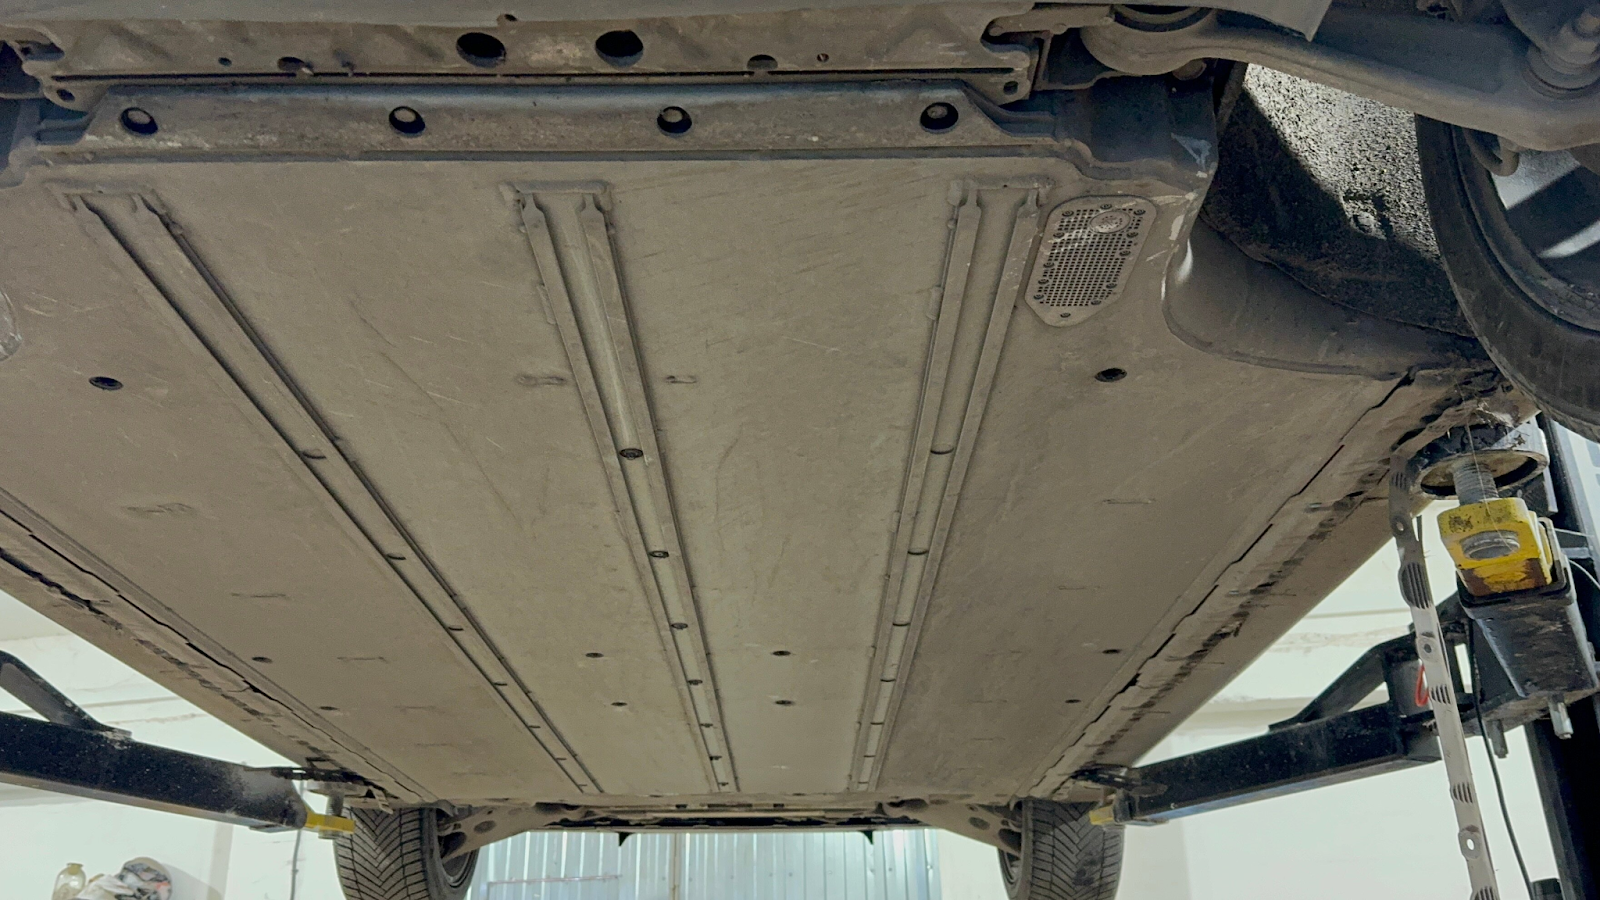
Raised the car, removed the sensor from the engine and made sure it was dry. I also removed the plugs from the inverter, and it was dry there too. The guess was not confirmed. The thought of removing the battery and seeing what was inside crossed my mind, although there seemed to be no reason to remove it.
The battery weighs 600 kg. To remove it, you need a special table on which you can lower the load. I read the internet some more and found a life hack for removing such a battery:
We place 6 pallets in 3 pieces under the front part of the battery and the rear.
We unscrew all the bolts in the center of the battery.
We lower the car onto the pallets, and when they start to crackle strongly, it means that it is no longer worth lowering.
We unscrew the bolts on the edges of the battery and slowly raise the car.
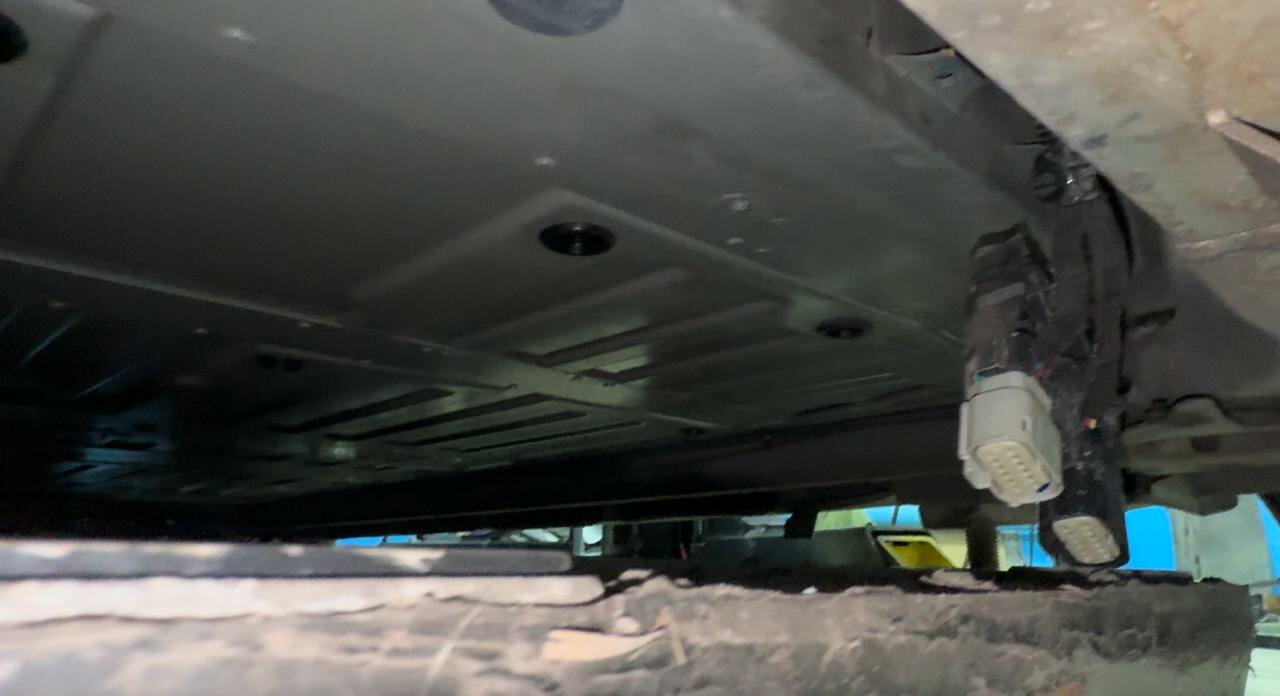
The battery remains on the pallets, and the car goes up on the lift. It is important not to forget to unfasten the signal chips behind the battery.
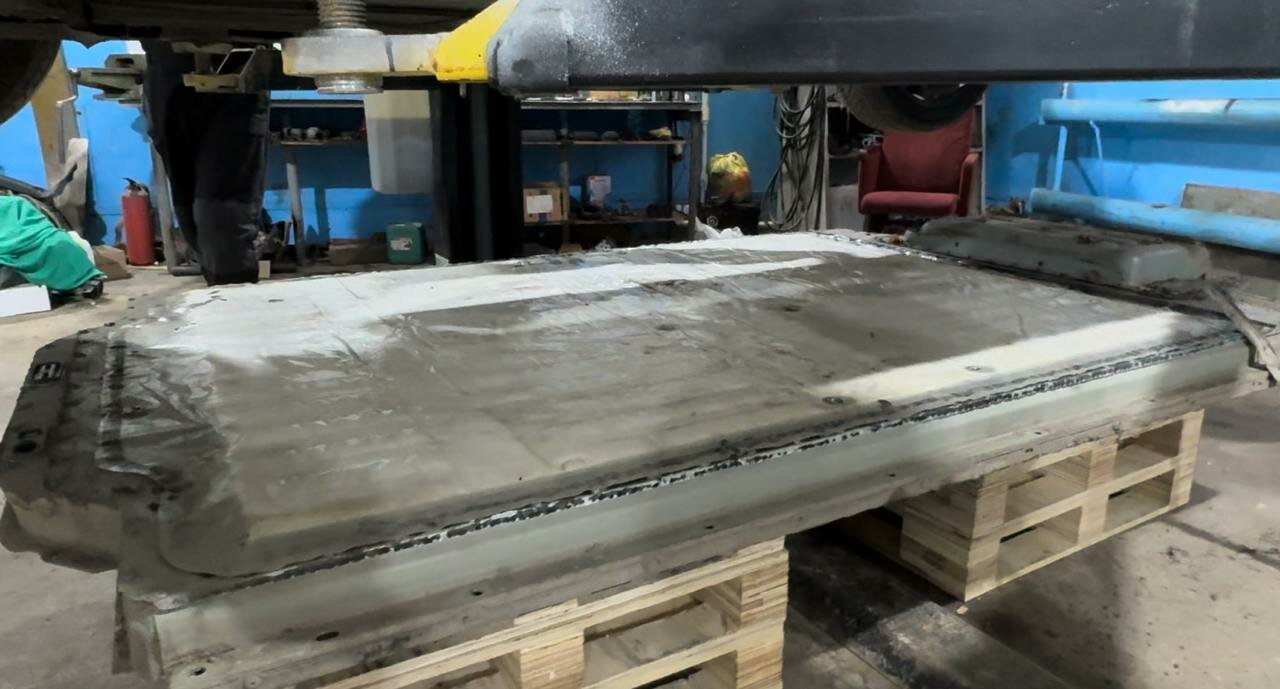
And here is the battery in front of us. The first inspection showed that it had been opened. The build quality looked so-so. We also decided to open the battery. This is done in three stages.
We remove the cover from the main fuse, unscrew the bolts, remove the fuse.
We unscrew the cover from the front and remove it separately.
We unscrew the main cover (a bunch of bolts) and try to tear it off the battery, as there is a layer of sealant.
After the first two stages, I saw two battery modules that are on top of each other. There were small drops of moisture on the metal.
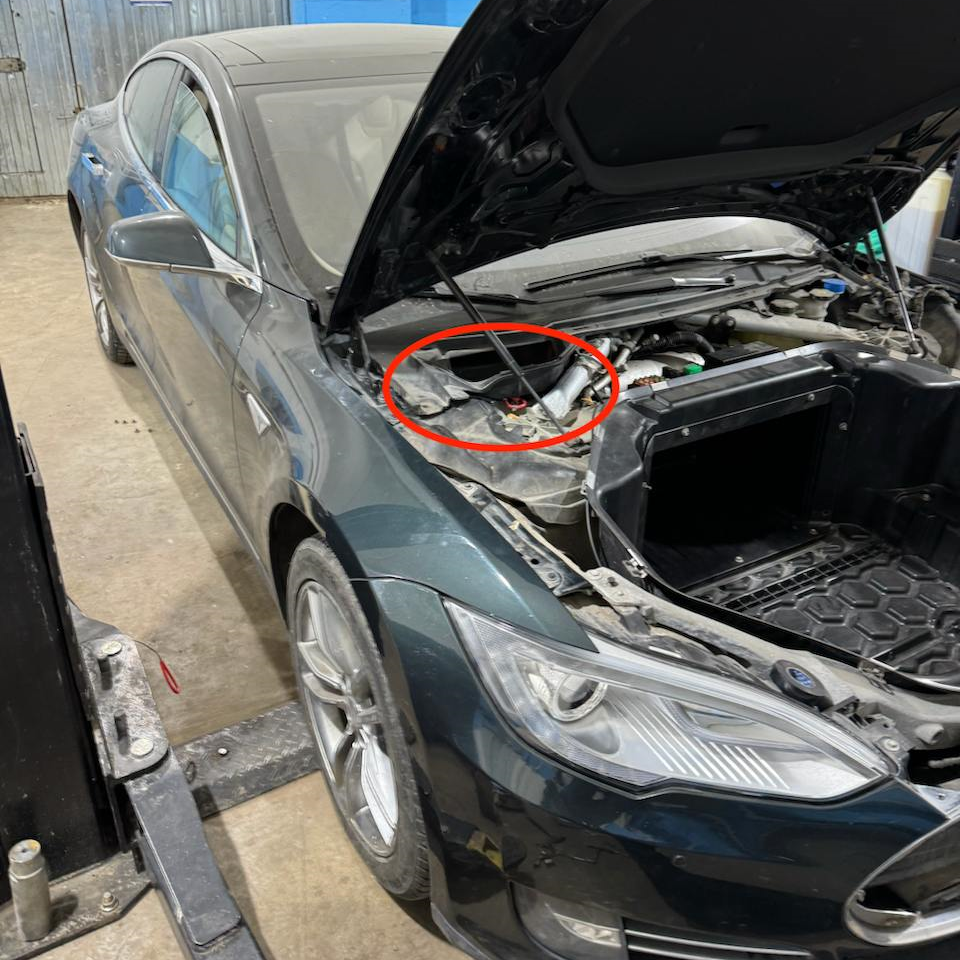
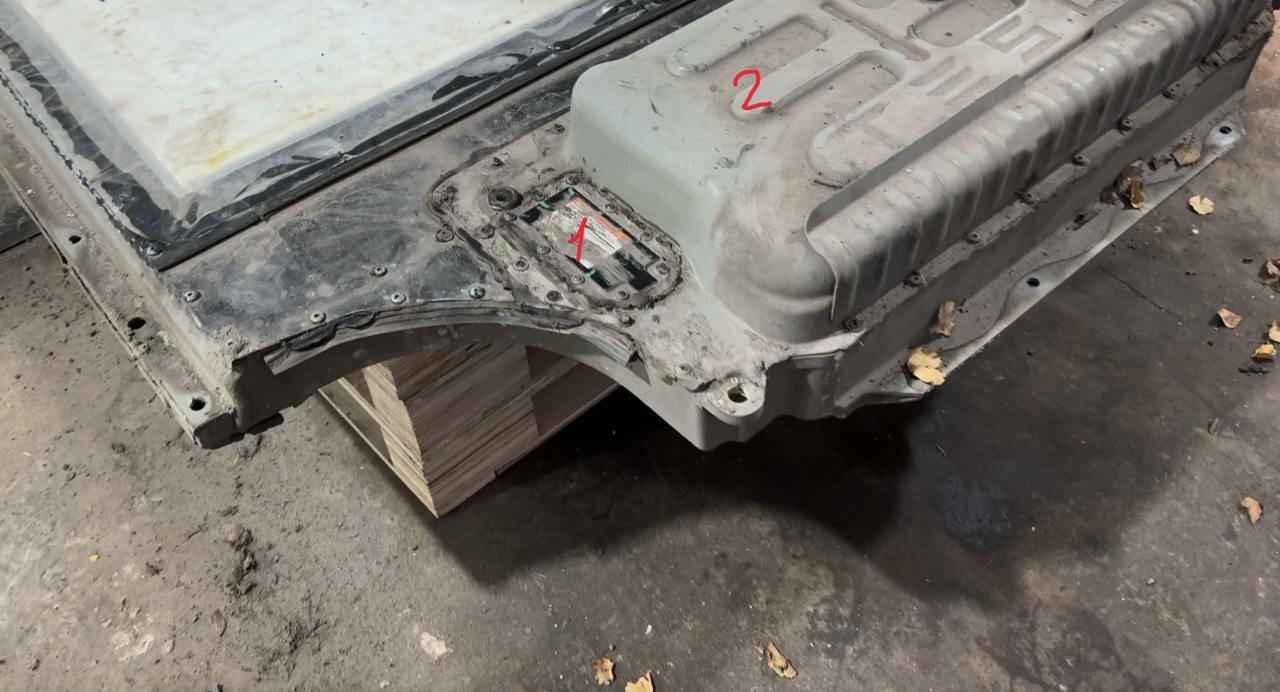
When I removed the battery cover (number 2 in the figure below), I saw that the bolts holding the antifreeze tubes were screwed in incorrectly. Two bolts were screwed in normally, and two were just held on with sealant. It became clear that moisture had gotten in here and everything needed to be disassembled to understand the scale.
The third stage of removing the main battery cover was the most difficult. After removal, we saw the BMS board, which controls the entire high-voltage part and those very contactors. The battery itself looks like it has 16 modules that are connected in series, and a connecting bus runs in the center. Some of the modules are interrupted by a pyrotechnic fuse.
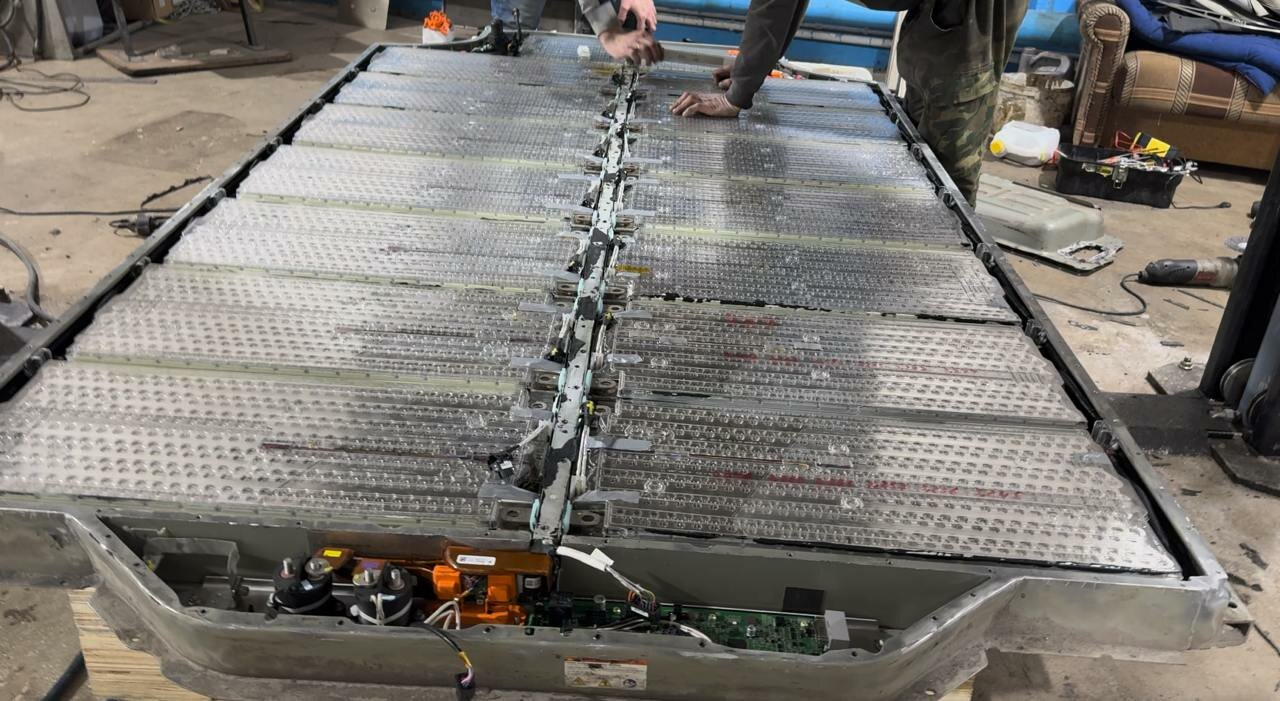
The busbar connects to two contactors "plus" and "minus", and after them, the power goes to the power connector. Each module has its own board that controls the module: its temperature, voltage, and cell balancing. Each such board from the module is connected to the BMS board.
We started removing all the modules, and only two modules had slight traces of moisture.
We set everything to dry. After drying, we assembled the modules into the battery, inserted the fuse, and decided to put the battery back. But nothing changed.
I started checking the insulation, and on the busbar, strangely enough, it showed very low insulation. As a quick search for information showed, this turned out to be normal: since the BMS board is connected to the case, it measures the insulation in the battery. If you disconnect it, the insulation is normal. Moving on.
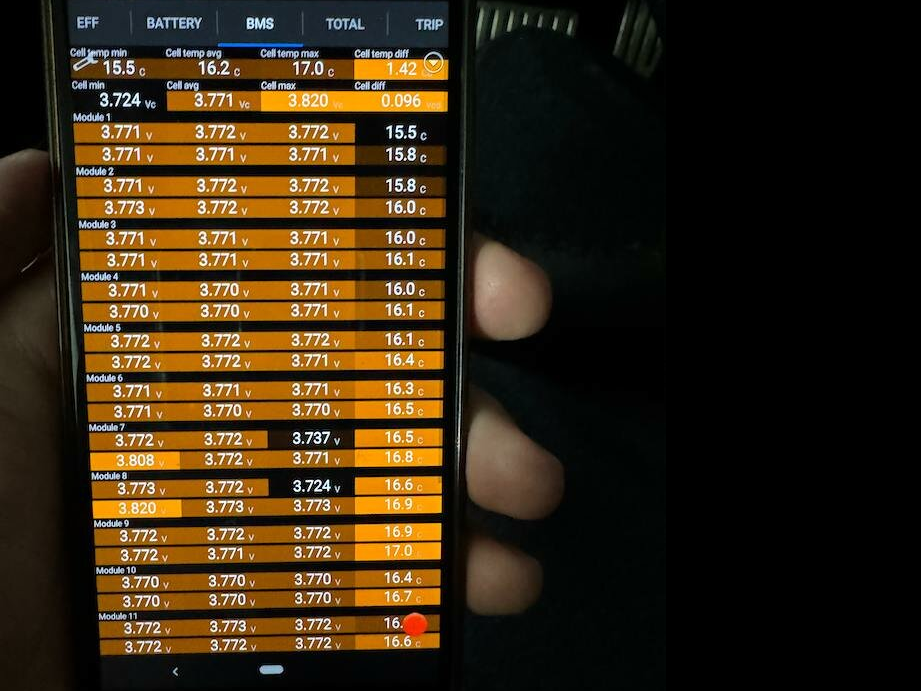
I started to look more closely at the cell spread. It was only in two modules, and it clearly stood out among the others. The minimum cell voltage was 3.722 V, and the maximum was 3.821 V. I decided to balance the cells. I removed these two modules and saw that the wire coming from the control board was coming off the cell.
This is also a common problem with these models. Due to moisture ingress, the wires can come off, as they are held either by ultrasonic soldering or some other magical method.
I started thinking about how to attach them back.
Soldering is unrealistic.
I didn't have the opportunity to use ultrasonic welding.
I tried glue for restoring window heating, but it doesn't hold reliably.
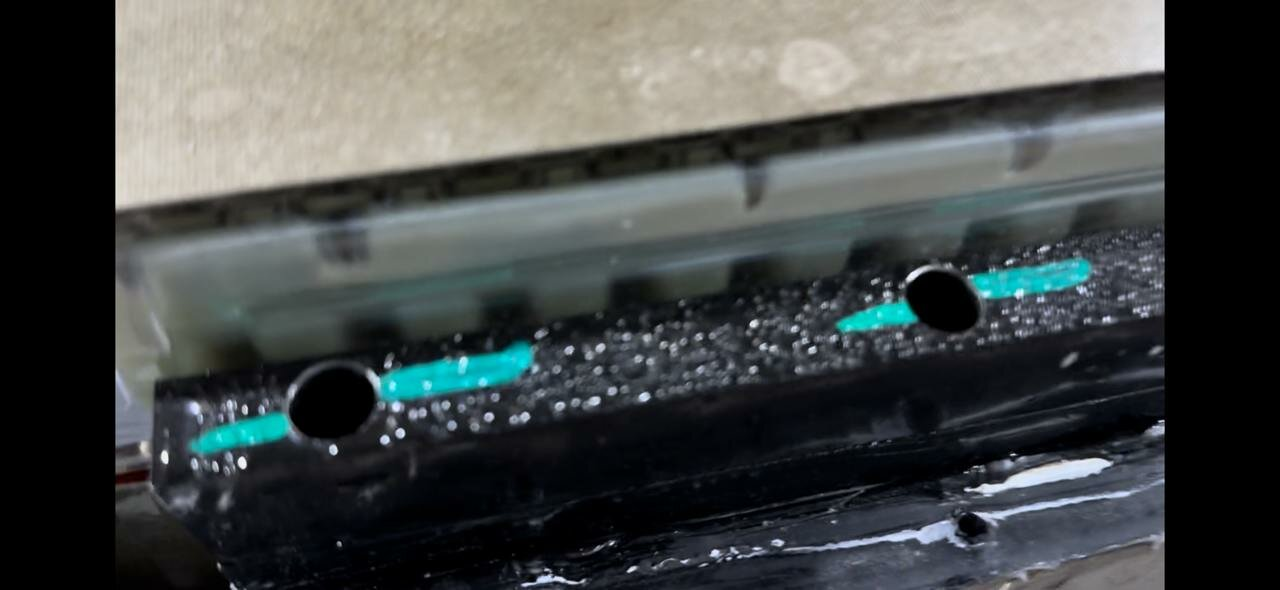
In the end, I found in one of the videos on the internet that you can drill a plate at the edge of the cell and secure this wire with a rivet, which will be more than enough. I extended the wire, secured it with a rivet, assembled the battery, and put it back in the car. In one of the modules, the problem went away. But it remained in the second one. The solution was one: when I swapped the boards between the modules, the problem followed the board — that is, the problem was in it.
The search for the required revision board, year of manufacture, etc. began.
And the New Year has come!
I couldn't find a board that matched exactly, there were slightly different revisions. But I was afraid that they might not fit, and the BMS board would not understand what to do with them. I decided to try to fix the board myself.
After some measurements, it turned out that the fuse had simply blown. Apparently, when the wire came off the cell, a higher current could have flowed. I replaced the fuse, installed the board back. According to the instruments, all the cells showed the same voltage. The mood improved dramatically.
But the car still wouldn't start. On one of the forums, I found out that the BMS_f107 error can only be reset by the same Tesla diagnostics. I bought access to it again, but this time I found a certain life hack. If the purchased time runs out, you are not kicked out of the diagnostics, and if you stay on the desired page, you can still perform the available functions on this page. I reset the error, and lo and behold! The contactors started clicking, but not turning on.
I decided to leave it until the next day. The next day I realized what the problem was: an insulation error popped up, and I decided to check where there was a short. First, I climbed into the DC-DC, since I had already disassembled it, and the short was there. That time I slightly confused the bolts, and the longer bolt touched the case. I re-tightened the bolts, assembled everything back, and the car came to life!
And then the long process of reassembling the battery began. Since the battery "trough" is aluminum, and the previous disassemblers before me, apparently, did not bother much, many threads were stripped. We restored the threads, applied sealant, quickly put on the cover and began to tighten hundreds of bolts. At the same time, we correctly assembled the front cover on all the bolts so that moisture would not get inside in the future. I put Silica Gel packets in the battery just in case. I saw that many people do this after opening, because there is a valve in the battery that releases air when heated and lets it back in when cooled.
After the final assembly, the car stood in the heat for a while for the sealant to set, and then it was ready for operation. So the New Year holidays ended.
After that, I drove the car for more than a year, and there were no problems.


Write comment